After really enjoying our large scale painting we decided to go small this week and try out some tiny match box art.
I traced around the outside of the match box on a piece of paper to make lots of frames and then the children set to, creating all sorts of designs.
We had no particular plan in mind, other than using the matchbox as a frame, but when L drew a garden scene we decided to transform the matchbox into a window to peep through.
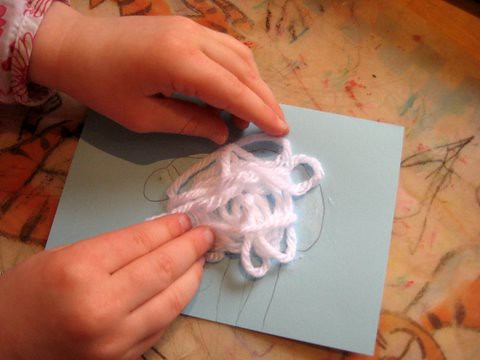
We added a window frame and used tissue paper to make some curtains. The girls like peeping through the fairy windows and have plans to make a whole skyscraper full of different views. I like the depth that the layers add to the picture.
Glue a little magnet on the back and you can create a match box gallery on the fridge.
If you like our ideas, please share them on Facebook or twitter or link back to them from your blog.
happily shared with made by little hands Monday and for the kids Friday and it’s playtime and creative juice and upcycled awesome


