Nurturing creativity in your children requires a constant supply of craft materials! Here are some ideas on what’s easy, cheap and useful to have to hand.

Get recycling – start a collection of empty cereal packets, used wrapping paper, old Christmas and birthday cards, toilet rolls tubes, egg boxes, celophane wrappers from boxes of chocolates, tissue paper from inside shoe boxes, empty food packets / boxes -especially ones that are an unusual shape – all free and environmetally friendly. What other ideas? Please post a comment – I’d love to hear your suggestions.
Tell grandparents etc. you’re collecting – and ask them to let you have any goodies they come across.
Stock up in the sales – it almost goes without saying that you’ll save lots of money if you bulk buy when things are discounted.
Make a craft box – we use a big cardbard box in the utility room to store boxes / packets etc. and we have a shelf in the playroom for paper /pens / glue sticks and so on. This allows the children to access the materials independently and gives them the freedom to select their own resources – they’ll have lots of ideas you’d never think of to make use of what’s available. (I keep paint / PVA glue on a higher shelf so we can make sure table cloths and aprons are on before we use these).
What to include:
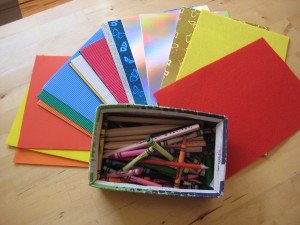
All sorts of paper – white and coloured, A4/A3 / on a roll, sugar paper, tracing / greaseproof paper, tin foil, tissue paper, corrogated card, holographic card, wallpaper, wrapping paper – you can never have too much paper!
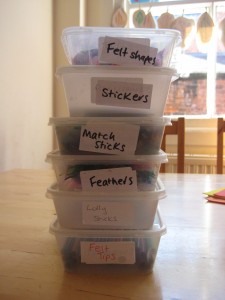
Collage materials to spark the imagination – feathers, pine cones, dry leaves, felt, wool, cotton wool balls, drinking straws, envelopes, matchsticks, lolly stiks, pipe cleaners, stickers (bulk packs of stars / dots are usually a lot cheaper then character stickers). Re-cycle the containers your take-aways arrive in to keep all these organised!
Something to make your mark – felt tips, wax crayons, coloured pencils, chalks
Scissors – child friendly ones with a rounded end
Something to stick with – PVA glue is good for model making, and you might want some fabric glue, but for general use I find glue sticks are really easy (and not too messy) for the chidlren to use independently. You can use spatulas and cotton buds for spreading. Tubes of glitter glue are fun and children love them (watch out for pots of loose glitter though as some can be abrasive and children will get it all over their hands – and possibly in their eyes). Investing a little money on a sturdy stickytape dispenser has proved a good expense as the children can use it by themselves.
Imagination – sometimes you’ll be working with the children to create a specific thing but mostly let them have free reign with the materials, to choose what they use and how they use it. Allow them to use the craft resources in all their play – so they can use matchsticks with play dough, or cottonwool balls in their dumper truck. Nurture this experimentation and imagination.
You never know when the creative urge will strike – so get your craft box ready!
Happily shared with ABCand123’s Let’s Get Organised


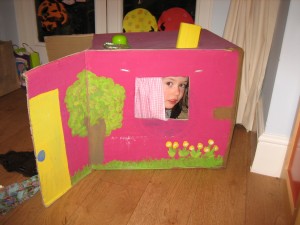
 One of the favourite things we’ve ever done is to make our own cardboard box house. We had a box left over from a house move but any will do as long as it’s sturdy. Even better if your child can fit in it, but you can make teddy a home if yours is smaller.
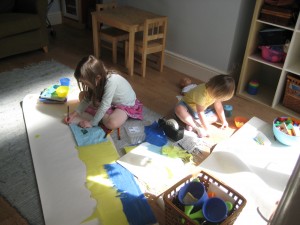
 A roll of wallpaper – either a leftover from decorating at home, or bought cheaply from the DIY store roll-ends bin, provides a great canvass for your child’s artwork. The scale of the wallpaper roll lends itself very well to drawing a landscape, such as a beach picture. Or create a street which you can drive toy cars a long. Another fun idea is to have your child lie down on the wall paper and then draw round them to get a child-size outline. You can then colour them in – copying what they are actually wearing or making up a fantstic imaginary outfit.