Here’s a beautiful, simple spring craft – daffodil bunting!
by Cathy James
Here’s a beautiful, simple spring craft – daffodil bunting!
by Cathy James
by Cathy James
Where do fairies go on holiday? To stay in seashell cottages by the sea! Here’s a sweet little craft idea that turns into imaginary play and storytelling.
by Cathy James
Here’s a super easy, quick and creative idea for a kids craft that’s fun to make and even better to play with – tea party puppets!

by Cathy James
Here’s a favourite idea from our kids painting archive, introducing children to watercolour painting and trying out a whole new – and rather exciting! – way of using it.
by Cathy James
Here’s a super easy DIY craft recipe that shows you how to make clay (that’s actually more like an air-drying dough) and turn it in to some beautiful butterflies.

Click play on the video above to see our playdough masterclass.
This video gives you everything you ever wanted to know about play dough: how to make homemade playdough with quick and easy recipes; the benefits of playdough for children; and lots of sensory play activities using play dough including playdough math activities, playdough literacy activities, and playdough fine motor skills activities.
Plus find out how to get printable playdough recipe cards and printable play mats. It’s an excellent beginners guide to play dough!
Subscribe to NurtureStore’s YouTube channel to get more gardening and nature study videos!
To make the air-drying clay/dough you will need one part PVA glue and two parts cornflour {UK name} / cornstarch {US name}.
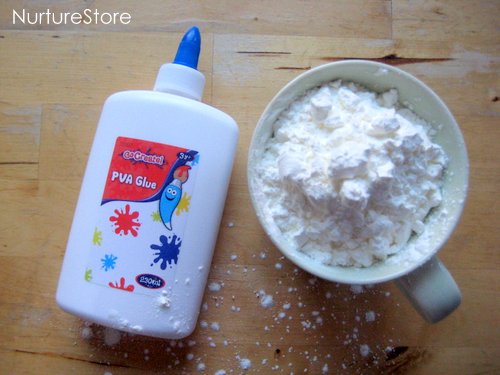
Then all you need to do is mix the two together.

In a matter of minutes you’ll go from this :: to this :: to this, and you’ll have a lovely, white moldable dough, similar in consistency to ready-roll icing/frosting.
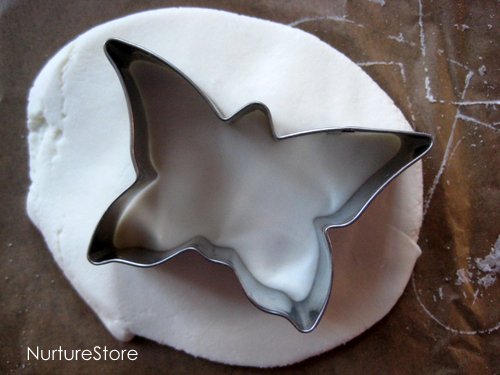
Then you can roll out the dough and use some cookie cutters to stamp out some shapes. We’re making butterflies today, but watch out for a beautiful loveheart version in my play dough e-book.
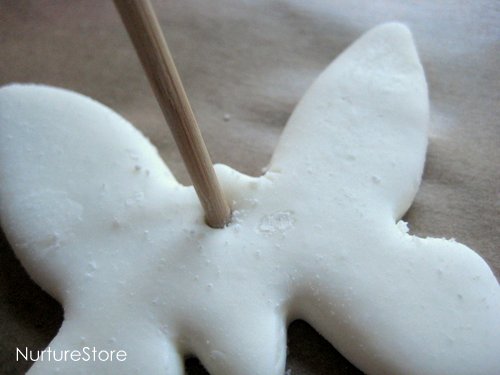
You can use a pencil or skewer to make a hole in your butterfly, if you want to be able to hang it up.
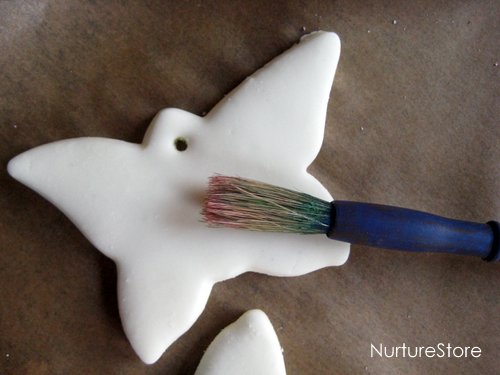
And you can use a dry paintbrush to sweep over the surface and remove any clay dough crumbs that you might have on the surface of your butterflies.
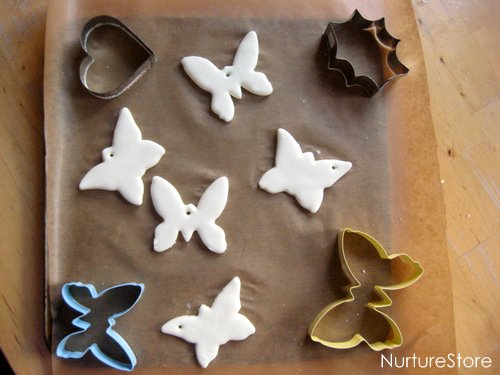
Then you can set your butterflies on a flat surface {we used a baking tray lined with baking parchment} and leave them overnight to dry out.
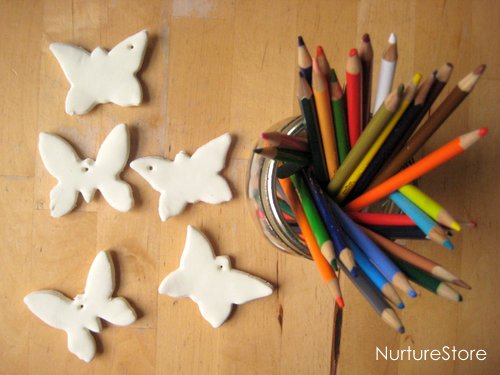
Once they are dry the hardened clay dough is a wonderful surface to decorate, and it takes pencils and wax crayons really well.
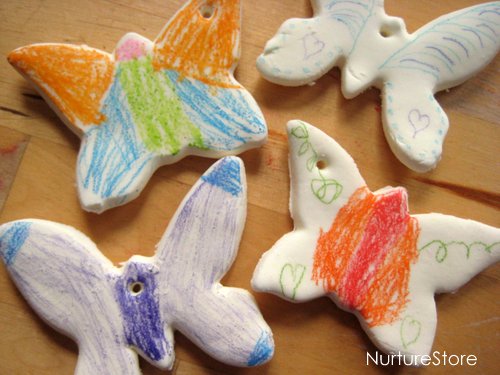
Your children can add colour and patterns and symmetry to make each butterfly unique.
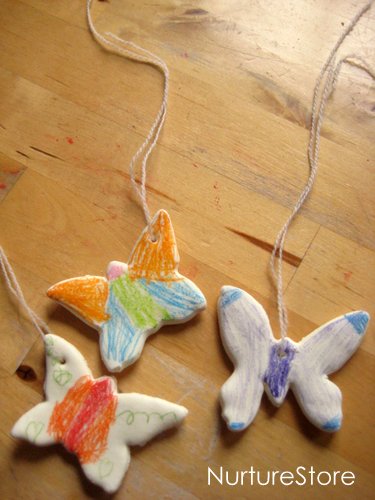
Then you can add string or ribbon threaded through the holes so you can hang up your butterflies. We’re adding ours to our seasonal tree which sits year-round in our entrance hall – click through if you’d like to see the Valentine, Easter and New Year versions.

