Here’s a super easy, quick and creative idea for a kids craft that’s fun to make and even better to play with – tea party puppets!
by Cathy James
Here’s a super easy, quick and creative idea for a kids craft that’s fun to make and even better to play with – tea party puppets!

by Cathy James
I made this lemon play dough recipe while we were away at the beach. It’s perfect for seaside sensory play with some lovely shells.
Here’s the recipe.
by Cathy James
Sandcastle messy play with a homemade cloud dough recipe is perfect for summer days when you can’t get to the real beach – or when you want a relaxing sensory playtime in the shade of your own home.
Here’s the recipe:
Click to play on the video above to see our sensory tub masterclass. You’ll learn how to make a sensory tub for your children using simple materials, the benefits of sensory tubs for children, and how to use a sensory tub to teach children about math, literacy, science and fine motor skills.
You’ll also see lots of ideas for sensory tub fillings plus find out how to get great printables to add to your tubs. Subscribe to NurtureStore’s YouTube channel to get more sensory play videos!
Cloud dough is one of the recipes in my e-book The Homemade Play Dough Recipe Book.
It’s very easy to make and a totally different sensory experience to traditional play dough.
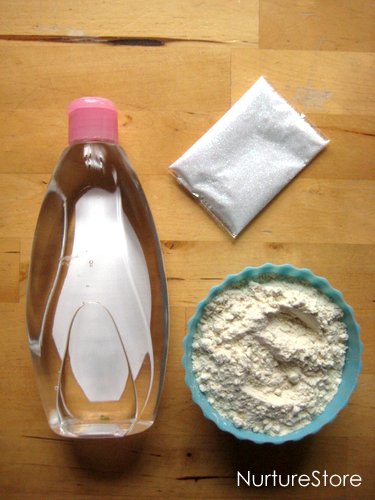
To make it, you will need:
4 cups of flour
1 cup of oil (we most often use baby oil, to get a lovely fragrance)
glitter is optional, but we like some extra sparkle!
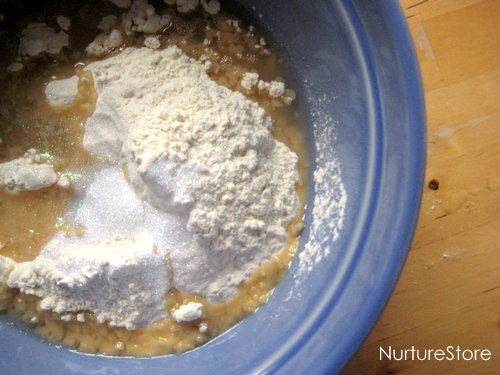
All you need to do is combine the ingredients in a bowl and mix…
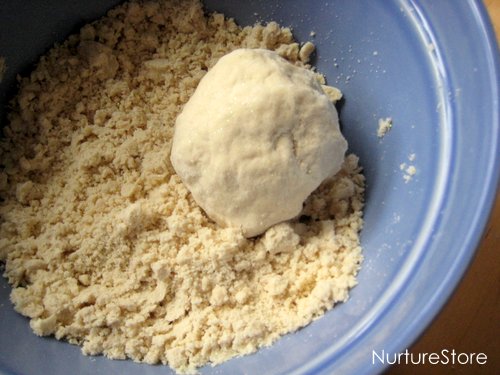
until it combines and gives you a texture that looks like you’re about to make pastry.
But… give the cloud dough a squish with your hand and you’ll see how it comes together and holds its shape! So cool!
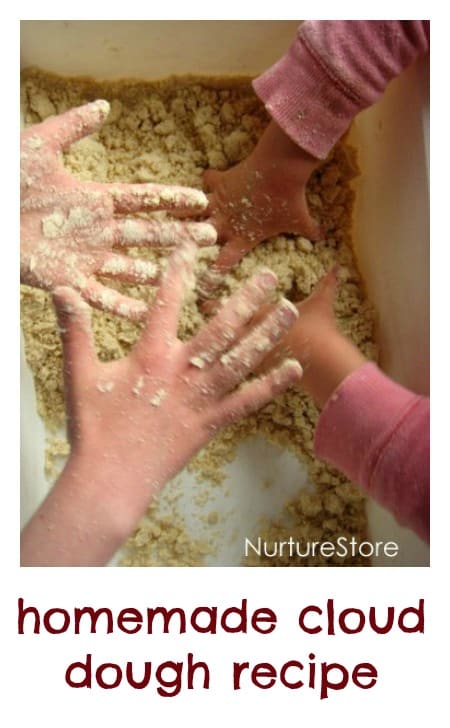
My girls find it irresistible. It’s such a touchy-feely material to play with.
Be aware that this is messy play (that’s half the fun , isn’t it) – although I find the clean up afterwards is quick and easy.
I wouldn’t try it in a room with a carpet, but it sweeps up fine from my kitchen floor.
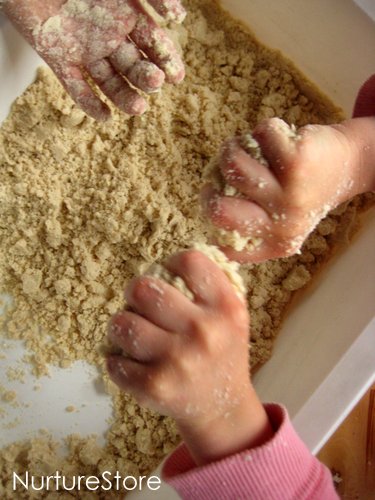
The squishing is so much fun and as the dough holds its shape it’s perfect for making sandcastles.
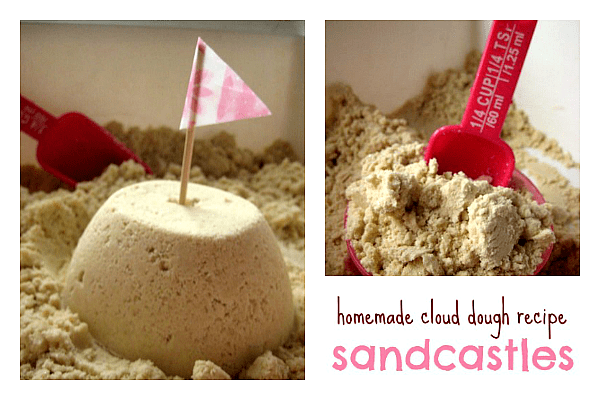
I set out some scoops and bowls in different sizes and we had our own homemade mini beach!
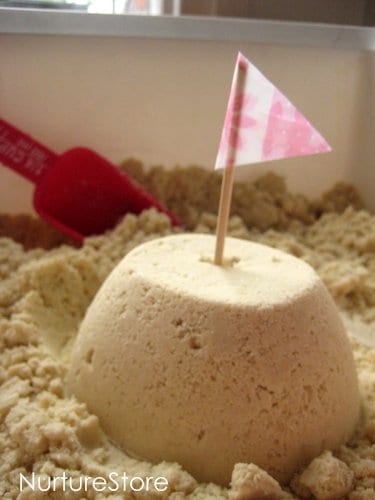
The girls made some flags for their sandcastles {from toothpicks and tissue paper} to go on top. You can add little people and a little square of fabric and set up a picnic day out on the beach.
by Cathy James
Here’s a sunshine play dough recipe idea that’s great for sensory play for summer and the solstice.
Click play on the video above to see our playdough masterclass.
This video gives you everything you ever wanted to know about play dough: how to make homemade playdough with quick and easy recipes; the benefits of playdough for children; and lots of sensory play activities using play dough including playdough math activities, playdough literacy activities, and playdough fine motor skills activities.
Plus find out how to get printable playdough recipe cards and printable play mats. It’s an excellent beginners guide to play dough!
Subscribe to NurtureStore’s YouTube channel to get more gardening and nature study videos!
We never need much excuse to bring out the play dough and as we’re learning all about the solstice this week we thought we’d make some play dough sunshines. To start, we mixed up a batch of our favourite easy play dough recipe and added in some yellow food colouring to make it nice and sunny.

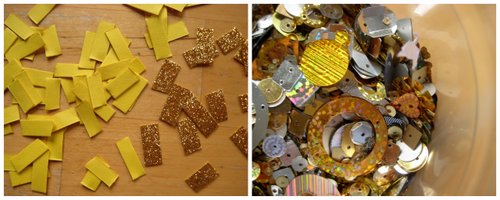
Then we raided the craft shelves to find some yellow, orange and gold materials. We found drinking straws, buttons, foil shapes and sequins, craft sticks and some glittery paper strips.

Play dough is a fantastic sensory material for children to explore and it’s always great to add in some extra textures when you play.
To get some inspiration we did a Google Image search for ‘sun art’ and the children enjoyed clicking through to see the sun pictures and got some ideas for how they might make a sun with their play dough. They especially liked the mosaic artwork – an idea for a future art technique to explore!

Then the children set to work. One of the best things about play dough is that everyone can use it, from babies to grandparents! It’s an open-ended material and so versatile, and today the children all had clear ideas about how they were going to use the materials on offer to make their sun.

Every sunshine turned out different… and glorious!

by Cathy James
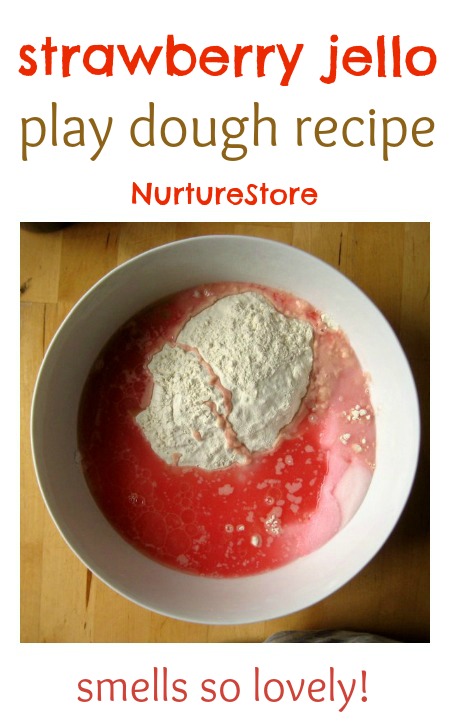
My girls say this strawberry jello play dough recipe smells like sweeties and lollipops! The recipe makes a great textured dough which, added to a tray of loose parts, can turn into an afternoon of fantastic creative play.
Click play on the video above to see our playdough masterclass.
This video gives you everything you ever wanted to know about play dough: how to make homemade playdough with quick and easy recipes; the benefits of playdough for children; and lots of sensory play activities using play dough including playdough math activities, playdough literacy activities, and playdough fine motor skills activities.
Plus find out how to get printable playdough recipe cards and printable play mats. It’s an excellent beginners guide to play dough!
Subscribe to NurtureStore’s YouTube channel to get more gardening and nature study videos!
We used my favourite easy play dough recipe to make this dough, but swapped the water for some un-set strawberry jello (jelly to fellow UK readers), and adding in some extra flour – see the recipe below.

We first made up the jello according to the packet instructions – which was great fun and perfect for practicing scissor skills.
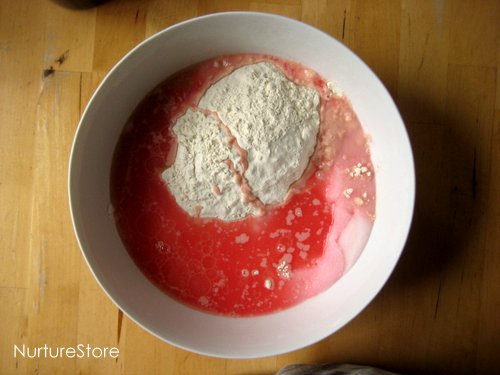
Then we adapted the easy play dough recipe and used:
3 cups plain / all purpose flour (more flour than usual as the jello changes the mixture – have some extra in case you need more)
1 cup salt
1 1/2 cups jello liquid
2 tablespoons oil
2 tablespoons cream of tartar
Mix it all together in a large bowl to form a dough, and you’re ready to play

We had three generations of our family joining in this playtime, including Grandma and my one-year-old nephew, who was having his first introduction to the delights of dough!
One of the great things about play dough is that it’s such a versatile material that anyone, of any age, can play and create with it.
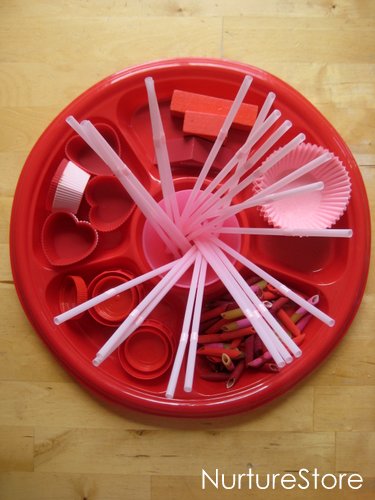
I set out a tray of red and pink loose parts:
:: drinking straws
:: painted pasta pieces
:: cup cake cases
:: bottle tops and lids
:: blocks
:: some fridge magnet alphabet letters.
Anything goes really!
The idea with loose parts is to just provide a selection of different and interesting materials, then everyone can dive in and use them however their imagination suggests.
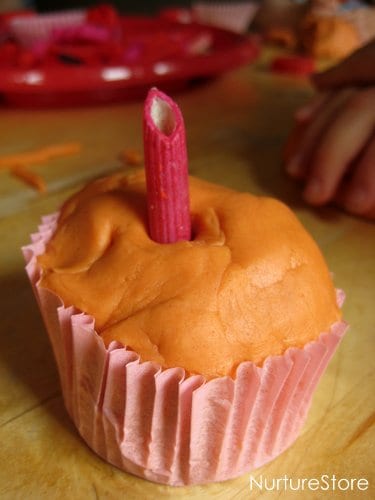
The possibilities are endless! You might make a birthday cake…

or try some printing…

roll out some tracks…

discover that penne makes a fab zigzag shape…
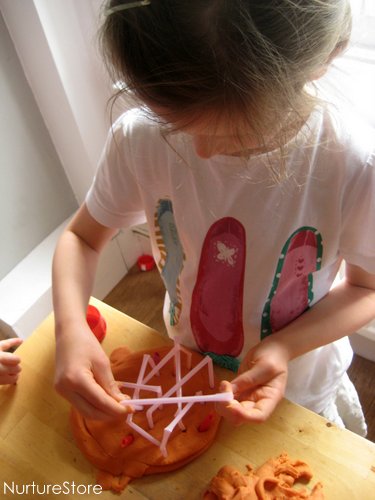
or create a three dimensional sculpture.
Whatever the children make with the play dough and loose parts, they will be:
:: expressing their thoughts creatively
:: developing fine motor skills and nimble fingers
:: exploring shapes, dimensions and mathematical ideas
:: benefiting from the sensory pleasure of the dough, which feels and especially smells fantastic
:: joining in a whole group activity but with the opportunity to do their own thing
:: having fun!
by Cathy James
Here’s a super easy DIY craft recipe that shows you how to make clay (that’s actually more like an air-drying dough) and turn it in to some beautiful butterflies.

Click play on the video above to see our playdough masterclass.
This video gives you everything you ever wanted to know about play dough: how to make homemade playdough with quick and easy recipes; the benefits of playdough for children; and lots of sensory play activities using play dough including playdough math activities, playdough literacy activities, and playdough fine motor skills activities.
Plus find out how to get printable playdough recipe cards and printable play mats. It’s an excellent beginners guide to play dough!
Subscribe to NurtureStore’s YouTube channel to get more gardening and nature study videos!
To make the air-drying clay/dough you will need one part PVA glue and two parts cornflour {UK name} / cornstarch {US name}.
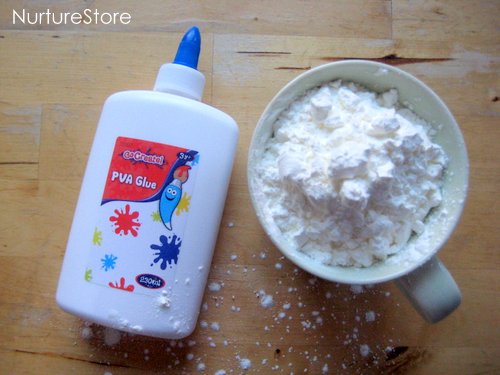
Then all you need to do is mix the two together.

In a matter of minutes you’ll go from this :: to this :: to this, and you’ll have a lovely, white moldable dough, similar in consistency to ready-roll icing/frosting.
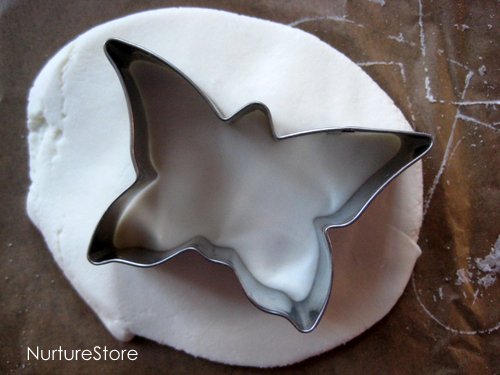
Then you can roll out the dough and use some cookie cutters to stamp out some shapes. We’re making butterflies today, but watch out for a beautiful loveheart version in my play dough e-book.
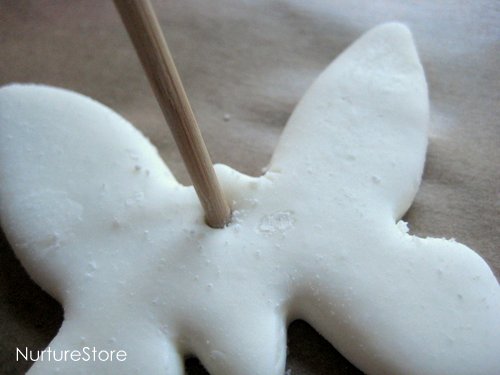
You can use a pencil or skewer to make a hole in your butterfly, if you want to be able to hang it up.
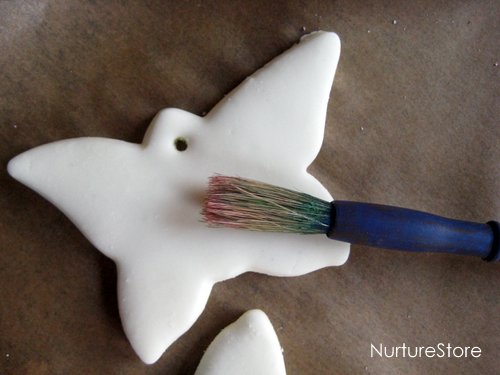
And you can use a dry paintbrush to sweep over the surface and remove any clay dough crumbs that you might have on the surface of your butterflies.
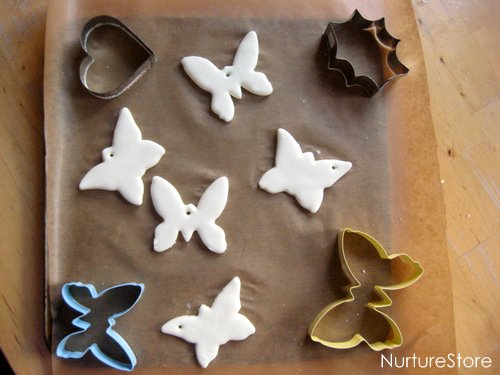
Then you can set your butterflies on a flat surface {we used a baking tray lined with baking parchment} and leave them overnight to dry out.
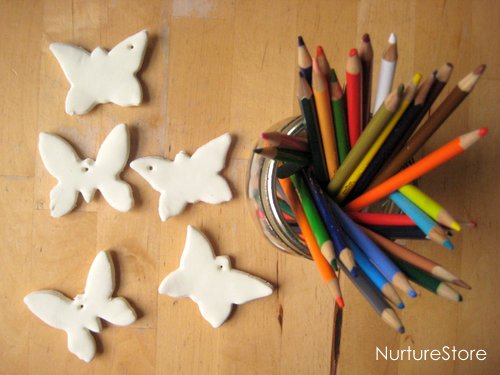
Once they are dry the hardened clay dough is a wonderful surface to decorate, and it takes pencils and wax crayons really well.
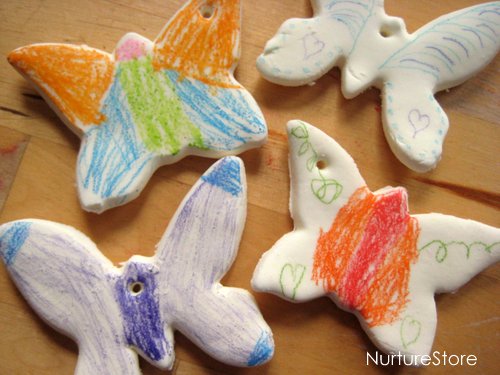
Your children can add colour and patterns and symmetry to make each butterfly unique.
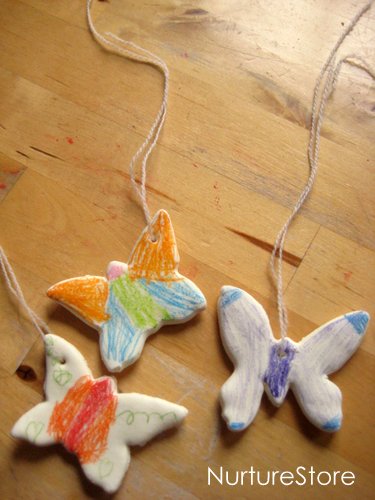
Then you can add string or ribbon threaded through the holes so you can hang up your butterflies. We’re adding ours to our seasonal tree which sits year-round in our entrance hall – click through if you’d like to see the Valentine, Easter and New Year versions.

