Nature Arts and Crafts brings you over 30 wonderful printables that you can use with your children to make, create, and learn outdoors. It’s perfect for nature study, forest school activities and family days outdoors.
by Cathy James
Nature Arts and Crafts brings you over 30 wonderful printables that you can use with your children to make, create, and learn outdoors. It’s perfect for nature study, forest school activities and family days outdoors.
by Cathy James
Combining scissor skills with sensory play, let’s go pick some flowers!
by Cathy James
This easy kids fort for the backyard is a super space for kids to play in. It’s really easy and inexpensive to make, and is such a fun base for playing, relaxing and reading. Here’s how to make it, along with some extra ideas to fill it full of play and learning.
by Cathy James
Here’s a super easy DIY craft recipe that shows you how to make clay (that’s actually more like an air-drying dough) and turn it in to some beautiful butterflies.

Click play on the video above to see our playdough masterclass.
This video gives you everything you ever wanted to know about play dough: how to make homemade playdough with quick and easy recipes; the benefits of playdough for children; and lots of sensory play activities using play dough including playdough math activities, playdough literacy activities, and playdough fine motor skills activities.
Plus find out how to get printable playdough recipe cards and printable play mats. It’s an excellent beginners guide to play dough!
Subscribe to NurtureStore’s YouTube channel to get more gardening and nature study videos!
To make the air-drying clay/dough you will need one part PVA glue and two parts cornflour {UK name} / cornstarch {US name}.
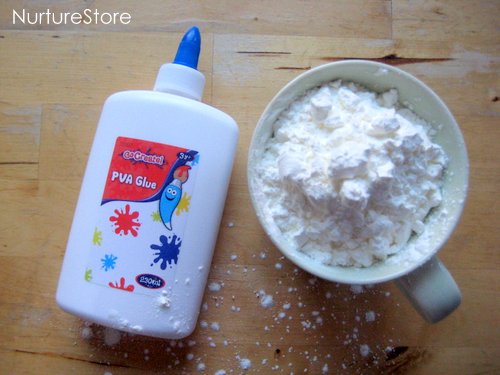
Then all you need to do is mix the two together.

In a matter of minutes you’ll go from this :: to this :: to this, and you’ll have a lovely, white moldable dough, similar in consistency to ready-roll icing/frosting.
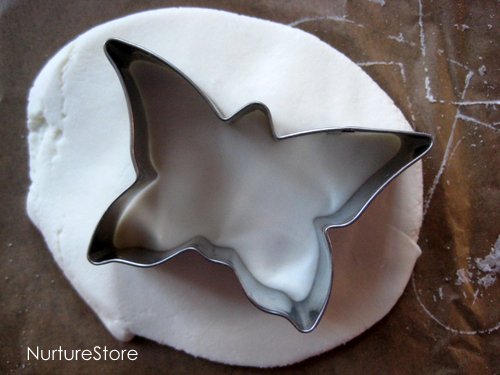
Then you can roll out the dough and use some cookie cutters to stamp out some shapes. We’re making butterflies today, but watch out for a beautiful loveheart version in my play dough e-book.
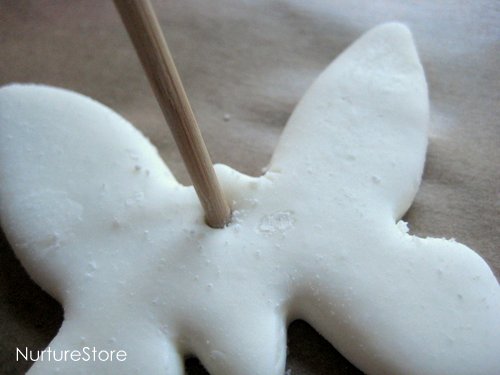
You can use a pencil or skewer to make a hole in your butterfly, if you want to be able to hang it up.
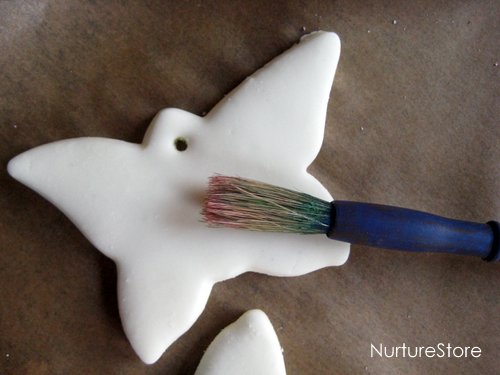
And you can use a dry paintbrush to sweep over the surface and remove any clay dough crumbs that you might have on the surface of your butterflies.
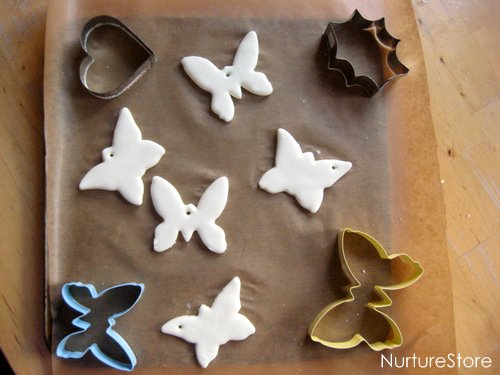
Then you can set your butterflies on a flat surface {we used a baking tray lined with baking parchment} and leave them overnight to dry out.
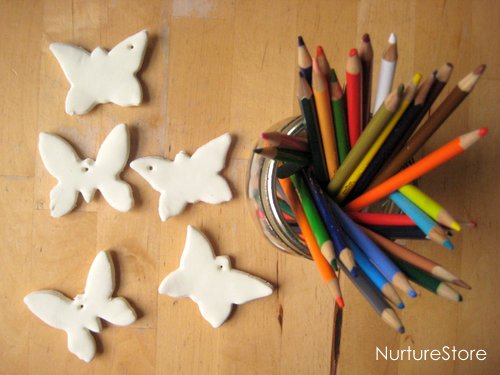
Once they are dry the hardened clay dough is a wonderful surface to decorate, and it takes pencils and wax crayons really well.
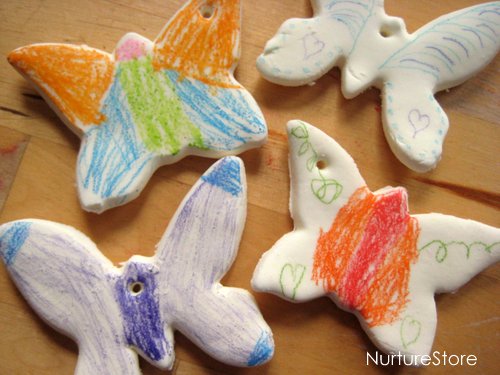
Your children can add colour and patterns and symmetry to make each butterfly unique.
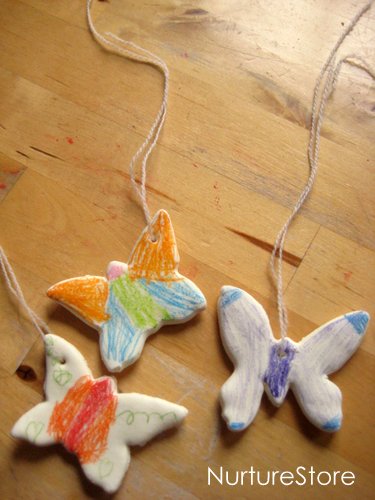
Then you can add string or ribbon threaded through the holes so you can hang up your butterflies. We’re adding ours to our seasonal tree which sits year-round in our entrance hall – click through if you’d like to see the Valentine, Easter and New Year versions.
by Cathy James
Here’s a guide to easy plants to grow with children to get them started on ‘My First Garden’.
Click play on the video above to see our guide to garden activities to do in April.
This monthly gardening guide of gives you great ideas for gardening activities for your children. They’re perfect for families gardening with kids, school gardening clubs, homeschoolers and homesteaders, and allotment gardening.
Subscribe to NurtureStore’s YouTube channel to get more gardening and nature study videos!
My girls are very excited to have their very own gardens this year. They always help with our planting, but this spring they’ve picked a selection of plants that they are going to grow from seed and then plant out in their own special garden.
Although we do buy-in some plants, most of the things we have in our Garden Classroom are grown from seed. One big avantage of growing from seed is that it’s much cheaper: a packet of seeds that might grow into a dozen (often more) plants, all producing flowers or food, can be a fraction of the price you’d pay if you bought those same plants as seedlings from a garden centre.
But there’s a bigger advantange when you’re gardening with children. A single seed can give you a whole year’s worth of science lessons, letting children see the full cycle of planting, germination, growing, and harvesting. They get to learn about sustainability, as they gather their own seeds from the plant, ready for planting the following year. And you just might find that children who are picky eaters are much more inclined to try new foods, if they’ve been involved in the hands-on process of growing them.
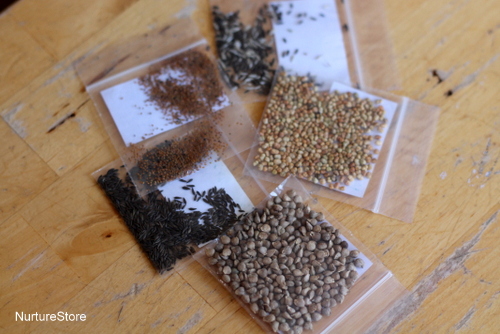
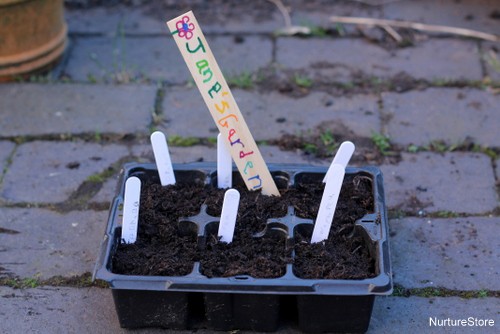
For our ‘My First Garden’ project I set out a selection of seeds so the children could make their own choice of what they wanted to grow. Each child had a seed tray with six sections in, so they could pick a maximum of six different types of seed.
You might like to pick:
:: Something that will gow tall and something that will stay small
:: Something that will give some pretty flowers
:: Something that you can eat
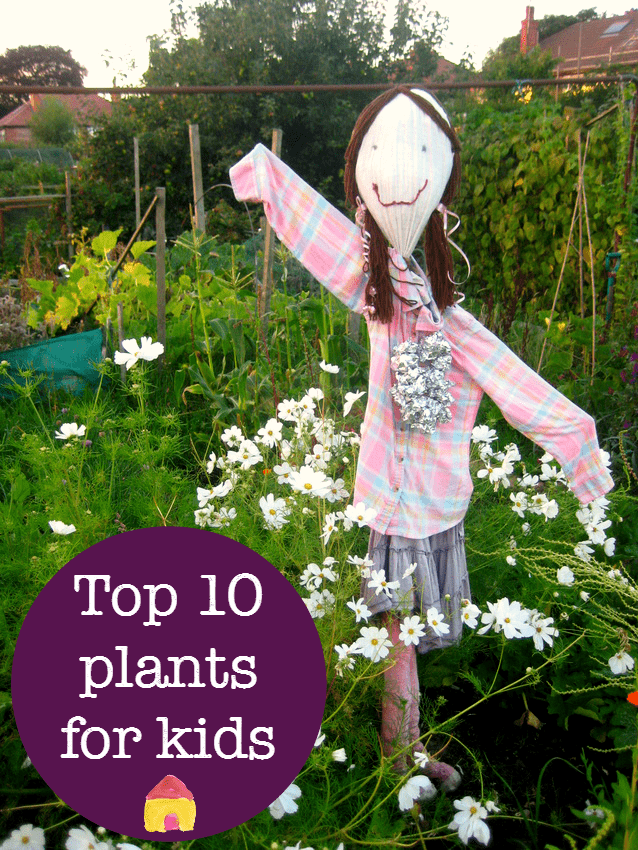
I asked my girls for their top ten plants (which you can grow in early spring) Their favourites are:
Sweetpeas :: marigold/ Calendula :: snapdragons / Antirrhinum :: sunflowers :: peas :: sugar snap peas :: beans :: cut-and-come-again variety of lettuce :: radish :: spring onions :: summer squash :: courgette
Check your seed packets for particular details of the variety you have chosen, as some may need to be started in a greenhouse or indoors until after the risk of frost has gone. It’s also a good opportunity for children to have a try at reading some instructional/ factual information, and meeting some new vocabulary words.
Before you plant, take a good look at the different seeds: you’ll notice they are all sorts of shapes, sizes and colours. Some even smell different.
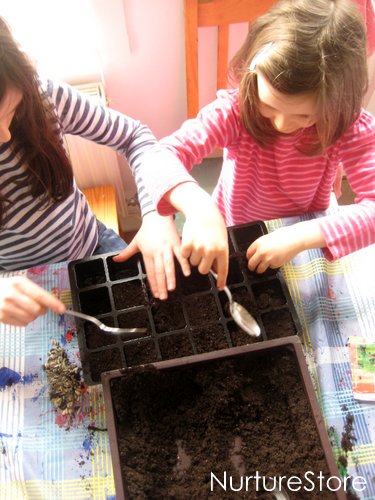
We use a peat-free potting compost, which contains a good mix of nutrients to get seeds off to a healthy start. Use this guide for how to plant seeds with kids for some extra tips and learning activities.
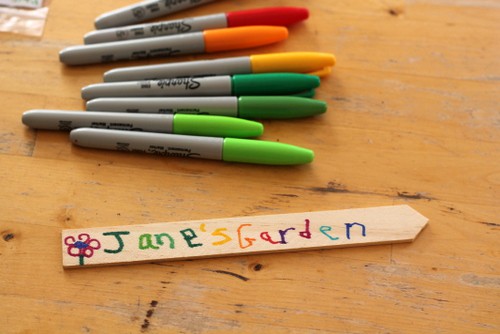
Everyone can make their own special label to mark which seed tray belongs to them. Ours are going outside in our mini-greenhouse for a month or so, while the seeds germinate and begin to grow. Then we’ll be back to pot them on, when they need to move into bigger plant pots, and then to plant them out in each child’s own special section of our Garden Classroom.
A complete unit of spring growing lesson plans to make it easy for you to plan a spring nature study curriculum. See my Seeds and Sprouts lesson plans here.
Click here for our complete Spring resources of lesson plans, activities and printables
by Cathy James
This classic children’s science project is easy to set up and amazing to watch – try the colour changing flowers experiment.

