Explore light and dark with this winter paper lantern craft, using cool colors to create a winter skyline or geometric design.
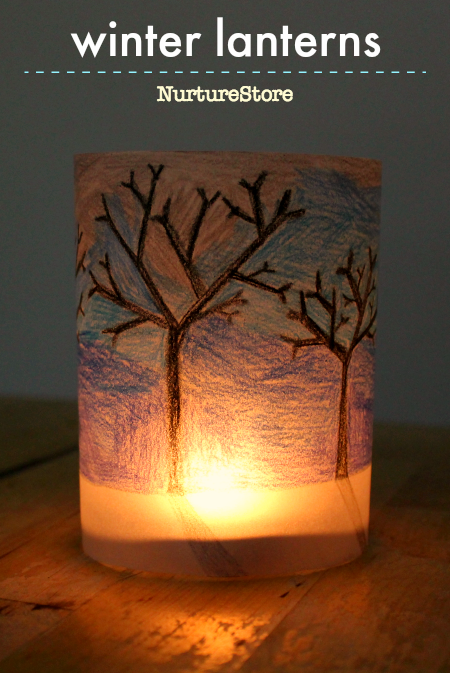
Winter paper lantern craft project
In this winter art project we’ll explore tracing paper, cool colors, winter skylines, and abstract geometric patterns.
The lanterns are very simple to make, making this a great winter art project for all ages.
Materials needed:
:: tracing paper
:: pencils or marker pens
:: washi or sticky tape
:: battery-powered tealight candle
Things to talk about in this project
Art sparks conversations! We can introduce new ideas and vocabulary, and get ideas flowing, as we create. Here are some things you might like to talk about with your children as you work on this project:
:: what does a winter skyline look like? What do you see outside your window? How can you tell it is winter?
:: Do your children know the difference between evergreen and deciduous trees? Which kind of trees do you have near where you live?
:: What words would you use to describe the bare winter branches of a deciduous tree?
:: Explore the tracing paper we are using in this project. Hold it up to the window or a light: can you see through? Try out some new vocabulary:
If something is transparent, light can pass through it so you can see things clearly.
If something is translucent, it allows some light through, but things can not be seen in clear detail.
If something is opaque, no light can pass through so you can see anything.
Is the tracing paper transparent, translucent or opaque?
How to make a paper lantern
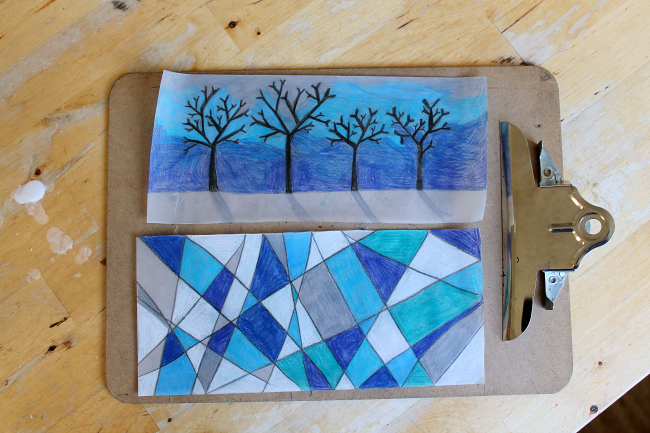
Take a rectangular piece of tracing paper and draw your design.
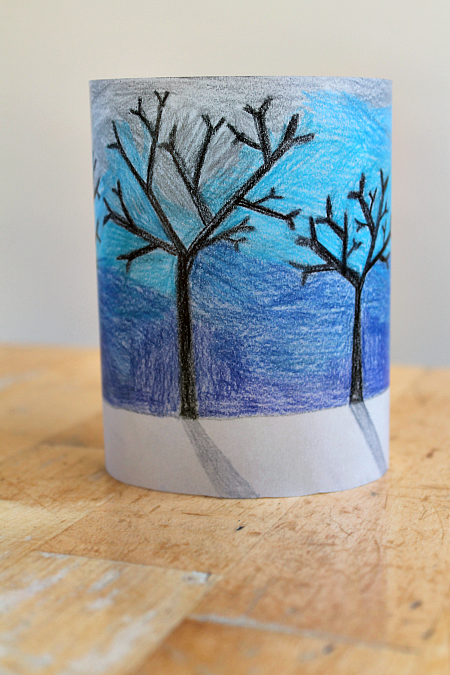
You might like to create a winter skyline, with the dark, bare branches of trees, and shadows falling across the snow.
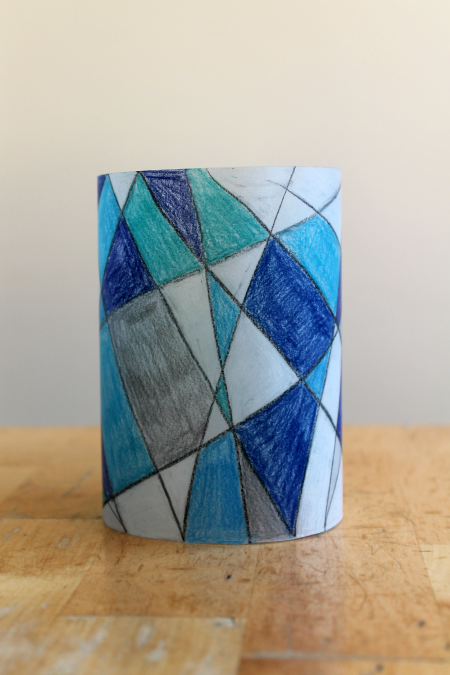
You might like to create a set of geometric shapes by drawing criss-crossing lines across you paper, and colouring in each space.
Very young children might enjoy scribbling and making marks all over the paper.
You can use pencils, marker pens, or even try oil pastels. You can experiment with blending colours together, and even layering pen on top of pencil.
We used a winter-inspired colour palette of cool colours: blues, white, grey and black.
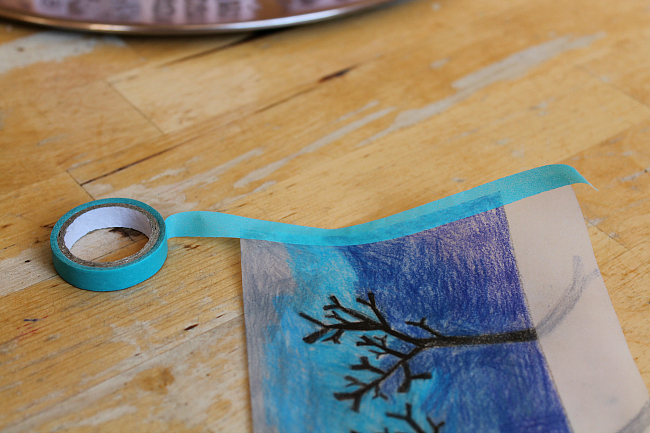
Once you have completed your design, put a strip of tape along one short end of your paper.
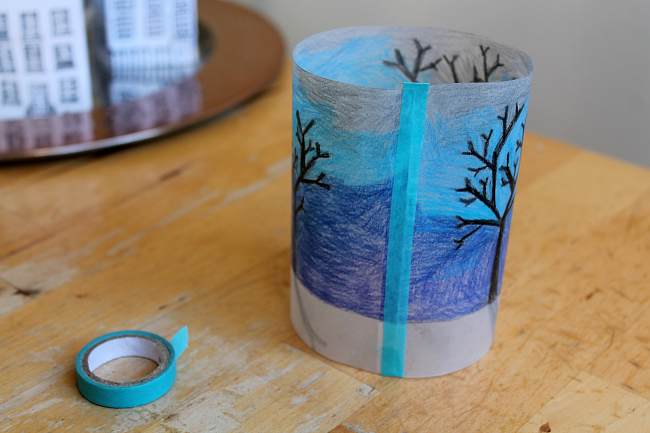
Roll your paper around to create your lantern shape and hold it in place with the tape.
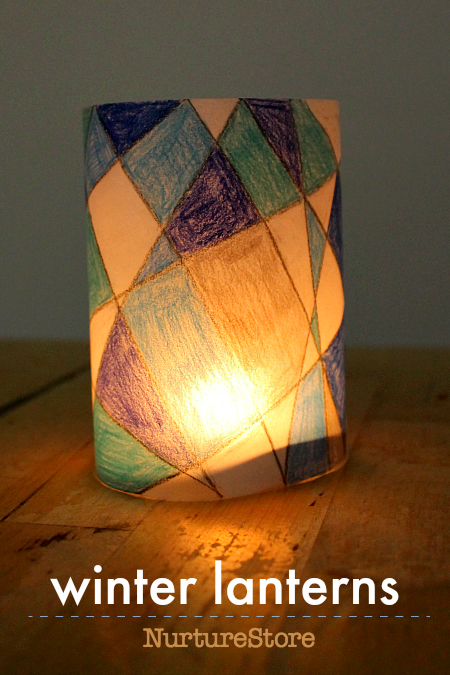
Add a battery-powered tealight candle in the centre of your lantern and admire how the light shines through your design.
Here’s how our’s look with and without the candles lit. First our geometric design:
And also our winter skyline:

More winter art ideas for your children to try
NurtureStore’s archive has many more ideas you can try with your children to explore the theme of winter, or to create different styles of lanterns.
Try one of these winter art projects to explore snow, ice, painting and making.
Make a different style of lanterns: jam jar lanterns, big paper lanterns, salt dough lanterns, paper house lanterns.
You can find our archive of winter themed math activities and literacy lesson plans here.
Download your 21 Day Winter Activities Countdown
Click here to get your copy of the Seasons School Winter Retreat 21 day activity program.
It's one part educational curriculum; one part seasonal celebration; one part family memory making.
:: over 70 pages of learning, activities, and printables
:: a complete twenty-one day program of nature, science, literacy, arts and crafts, sensory, and play
:: a planned idea for each day, with plenty of options for flexibility and choice
:: themed around the special words of the season, giving rhythm and ritual
:: follow as a daily countdown, or dip in and out through the winter season
:: material lists and bonus printables make it so easy for you
:: created with children aged 4 to 10 in mind


