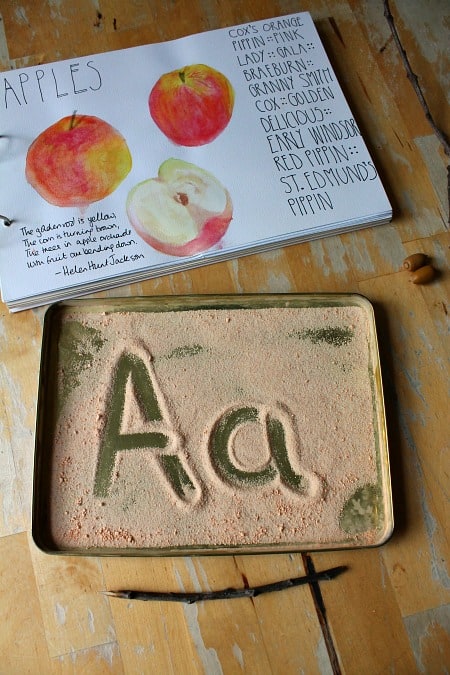
Set up a fall writing center with this autumn-themed sensory writing tray and twig pen.
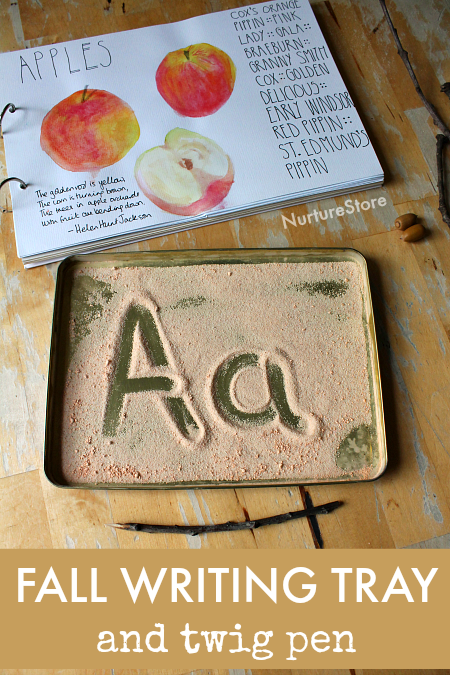
Twig pens and autumn sensory writing tray
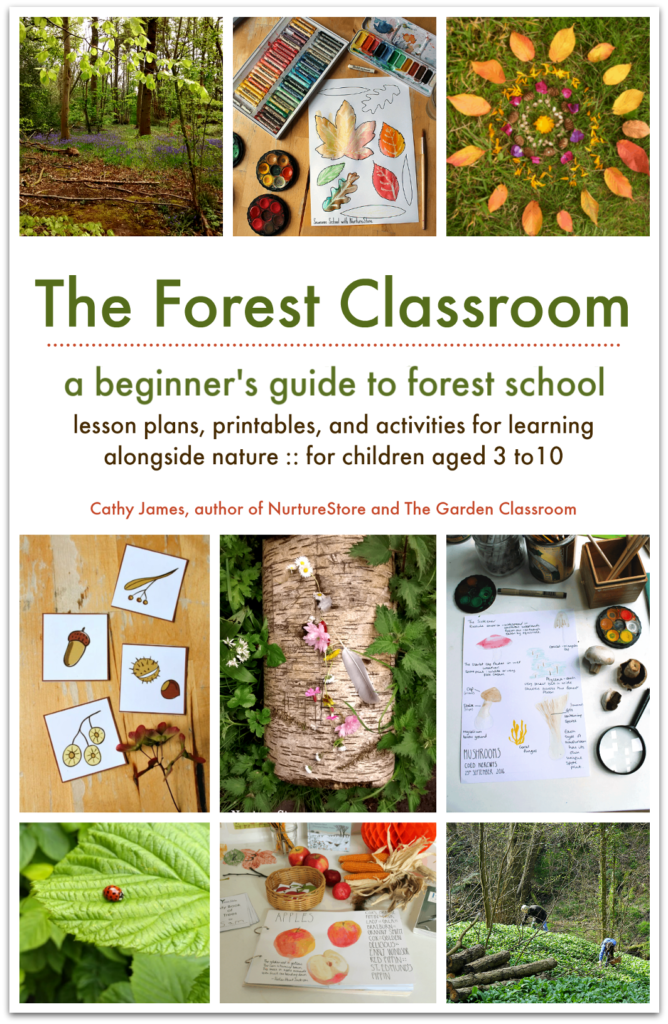
Ready-made forest school lesson plans
Have you got your copy of The Forest Classroom yet? It is the perfect beginner’s guide to running a successful forest school. Download your forest school guide here.
A forest classroom is a place of adventure, discovery, and imagination. It can also be a wonderful place to learn about math and science, explore art and crafts, and develop language and social skills.
The Forest Classroom is a practical guide which will show you how to engage your children in fun and educational forest-school activities.
These ready-made forest school lesson plans are suitable for forest school leaders, teachers, childcarers and parents with children aged 4 to 10, to learn in a forest, school nature area, local park or your own backyard.
Get your copy of The Forest Classroom here and you’ll be ready to head straight outdoors and enjoy teaching, using our ready-made lesson plans.
A sensory writing tray is a clever bit of kit to add to your learning.
The trays are good for very young children who are just learning about making marks all the way through to older children who are working on spelling.
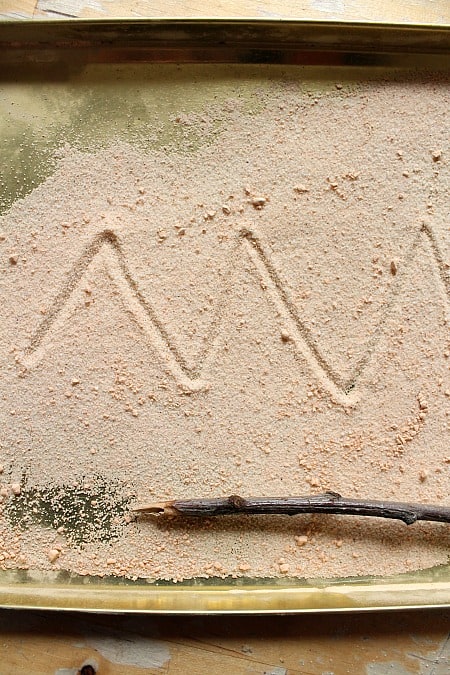
The great advantage of using a writing tray is that it brings a multi sensory element to writing.
Every time your child writes a word or letter in the writing tray they can:
see the letters
feel the flow of the letters as they write the word through the salt/sand
smell the herbs or essential oils in the salt/sand, giving an extra sensory boost to the activity
hear the word, as they say it out loud as they write
They’re combining four senses to help them learn the word/letter.
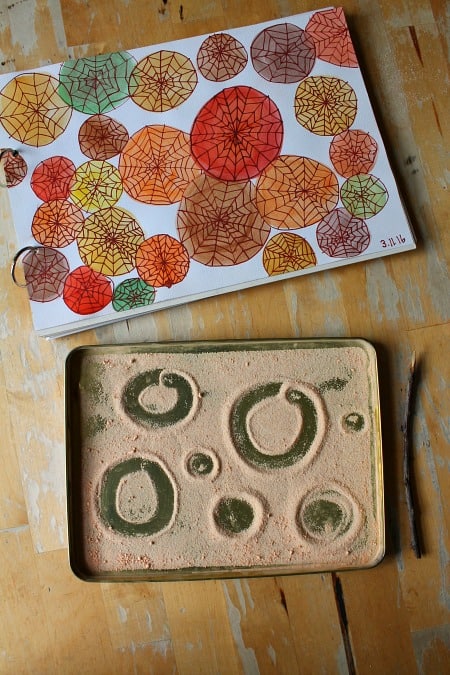
How to make an autumn-themed sensory writing tray
I first heard about writing trays from my mum, who used them with the children she taught who had Dyslexia. My dad made her tray for her from wood, but as you’ll see below you can use any suitable container.
Here’s how to make one:
:: Find a container to be your tray. It needs to be shallow, so your children can easily write in it without having any trouble leaning their hand inside, and big enough to write a word. A kitchen tray, a baking tray with shallow sides, the lid off a storage box or a cardboard box with the sides cut down are all good options.
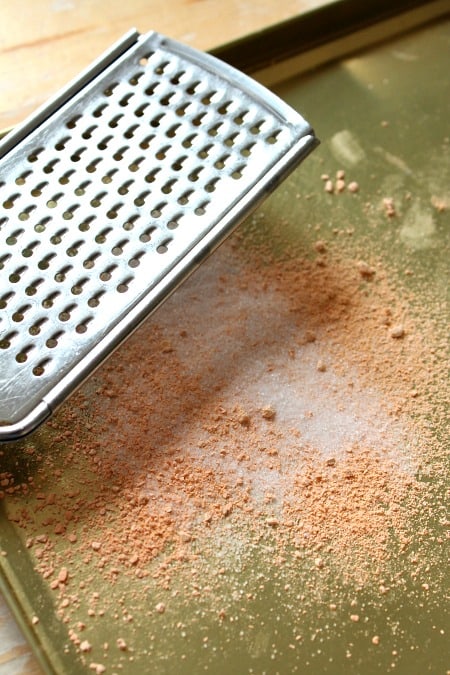
:: Fill your container with your choice of material: sand, salt, sugar all work.
You can add colour to salt and sugar by placing your material in a plastic bag and adding paint or food colouring gel. Give it a good shake and mix to spread the colour through the salt/sugar. Spread it out on your tray and leave it to dry over night.
To colour sand I grate in some chalk and mix it in.
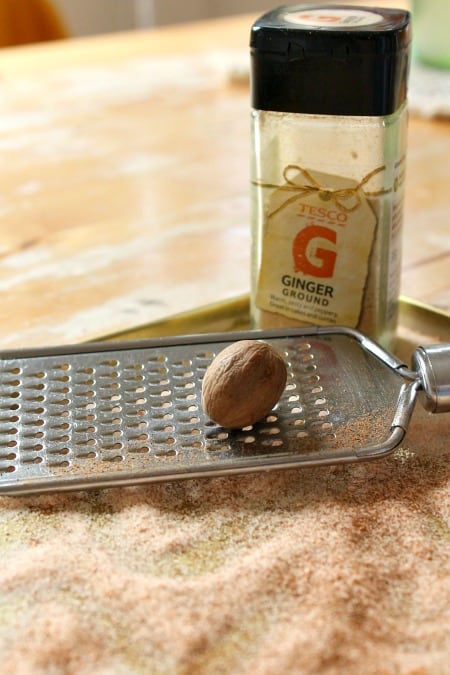
You can use herbs, spices or essential oil to add some fragrance. Orange colouring with ground cinnamon, ginger and nutmeg would be a nice pumpkin-spice autumn-themed writing tray.
You only need a shallow layer of your material – if you make it too thick it’s hard to see the marks and letters you make.
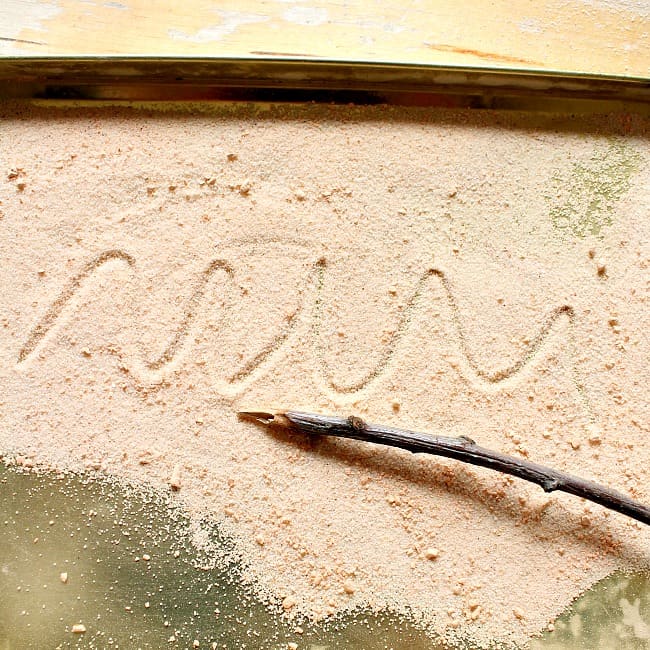
:: Then you can use your finger, a pencil, or a twig pen to make marks and write in your tray.
How to make a twig pen
It’s fun to use a a twig to write with. Your children have probably already used a stick to draw in mud or in the sand at the beach. You can also use a twig pen to write in your sensory tray.
You’ll want a nice stick that sits comfortably in your hand. Not too long, not too short, and with nice smooth bark. A nature walk through the woods will likely find you the perfect pen. My children have always taken a lot of interest and reverence in selecting a good stick so, if you can, head outdoors and invite your kids to find their own special pen.
A thin-ish stick can be used to write straight into your sensory writing tray. A thin layer of sand or salt is usually best for getting clear letter shapes.
You can also use a penknife if you’d like to sharpen the end of the stick into a more pencil-like nib.
And if you’d like a twig pen with a pencil lead inside that you can write on paper with, try this twig pen tutorial from Made with HAPPY.
Sensory writing activities
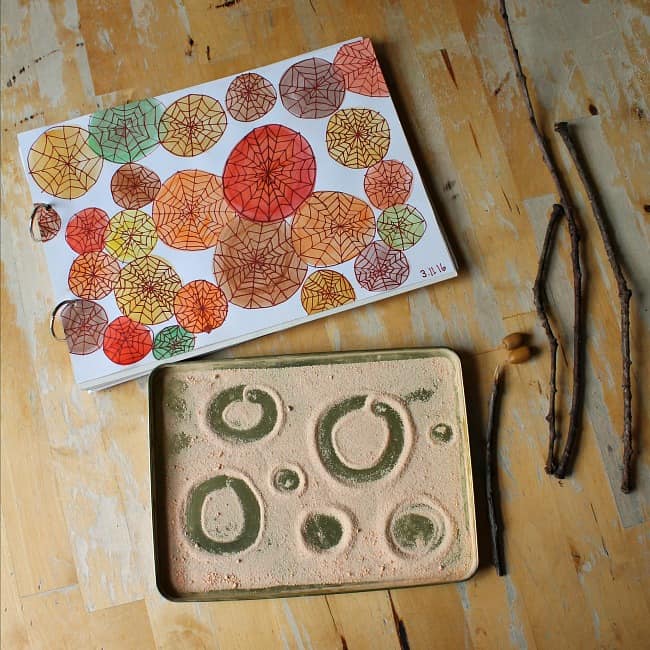
You can use you sensory writing tray (or the mud outdoors or the sand at the beach) in many ways:
:: Younger children can make marks, patterns, or single letters
:: Drawing shapes, leaves and animals in the tray helps children get to grips with holding a pen
:: They can learn to write their own name
:: Older children can use the tray as a multi-sensory and fun alternative to pencil and paper to practise spelling
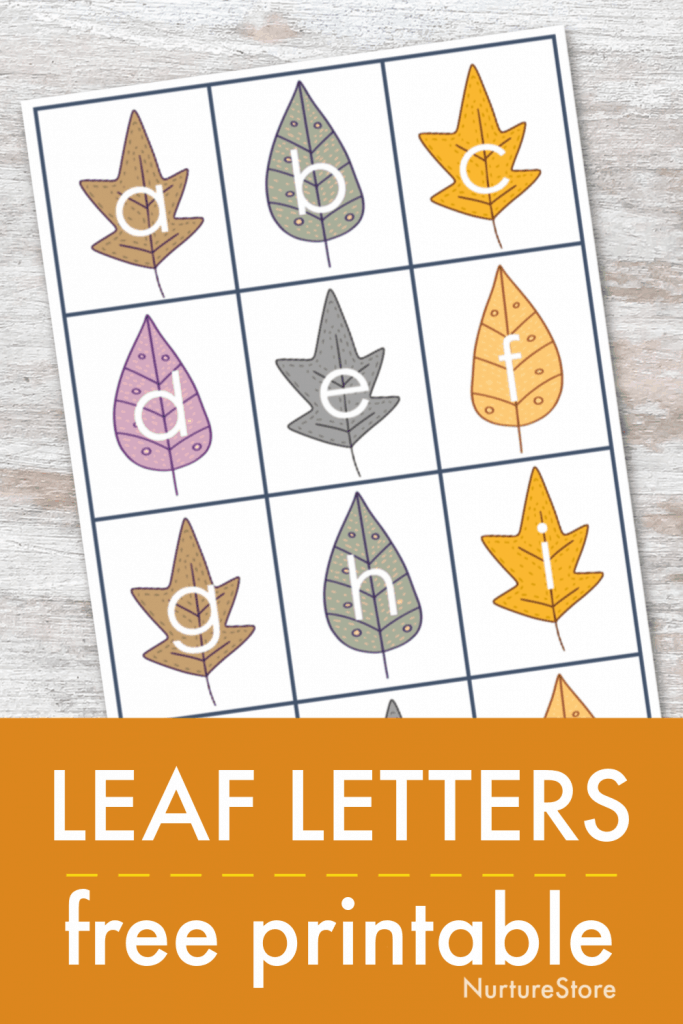
:: You can use my leaf alphabet printable alongside your writing tray to make letters and words to copy
:: You can use my leaf number cards printable to practise writing numbers
See below for details on how to download the printables.
:: For a complete program of autumn learning, all planned and prepped for you, download my complete autumn learning curriculum here
How to get the free printables
Get access to ALL my free printables by subscribing to my email list.
To download my free printables, you'll need to visit the NurtureStore Printables Library, which is available to all subscribers to my email list, and of course to Play Academy members.
Pop your email address in the form below and you’ll get access to all my free printables, lesson plans, activity ideas, weekly newsletter, and a whole lot more!
After subscribing, be sure to check for the confirmation email. After you confirm your email subscription, we'll send you a welcome email which includes instructions for downloading our free printables.
If you're already subscribed to our email newsletter: check your email for the latest edition of the newsletter where you’ll find a link to access our free printables library - the link is usually at the bottom of the email.
For help accessing our printables, click here.
By subscribing, you consent to our use of your personal data as per our Privacy Policy, which includes agreeing to receiving interest-based email from us.


