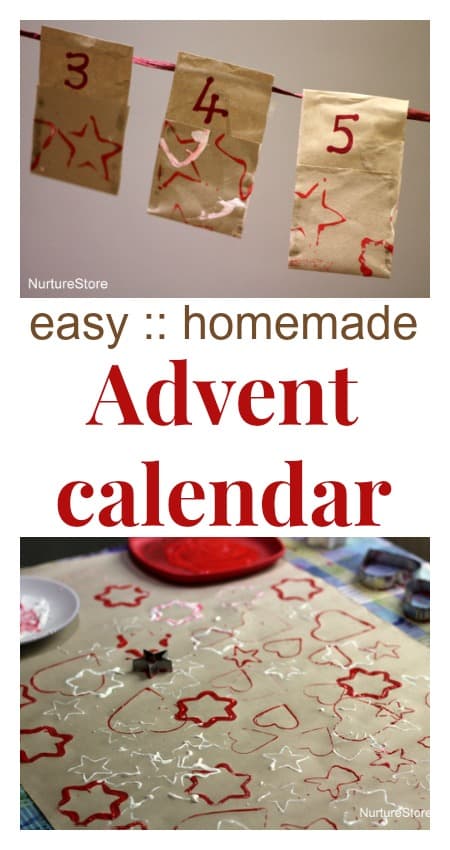
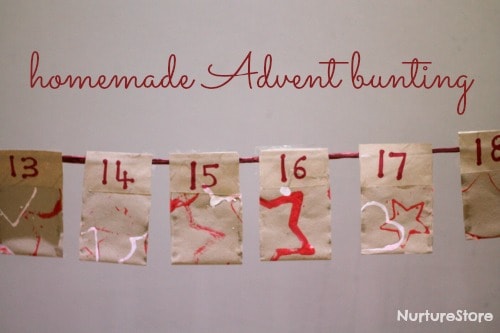
Here’s an easy homemade Advent calendar craft, made using our Christmas scented paint.
This article is one of NurtureStore’s easy Christmas crafts for children and part of our Christmas activities and crafts.
Easy homemade Advent calendar
Even if you’re not super-crafty for the rest of the year, I think Christmas is the one time when many families love some homemade crafts.
It’s a busy time of year, but it’s so lovely to find some time to make something together.
This Advent calendar idea fits my top three requirements for crafts (rules I like to stick with all year, for all our arts and crafts)
:: it’s fun to make – everyone can join in, you can listen to some festive tunes while you’re making it, and it even smells good!
:: it’s made from simple, inexpensive materials – things I bet you will already have at home or can easily source at the supermarket or pound shop.
:: it’s easy to put together – no sewing, no glue guns, nothing complicated!
To make your Advent bunting
You’ll need strong paper or card.
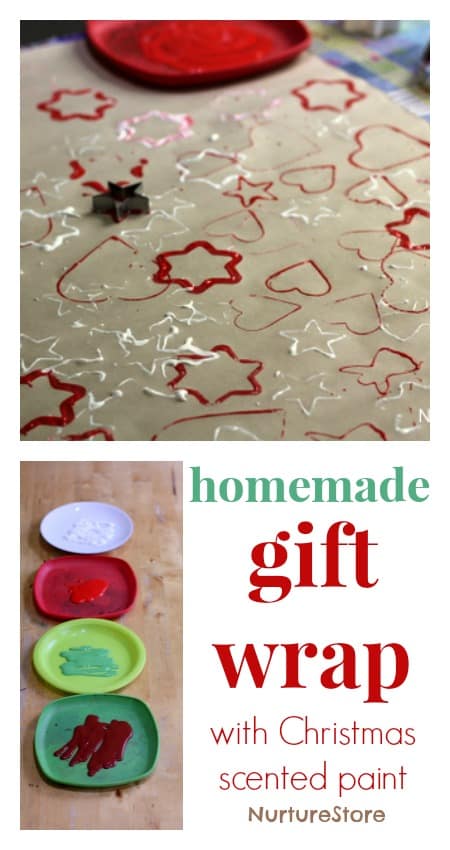
Hop over to Wednesday’s post to see how we made some Christmas scented paint and stamped out a huge roll of brown parcel wrap with cookie cutters. That’s what we used for our calendar, but you can choose what you like.
This would be a wonderful way to up-cycle your children’s art and paintings.
Or take a roll of un-used wallpaper and scribble, doodle and draw all over the reverse side.
Just be aware of what you want to put in each pocket of your advent calender, and make sure whatever paper/card you pick will be strong enough to hold it.
So, our brown paper is perfect for a few chocolates and a Christmas joke for each day (see the end of this post for a printable of kids’ Christmas jokes).
You’ll need to cut out 24 thin rectangles from your card/paper.
You can make them any size you want, but do consider how long your Advent bunting will be if you make them very big and then string up all 24 of them.
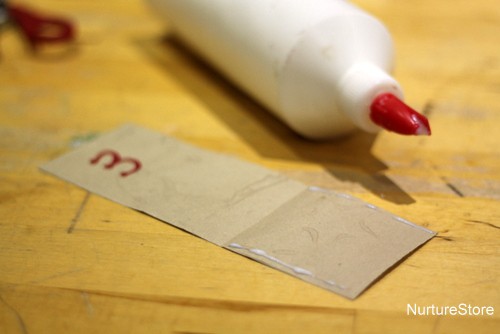
Write your Advent numbers on the reverse side, at the top of card.
Fold up the other end, to make a pocket and glue in place. (Or use sticky tape, double sided tape, staples)
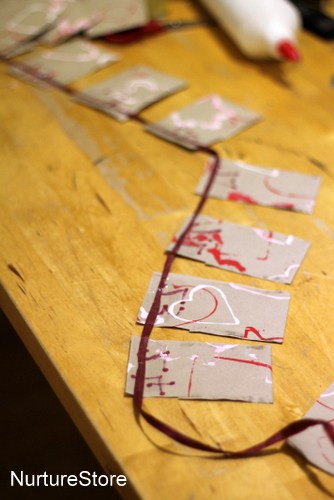
Then arrange your Advent envelopes in order, and use sticky tape (or staples or glue) to fasten them onto a length of twine or ribbon.
Again, match the strength of your ribbon with what you intend to put in your envelopes.
And you’re done: homemade Advent bunting, ready to fill with a sweet treat and use to deck the halls.
More Christmas activities and crafts
See our full index of Christmas activities, lesson plans and crafts for even more great ideas.



This looks like a fun project, Cathy … I love that it’s so simple and inexpensive! I featured your post and photo in my Christmas Countdown Activities post. 🙂
I love this idea Cathy. It would make a great decoration to start off the festive period