Start the year as you mean to go on and have some creative fun making a four seasons calendar. It’s a great way to try out four completely different art techniques with your children and welcome in the new year.
by Cathy James
Start the year as you mean to go on and have some creative fun making a four seasons calendar. It’s a great way to try out four completely different art techniques with your children and welcome in the new year.
by Cathy James
This week we decided to make a house -warming card for the girls’ aunt and uncle – a great way to play with maths and make some shape pictures! My daughter loved this activity and was so pleased to make something to give as a gift. And all the while she was happily creating her picture, she was learning all sorts of important maths and literacy skills, without even realising it. Here’s how we made our shape picture…
by Cathy James
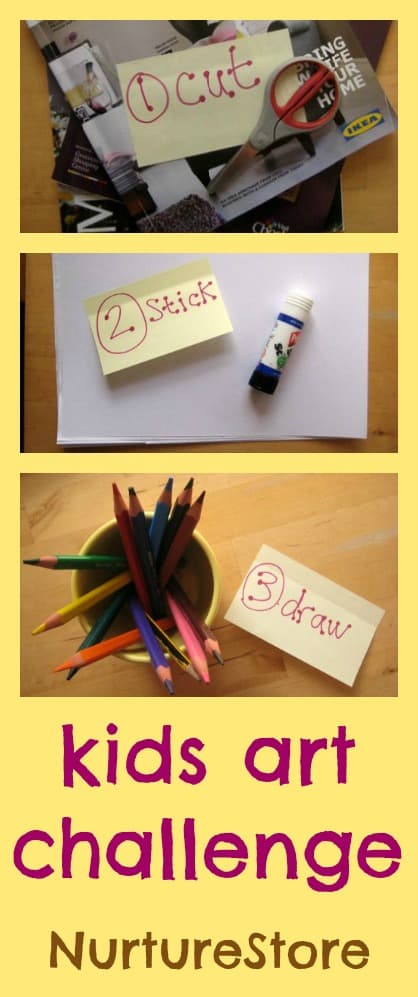
For a fun kids art idea that gets your imagination firing, take the Cut :: Stick :: Draw challenge!

by Cathy James
Welcome to day two of our week long series dedicated to the lovely, playful and sometimes willful stage of childhood that is toddlerhood. Yesterday we looked at sensory play and today we’re got some of our favourite ideas for arts and crafts. They’re ideas which are just right for two- and three-year olds (but also great for bigger kids too!)
by Cathy James
Here’s a kids art idea that you can try at home using recycled items that you’d otherwise throw away – we’re up-cycling and exploring texture to make touchy feeling patchwork pictures.
by Cathy James

![]()
Today we’re decking the tree with a glorious jumble of kid-created art. This version of kids’ Christmas decorations can combine process art, sensory play and team work. Here are three simple steps to set up a creative Christmas art station.
Step One: select a location. It’s great if you have a space where you can leave out the materials for a few days, so the children can come back again and again to enjoy some creating – a corner of a room, a table, even a shelf full of things they can use. I taped a plastic tablecloth to the floor so the children could glitter and glue happily.
Step two: provide a tree – the focal point and inspiration for all the making! It’s fun to be able to hang your decoration on the tree just as soon as you’ve finished making it.
Step three: add goodies. You can raid your craft shelves for basics and add in some inexpensive festive flourishes. If you mix and match and add a couple of new materials each day it can be a really great way to keep inviting the children back to create some more. You could include…
card :: paper :: felt :: wrapping paper :: strips of glittered paper :: fabric :: cotton wool :: ribbon :: pompoms :: pipe cleaners :: glitter (go on – it is Christmas) :: sequins :: pens :: pencils :: glue :: sticky tape :: buttons :: anything fun and festive you can find
A little tray of chocolate treats is always a bonus – plus you can use the foil wrappers in your crafting!
Then step away and let the children create. Any decoration they like, any colours, any materials, any shapes. As many as they like until the materials run out, or the tree begins to bow under the weight of it all. This is not about perfection, colour-schemes or matching themes. It’s about having fun, exploring the materials, seeing what you can make and creating a glorious child-made Christmas tree fiesta!
Let’s make this winter the year when we delight in the cold and the dark.
Gather your children, get cosy, and make memories and connections together.
I’ll show you how with this guide to a cosy and connected winter:
…. CLICK HERE FOR YOUR GUIDE ….
![]()

