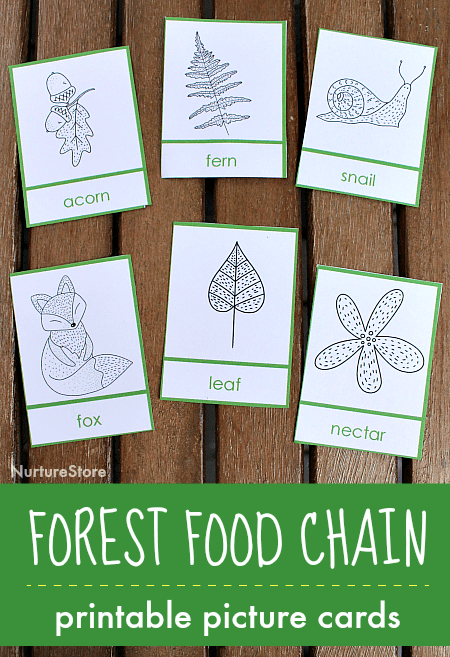
In this forest food chain lesson for kids you can teach your children about the forest food web using these printable animal and plant cards.
by Cathy James
In this forest food chain lesson for kids you can teach your children about the forest food web using these printable animal and plant cards.

by Cathy James
A complete unit of daffodil lessons for spring: use these resources to learn about daffodils and the parts of a flower, create daffodil arts and crafts, study the famous daffodils poem by Wordsworth and create your own, plus bonus printables!
by Cathy James
Let’s use this candy cane science activity to learn the stages of a science experiment.

by Cathy James
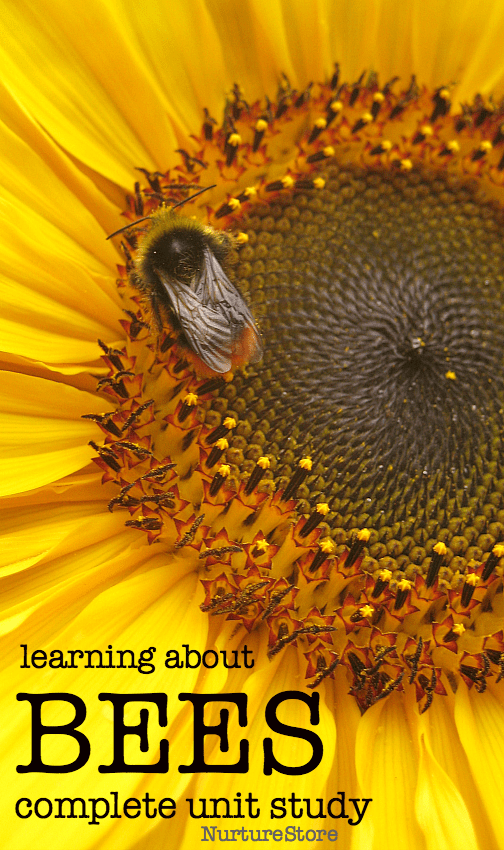
We’re learning about bees this month as part of our Sunflower Club. In this lesson you will learn why bees are so amazing, what bees look like, how bees make honey, and lots more.
by Cathy James
A complete unit of spring growing lesson plans to make it easy for you to plan a spring nature study curriculum.
by Cathy James
In this growing seeds experiment we’ll be investigating seeds, and comparing bean and pea seeds as they germinate and begin to grow.
If you joined in with our earlier gardening activity your children will have had lots of experience with planting seeds. The first exciting stage of the growing action takes place below the ground though, which children don’t usually get to see. Today’s experiment will give them a window underground so that they can watch germination and the first signs of growth for themselves.
We’re also including some math in this project, as we count, measure and graph our plant’s progress.
You can record the full experiment in your nature journals.
Click play on the video above to see our guide to forest school activities and nature study lessons for spring. You’ll see ideas for spring science lessons, nature journal ideas, and garden activities for children.
You’ll also see ideas for easy spring nature walks plus find out how to get great printables to add to your spring learning. Subscribe to NurtureStore’s YouTube channel to get more nature study and forest school videos!
You will need:
:: pea and bean seeds
:: a glass or clear plastic pot
:: cotton wool, tissue or soil
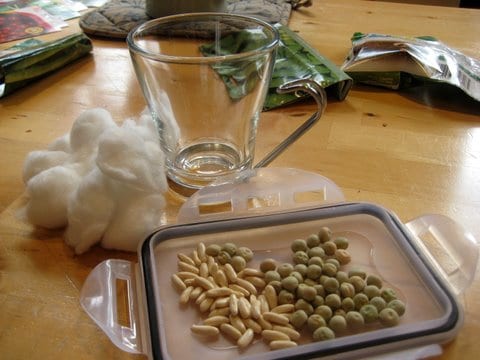
We use bean and pea seeds for our experiment. They’re big seeds which makes them easy to handle, and the different shapes make them an interesting contrast. They germinate quickly too, giving the children something interesting to see without having to wait too long.
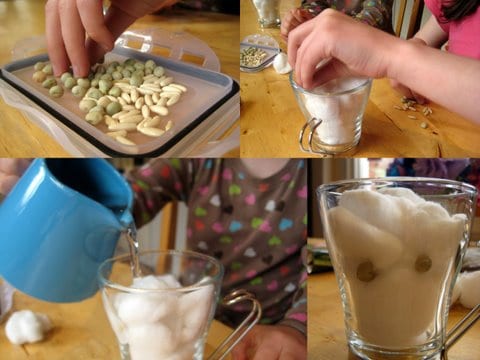
To start your experiment, decide what you want to use as your ‘soil’ and use it to fill a glass or clear plastic pot.
For the best view, you can use cotton wool, scrunched up tissue or kitchen paper. This won’t give your little plant sufficient nutrients to develop into a strong plant, but it is a great way to get a good view of a few seeds as they germinate.
If you want to plant your seedlings and grow them on, it’s best to use soil or compost.
Whatever you decide to use, dampen it down with a little water, and pop your seeds inside. Place the seeds the edge of the pot so you can get a good view of them as they began to grow.
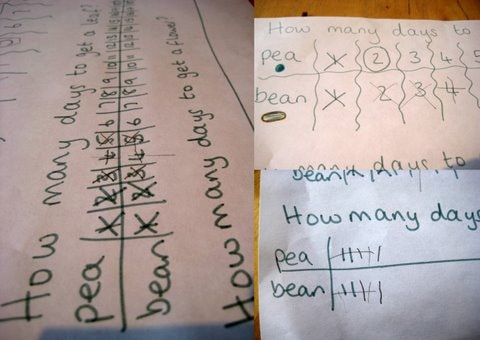
Decide what you would like to measure. Here are some ideas:
:: how long does it take for something to start growing?
:: how long is it before there is a leaf?
:: how long before there is a flower?
:: how long before there is something to eat?
You can ask the children to guess the answers to each question and record their predictions in their nature journals.
You can record your seeds progress in a number of ways, depending on how detailed your child would like to be.
:: You can keep a photo or sketch journal, making a picture of each new development and a note of the day it happens.
:: You can draw out a simple number line and count along the days, making note of germination, first leaf etc. as you go along. This is good for younger children who simply want to count.
:: Older children can draw a tally chart, or a bar graph to compare a pea and a bean seed alongside each other. You can also make a graph with a x-axis showing the number of days and a y-axis showing the height of your plant.
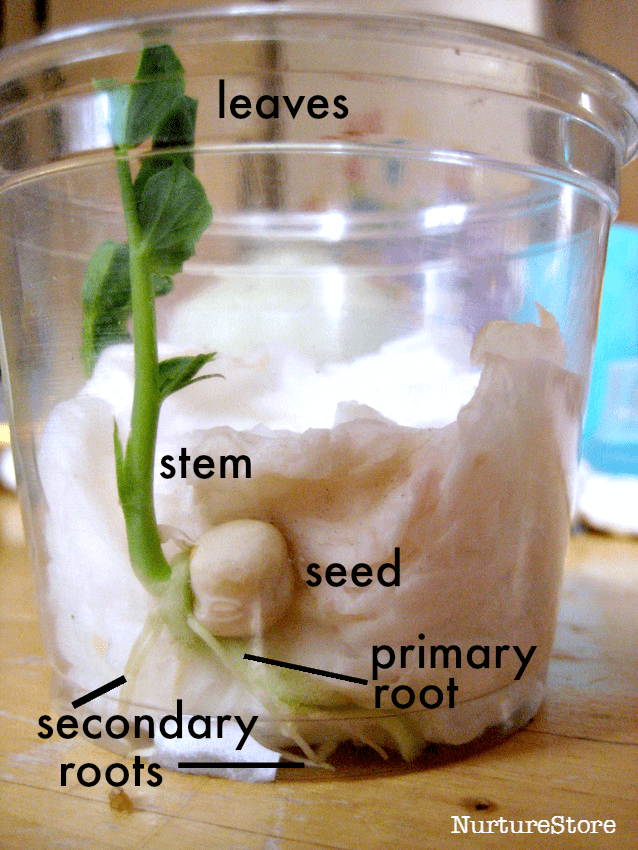
When the seeds begin to grow you can take photos and draw pictures of what you see and there’s lots of opportunity for discussion too.
You can follow germination, when the seed first starts to grow. Then the appearance of roots and the stem. The first leaves are called cotyledon, with the true leaves coming a little later.
I wonder what all the parts of the plant are called?
I wonder why a seed need roots and leaves?
I wonder how the seed knows how put the root at the bottom and the leaf at the top? I wonder what happens if you turn a seed upside down when the root has just begun to grow?
I wonder what happens when you turn the plant around so it’s facing the window from a different side?
You can record all your investigations in your nature journal.
And watch how these sunflower seeds, from Temponaut Timelapse, emerge from the soil and dance.

