Learning can be delicious with fun kids science experiments like these homemade lollipops. They’re easy to make, yummy to eat and give children the opportunity for some hands-on science investigation.
by Cathy James
Learning can be delicious with fun kids science experiments like these homemade lollipops. They’re easy to make, yummy to eat and give children the opportunity for some hands-on science investigation.

by Cathy James
Painting with pipettes is a fun process art project that combines sensory play, art and science. It’s one of the projects included in my Art Spark resources which will give you everything you need to start a joyful art practice with your children.
by Cathy James

At key times during the year, I take a small pause: at the beginning of the new school year, the calendar year, and around my children’s birthdays.
I use this time to take a very simple five-step review of where each child is, and where they’re heading.
It’s truly one of the best things I do as a parent. It sets me up for an intentional year of parenting, with my child at the centre, and me thoughtfully supporting them.
This simple review has such an impact on my children and our family that I want to share it with you too.
The questions I ask and the answers you give to them will help you reflect on your child, where they’re at, where they’re heading, and how you can support them to be their best selves.
There’s no expectations in the questions. No scorecard, no exam grade, no-one else we’re measuring them up against. We’re just thinking about our child.
The questions will help you connect with your child, to see things from their perspective, to discover their passions, to appreciate their challenges, and to move forward together as a family team.
And they will give you a clear set of actions that you, your child, and your support team, can put in place over the coming months to nurture your child, and your relationship together.
Sometimes we can feel overwhelmed, unsure what next steps to take, confused by all the options. I know – I feel like this at times too. That’s why I love these five simple questions so much. They cut out all the noise and uncertainty and bring us back to what’s at the centre: our child. And they give us a clear, easy path forward.
This simple course is available free to all Play Academy members. I’ll guide you through my five simple and powerful questions and we’ll move forward into the next year feeling calm, confident, and clear about how we will connect with, nurture, and support our children.
If you are already a Play Academy member – great! You will find your Take Five questions ready and waiting for you when you log in to your Library on the Play Academy member Site.
Not a member yet? You’re just a step away from all the resources. Join the group and access this course and all the other NurtureStore bonuses here.

by Cathy James
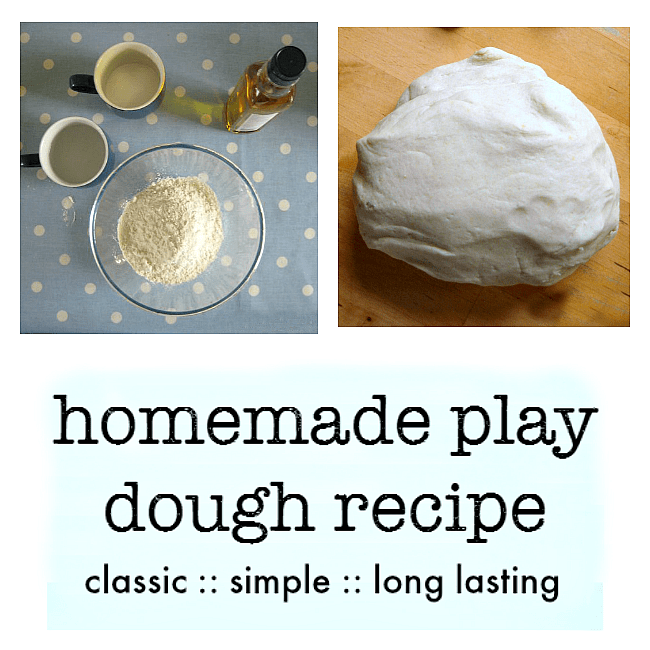
A classic, no cook play dough recipe that you can make in minutes, using ingredients from your kitchen cupboard. Here’s a step-by-step recipe, along with ideas for a whole year of play dough activities.
Click play on the video above to see our playdough masterclass.
This video gives you everything you ever wanted to know about play dough: how to make homemade playdough with quick and easy recipes; the benefits of playdough for children; and lots of sensory play activities using play dough including playdough math activities, playdough literacy activities, and playdough fine motor skills activities.
Plus find out how to get printable playdough recipe cards and printable play mats. It’s an excellent beginners guide to play dough!
Subscribe to NurtureStore’s YouTube channel to get more gardening and nature study videos!
Nurturestore has lots of articles about fun play dough ideas but I though today I thought I’d get back to basics with a step-by-step easy play dough recipe.
It’s a super easy recipe and even if you’ve never tried making your own play dough before, follow these steps and you’ll be ready to enjoy some fantastic sensory play in minutes.

I’m going to show you my favourite no cook play dough recipe. There are many versions and variations of play dough available in our archive of play dough recipes but this is the one I use most often because it’s easy, quick and lasts really well.

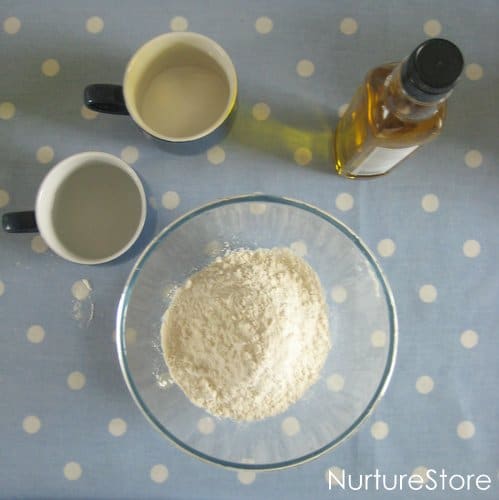
Step One: Take a large bowl and add:
:: 2 cups flour
:: 1 cup salt
:: 2 tablespoons vegetable oil
:: 2 tablespoons cream of tartar*.

Step Two: add in any extras such as:
:: glitter
:: spices
:: fragrance

Step Three: boil the kettle and pour 1 1/2 cups of the water into your mixture.
Add in any food colouring at this stage so it mixes evenly through the dough.

Step Four: mix the ingredients together to form a dough and you are ready to play.
Play dough too crumbly? Add a little more oil.
Play dough too sticky? Add in a little more flour.
Want your play dough to last a long time? Wrap it up well in a plastic bag as soon as you’ve finished playing and your play dough could last for months.
* Not got all the ingredients? If you discover you have no cream of tartar, no problem – just leave it out. You can make a basic dough just by combining flour and water if that’s all you have. The dough won’t last but will give you a great day’s worth of play.
by Cathy James
Ready for your best year, ever? These Parenting Super Bundle resources will support you, organise you, and make your back to school awesome!

by Cathy James
Here’s one of our favourite simple art ideas – painting on foil, which is lots of fun, great for sensory play, and creates gorgeous collaborative art.

