Join in with this easy watercolour painting lesson for children to explore five simple watercolour techniques. This is an easy STEAM lesson that combines art and science. It encourages children to explore process art, and to think like a creative scientist and a scientific creative. It’s the perfect beginner lesson in watercolours for children.
5 easy watercolour painting lessons for children
Watercolour paints are a very good place to start your journey of exploring painting and process art. They are affordable, readily available, and easy for children of all ages to use.
Most often a collection of different colours are sold together as solid ‘cakes’ of paint, in a tin or plastic palette, giving you a good selection of colours to try out. This is a handy kit which is easy to take out and about with you if you would like to try painting outdoors.
Watercolour pencils and liquid watercolours are also available. You can use all three on many different kinds of paper but special watercolour paper, which is thick and absorbent, is preferable.
Whichever form you have, watercolour paints are a versatile art material. They are prefect for scientific experiments, where you can combine the paints with different techniques and materials to observe the results. This provides a strong link between the creative art process and the scientific method. If you listen in to your children as they play with the paints, you are likely to hear a lot of scientific language, questioning, and observations taking place.
Let’s experiment with five different ways to use watercolour paints. As you paint, encourage your children to play. We are not trying to recreate anything perfect here, we are testing out the different ways the paints can work and thinking about the ways we might use them in the future for our creative projects.
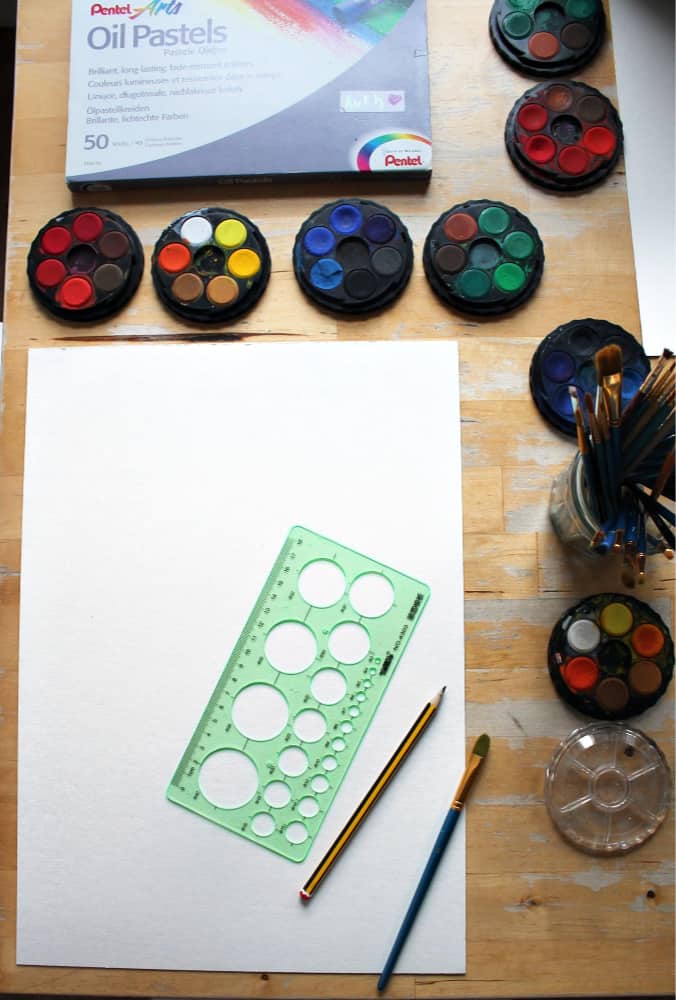
Materials needed
:: watercolour paints
:: watercolour paper
:: jars of water
:: paint brushes
:: salt – in various textures if possible
:: oil pastels or wax crayons
:: cling film / food wrap
:: pencil
:: circle template / stencil – optional
How to use watercolour paints
There are many possibilities! To begin, let’s draw out lots of circles on our paper, to give use spaces to try out different colours and ways of painting.
Use a pencil and a stencil – or draw freehand – and cover your page with circles.
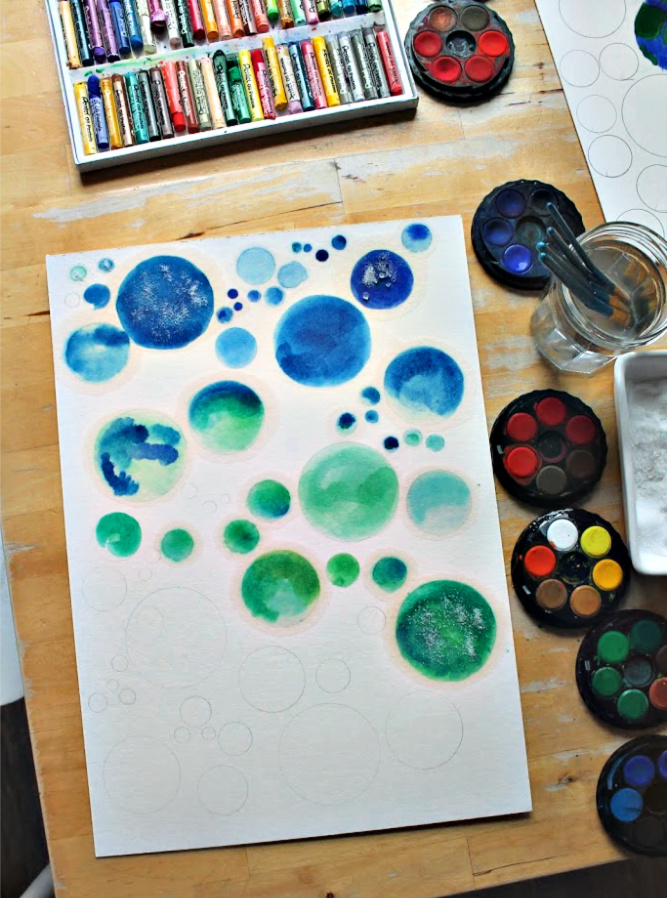
Now let’s use a variety of different watercolour techniques to fill them all.
Watercolour technique one: wet paint on dry paper
Dip a paint brush into a pot of water and then use your wet brush to pick up the paint from the dry cake. Use it to fill in one of your circles.
Select a few different colours and use them to fill a few more circles.
What happens if you use more, or less, water with the paint?
Which colours appeal to you?
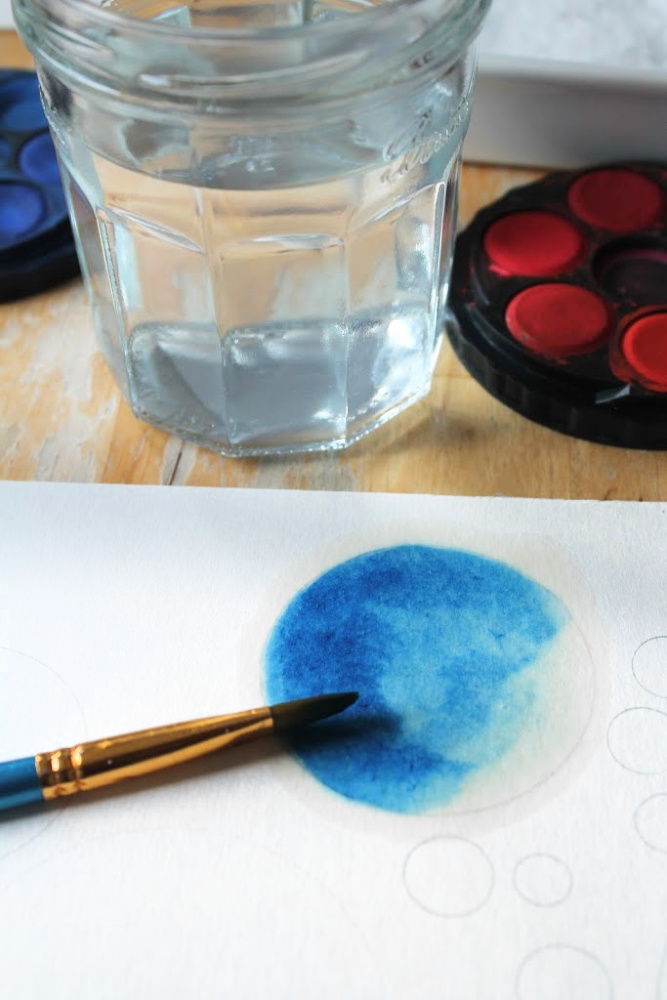
What happens when you mix two or three colours in the same circle?
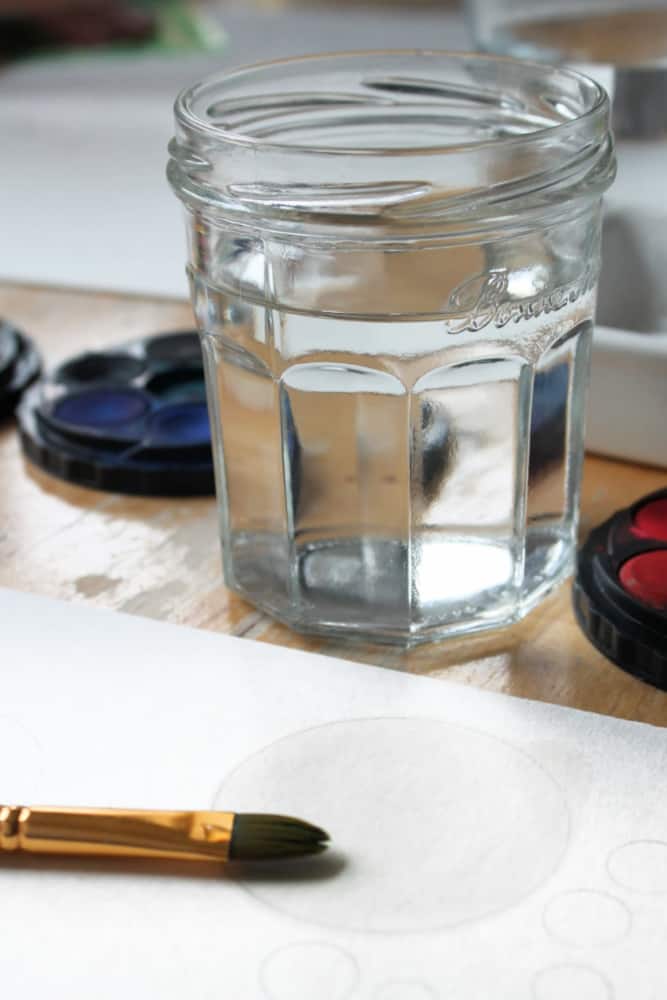
Watercolour technique two: wet paint on wet paper
This time, using a clean brush, fill a circle completely with just water – no paint.
Then pick up some colour and drop it on to the wet circle. Use more paint to cover the wet circle.
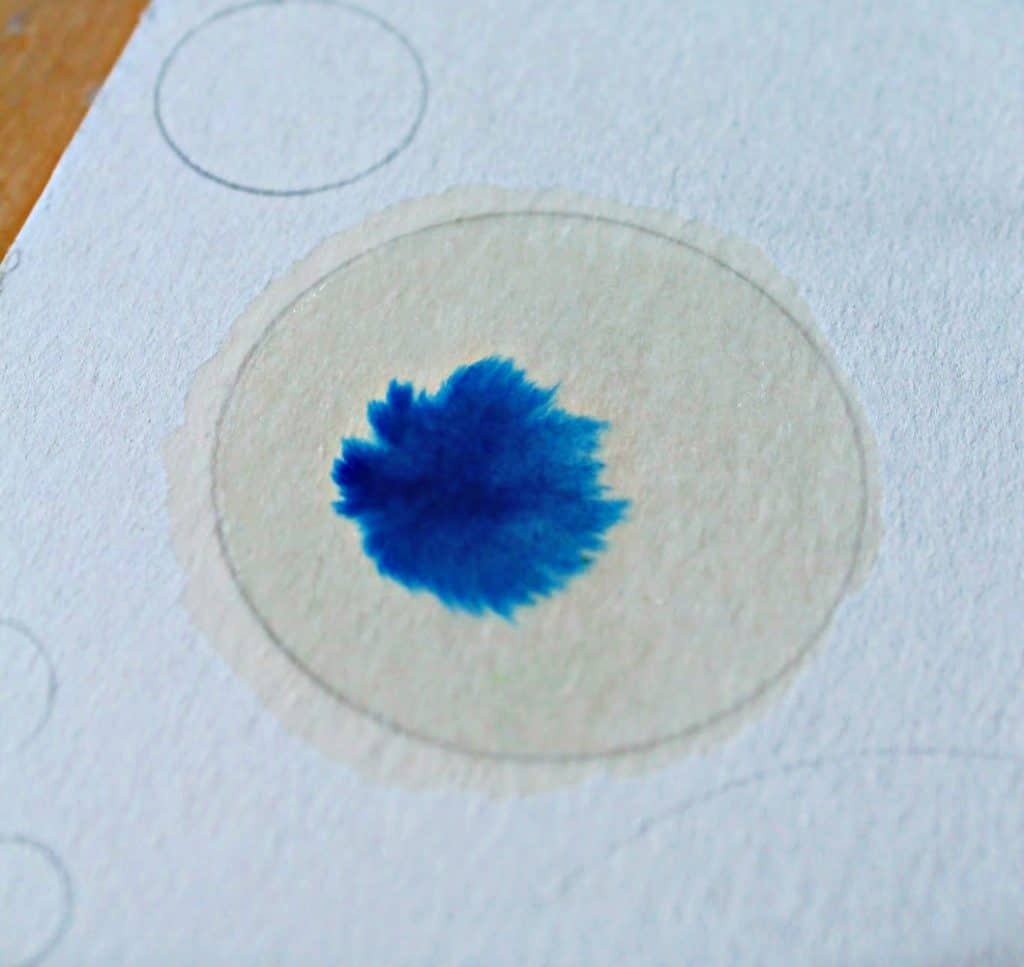
What happens to the paint when it touches the wet circle?
Try adding more watercolour paints onto your wet circle. How do the colours combine?
Watercolour technique three: watercolour paints with salt
Next, try combining salt with your watercolour paints.
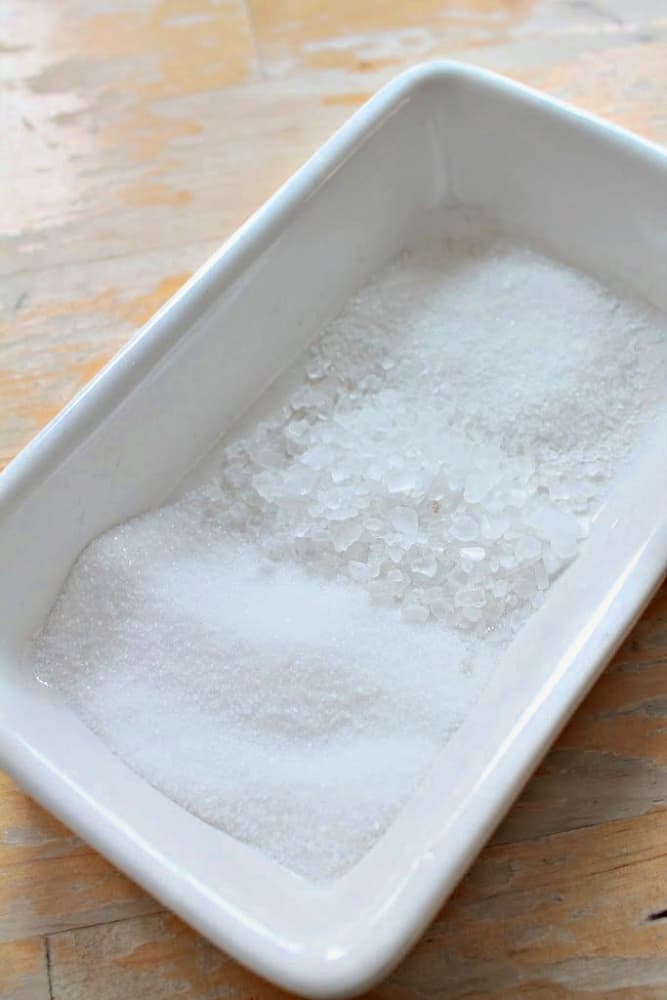
Use a selection of salts if you have them: fine table salt and coarse rock salt.
Paint with your watercolours, and then sprinkle salt on top while the paint is still wet.
Leave it to dry while you fill in more of your circles, and then brush the salt away and see what effect the salt has created.
How has it changed the appearance of your paint?
Why do you think that has happened?
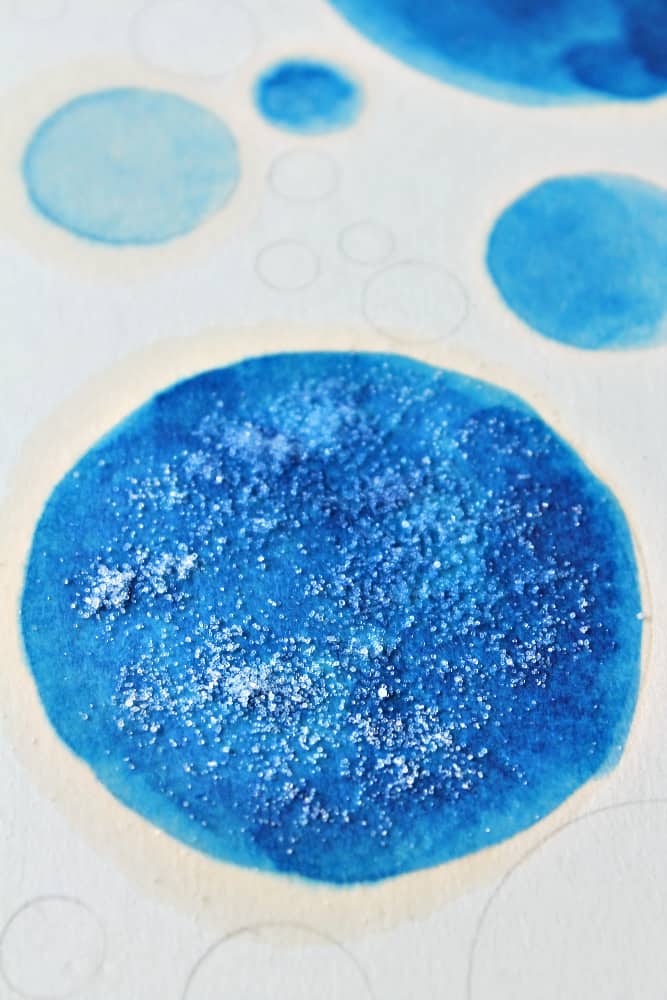
What other ways can you think of to test out the combination of paint and salt?
You could experiment with the different textures of salt that you have: see what patterns the fine salt creates and how the coarse salt looks.
Vary the length of time the salt is applied: leave the salt until everything is completely dry on one circle, and leave it for just a little while and then blow it off on another circle.
Change when the salt is applied: put it on when the watercolours are completely wet on one circle, or when they are partially dry in another circle, or almost completely dry on a third circle.
What do you notice about the different circles?
Which patterns appeal to you the most?
What does each pattern look like and what do they make you think of?
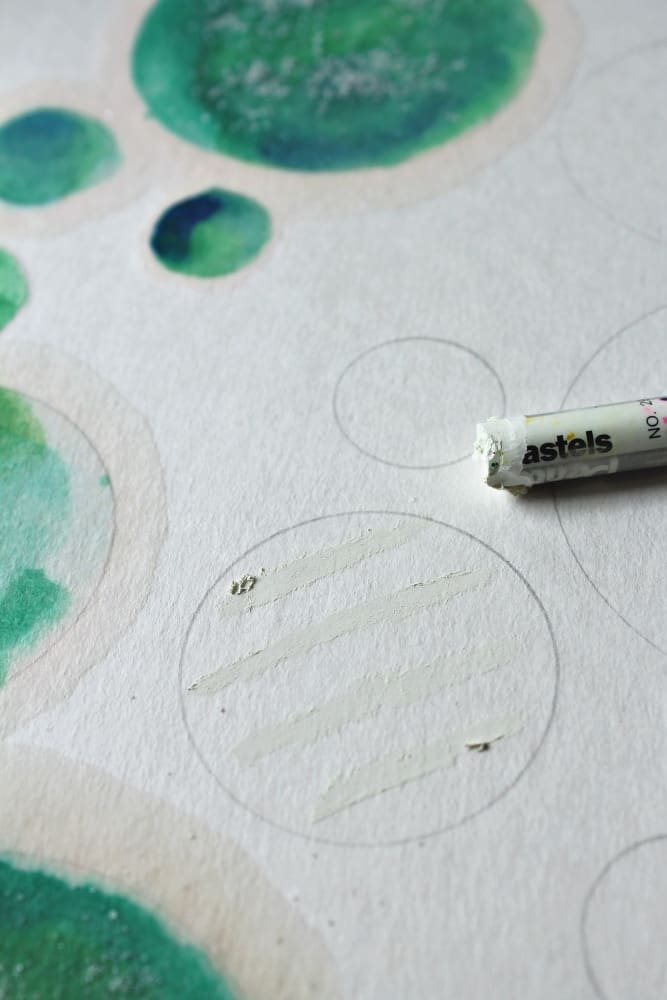
Watercolour technique four: watercolour paints with oil pastels
For our forth experiment, we’re combining oil pastels (or wax crayons) with our paints and taking advantage of a particular property they have – the way they resist the watercolour paint.
Begin by using wax crayons to draw out different patterns inside some of your circles. You might try a geometric design, spots, stripes, draw a scene, or freestyle an abstract organic line within the circle.
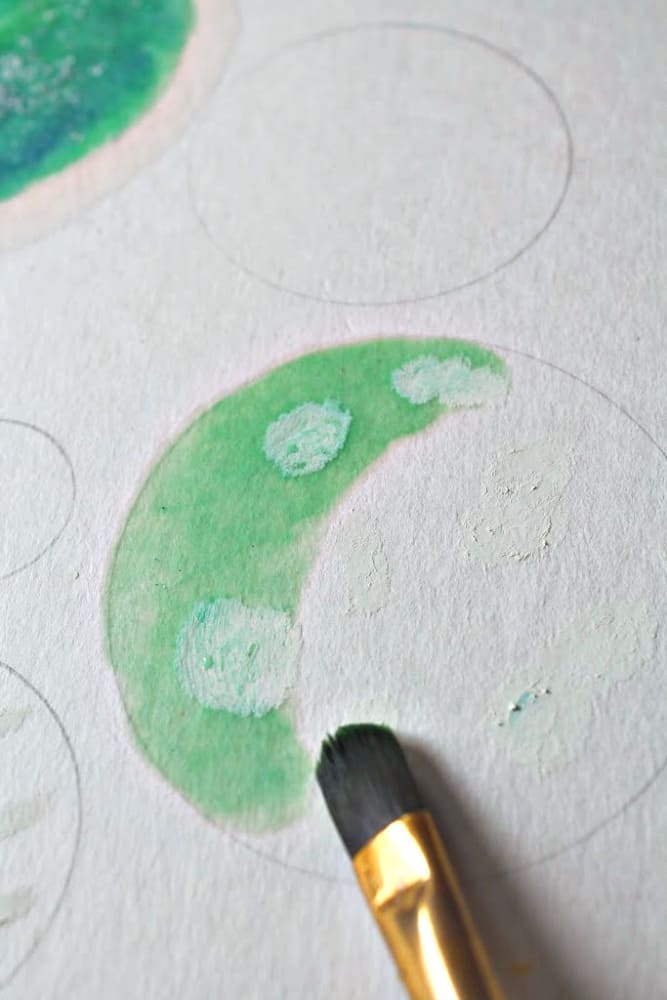
Then use a paint brush to wash watercolour paint right over the top of your pattern, to fill in the circle. You’ll notice the paper absorbs the paint but the wax crayon resists it, giving you a painted background and revealing your wax crayon design.
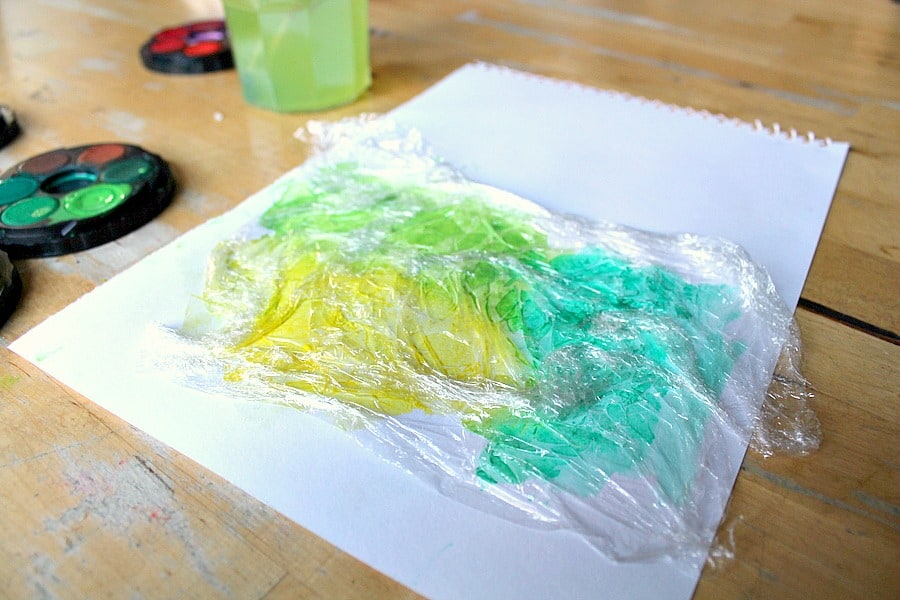
Watercolour technique five: watercolour paint with cling film
Fill in your final circles with paint, using whichever colours you like.
While the paint is still wet, apply a layer of plastic wrap over it. Allow the wrap to fold and crumple as you gently press it down.
Leave the paint to dry with the plastic film still in place over the top of the paint.
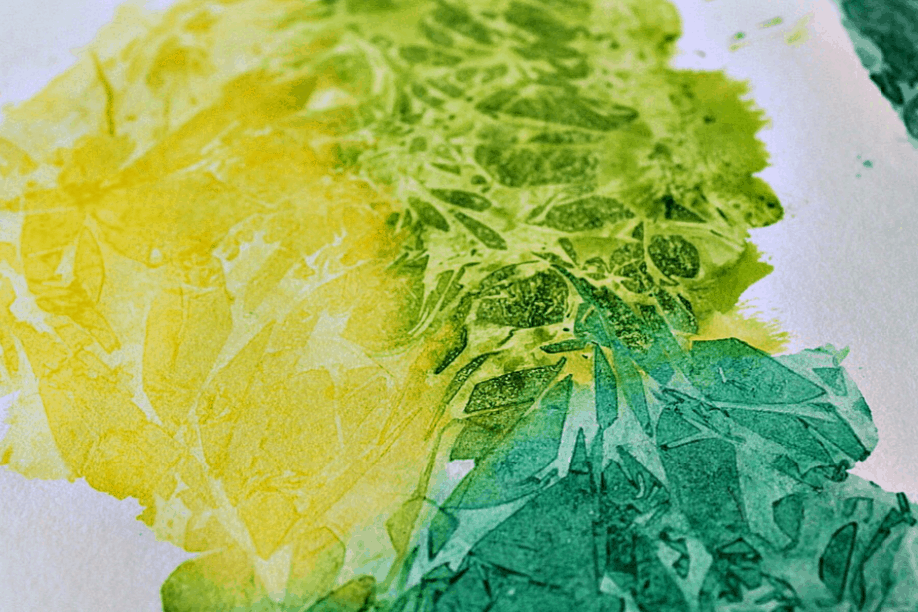
Once dry, peel back the plastic wrap to reveal the pattern on your watercolour circles.
What does your finished work look like? You might even like to use the painting as a background for a landscape drawing, using marker pens to add more details.
Reflection
What have you learned about watercolour paints in this experiment?
Which techniques did you like the best?
Which techniques do you want to use again, in other creative projects?
Are they any other ways of using watercolour paints that you want to try?
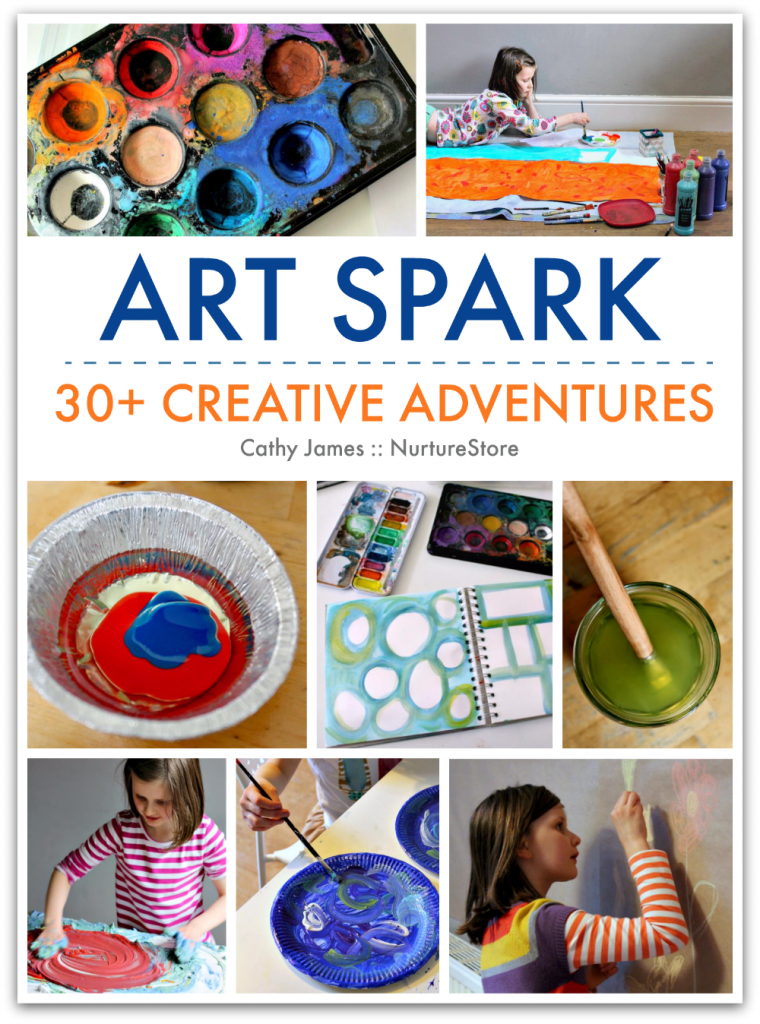
Want to do more paint and art explorations? Download your copy of Art Spark here. This kit gives you everything you need to get started with art and build a rich and creative art practice with your children. It includes 30+ inspiring process art projects, famous art, world culture, practical tips, and endless possibilities! See the Art Spark resources here.


This is a fantastic resource. I will use it as a series of art lessons. Many thanks
I’m so happy it’s useful for you, Jill.
Do you think you could do this on card stock or regular printer paper? Love this lesson
Hi Stephanie. Regular printer paper won’t work well as the paper tends to be too ‘shiny’ with a surface texture that doesn’t take the watercolour paint well. You could try with an absorbent cardstock but for this lesson watercolour paper really is the best.
Great techniques to try with my grandchildren whenever we can rid of covid 19. . I would like you to make a correction in your opening comments. The correct term is STEM ( science, technology, engineering and math). Thank you.
Hi Linda. Glad you like these techniques. STEM and STEAM are both valid terms, with the important difference that STEAM includes art. It refers to the practice of broadening the curriculum to include art when teaching science, technology, engineering, and math, and vice versa, making for a richer and more relevant curriculum. So here, STEAM is correct.
Thank you so much. My granddaughter wants me to teach her watercolour I haven’t touched mine for years.
I hope you and your granddaughter enjoy creating together, Jenn.