This is an easy homemade white clay recipe that’s perfect for making a snowflake mobile. Add glitter for extra sparkle!
…. Click here …. for your guide to a cosy and connected winter with your family.
![]()
Snowflake mobile with homemade white clay recipe
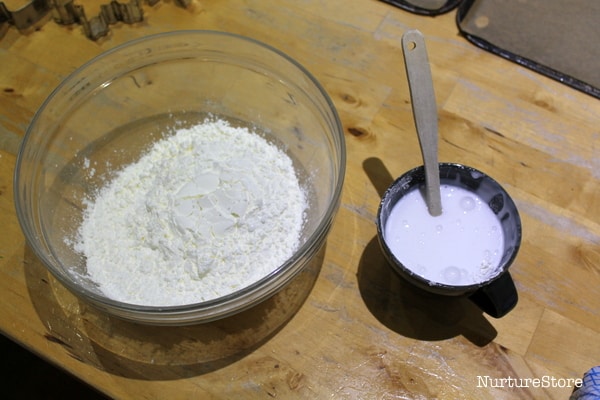
To make the air-drying clay/dough you will need one part PVA (Elmer’s) white craft glue and two parts cornflour {UK name} / cornstarch {US name}.
We used one cup of glue and two cups of flour to make around 12 snowflakes, although the number you can make will depend on the thickness you roll the clay to, and the size of your cookie cutters.
You can use this same recipe to make diy clay hearts and butterflies.
Note: I do find cornflour/cornstarch a little more temperamental to work with than plain flour. Be prepared to add more glue or flour to your mix to get the right consistency. Remember that flour is a natural material and therefore may react slightly differently each time you make with it. Have more flour and glue on hand to add in to the mix if needed. If it seems too dry, add more glue; if it seems to sticky, add more flour.
Then all you need to do is mix the two together. In a matter of minutes you’ll have a lovely, white moldable dough, similar in consistency to ready-roll icing/frosting.
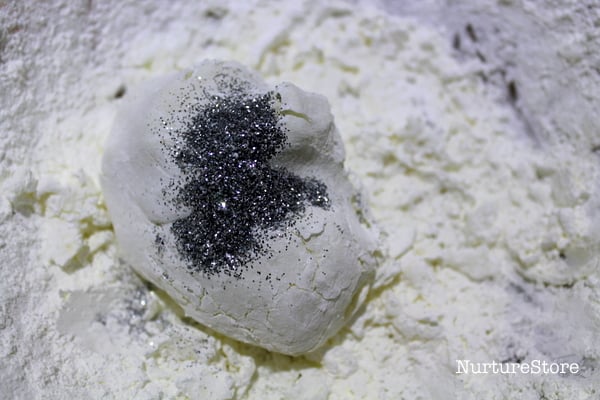 You can add in a generous shake of glitter to give your snowflakes some extra sparkle. I split the dough in half and we added glitter to one batch, leaving the other clay plain white.
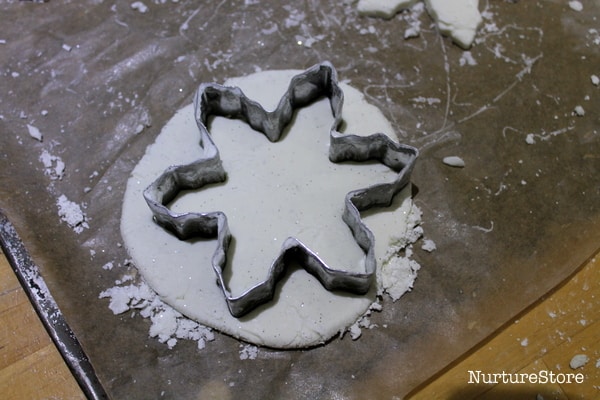
Then roll out the clay and use some cookie cutters to stamp out some shapes. We used a sheet of baking parchment (greaseproof paper) under the dough to make it easier to lift up the snowflakes once we’d stamped them out.
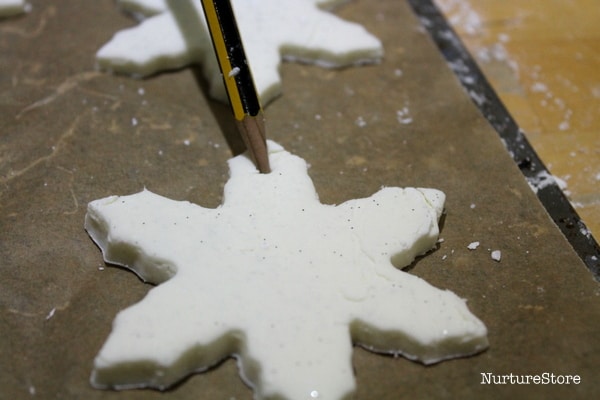
Remember to use a pencil or skewer to make a hole in your snowflakes so you can hang them up.
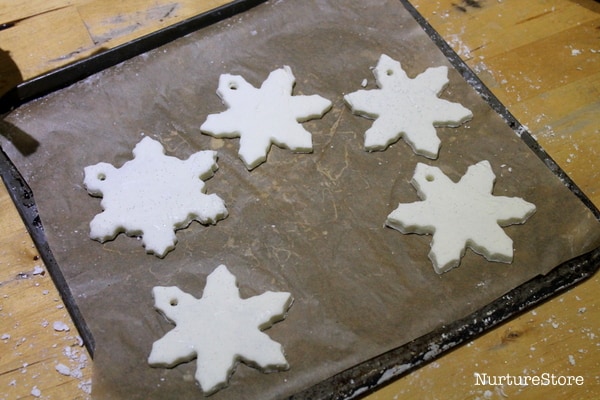
You can use a dry paintbrush to sweep over the surface of your snowflakes and remove any little clay crumbs that you might have on the surface. Then place your snowflakes out on a flat surface {we used a baking tray lined with baking parchment} and leave them overnight to dry out. Turn them over once or twice so they dry out on both sides.
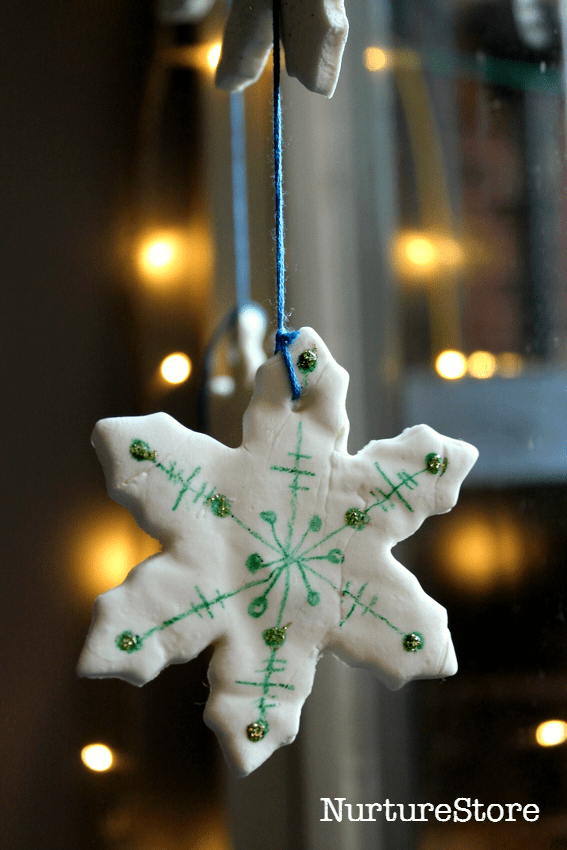
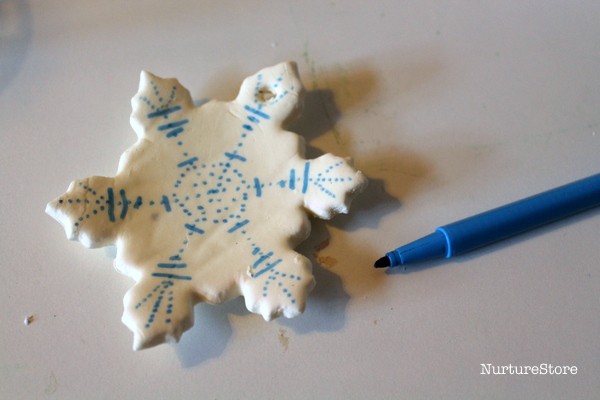
Once they are dry the hardened clay dough is a wonderful surface to decorate, and it takes pencils, marker pens and wax crayons really well, so enjoy drawing on some pretty snowflake designs. You can paint the snowflakes too – we tried using watercolours and they worked very well.
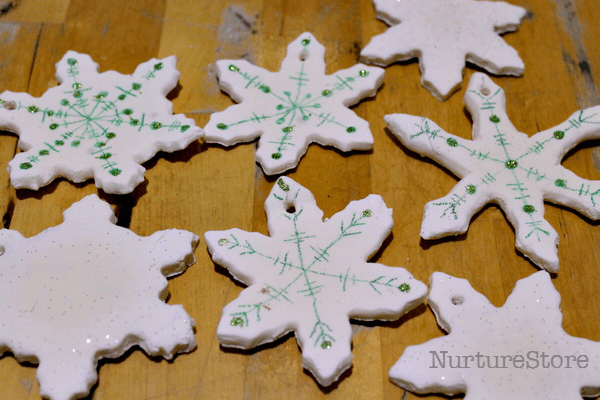
You might also like to add some dots of glitter glue, which looks very pretty on the finished snowflakes, as it catches the light as the snowflakes twirl.
Then add some thread so you can hang your snowflakes. We tied ours in chains so they could hang in the window to make a snowflake mobile. They look so pretty as they twirl about in the window – a lovely little snow flurry.
Let’s make this winter the year when we delight in the cold and the dark.
Gather your children, get cosy, and make memories and connections together.
I’ll show you how with this guide to a cosy and connected winter:
…. CLICK HERE FOR YOUR GUIDE ….
![]()






Loved it!!!!!!!
Making this again today.. For the 3rd time.kids & myself love it…