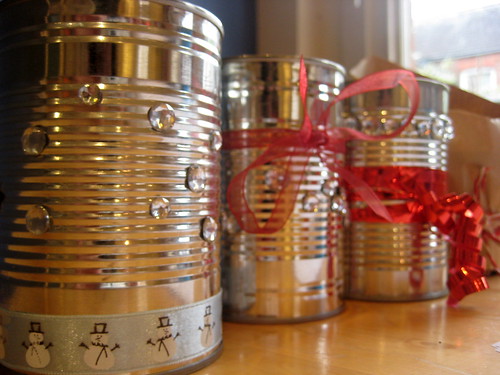
If you’re in need of any last minute Christmas gifts, borrow an idea we used for our School Gardening Club fundraising and make some pretty up-cycled flower pots. [Read more…]
How to make a bug hotel
Try this great animal conservation project for children and follow our step-by-step guide on how to build a bug hotel.
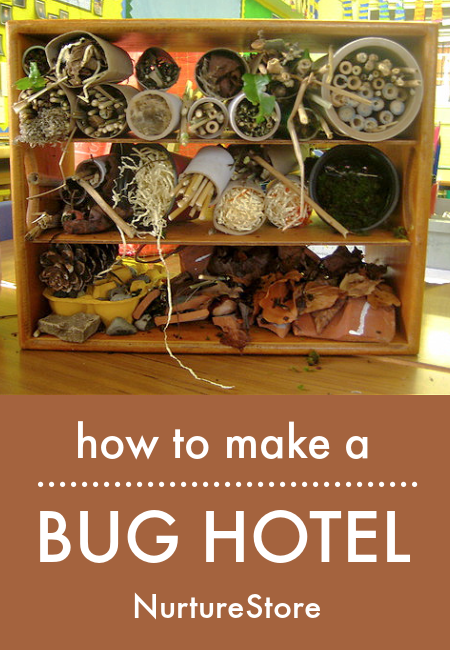
How to make an insect house
[Read more…]Make a model Christmas village
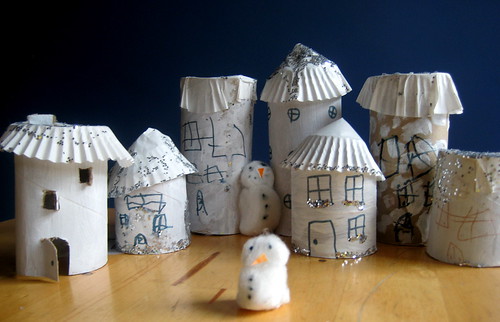
Do you remember the toilet roll tubes from last week’s Play Academy? No-one guessed what they were for! Not an advent calendar, not snowmen but in fact a frosty winter village, for some small world play.
How to make a model Christmas village
We started by cutting our toilet roll tubes into different sizes so we could have a variety of houses and then painted them all white. We used acrylic paint as it covered the cardboard better than our water-based poster paint. [Read more…]
The best kids ice play ideas
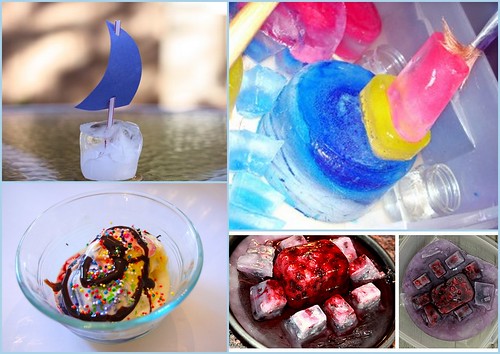
Ice play provides a rich sensory experience for children to explore. There are so many wonderful creative ways to enjoy ice play, including science, art and maths activities. Here are some of our favourite ice play ideas, from some of our favourite bloggers. Click through on each of the links to discover some fantastic ice play ideas you can enjoy with your children this winter. [Read more…]
Milk bottle bird feeder
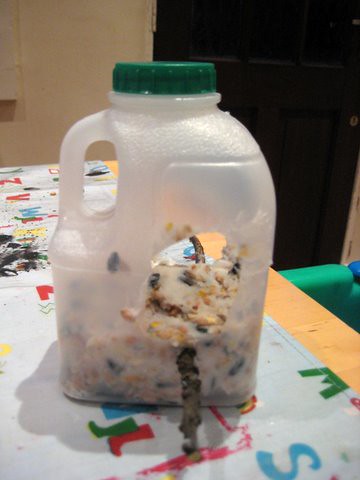
An activity to keep the children busy, look after the birds in the garden and use up your left-over Christmas dried fruits:
Make a milk carton bird feeder.
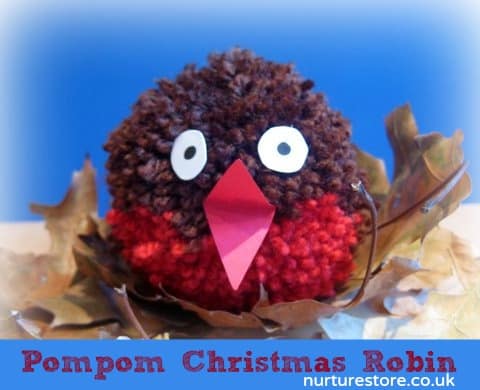
Pompom robin
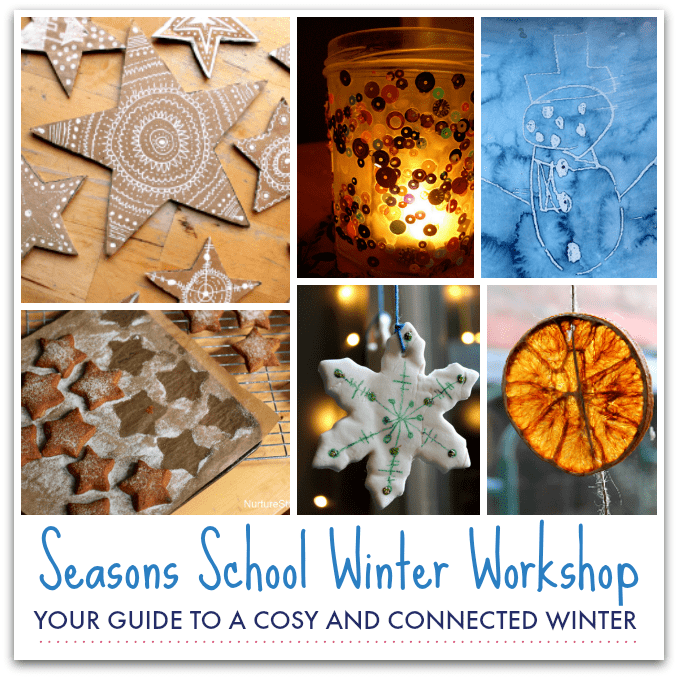
…. Click here …. for your guide to a cosy and connected winter with your family.
![]()
QUICK RESOURCE >> Download your ready-made Nativity Unit here
How to make a pompom robin
You can use this robin as a Christmas decoration or make a family of them to play with. It’s probably better suited to children aged 6 plus (my 4 year old hasn’t got the patience to make it, but my 7 year old loves them) and is a nice craft to do an a cold winter’s day as you sit on the sofa and chat.
You will need: card to make two rings, scissors, red yarn, brown yarn, glue, card to make eyes and a beak
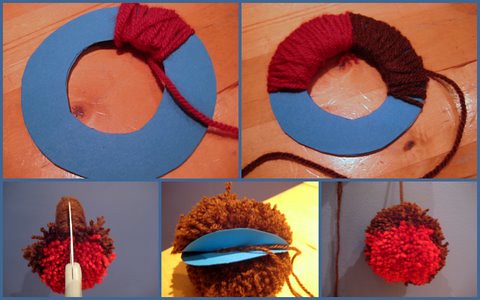
1. Cut two circles from a piece of card. We made ours about 7cm in diameter.
2. Cut an inner circle in both the circles. The bigger you make this circle, the longer it will take you to complete your pompom. We made ours around 3 cm in diameter.
3. Start by making the red breast. Take 75cm lengths of yarn and wind them around the ring. Keep them close together, just where you want the red breast to be.
4. Use 75cm lengths of brown yarn to wind around the remaining section of the ring. Keep adding in lengths of yarn until your ring is full and there is no space left in the centre to thread any more yarn – but remember to just keep the red yarn to one section.
5. Use some scissors to cut around the outer edge of the ring, so the yarn fills out to create a ball.
6. Take another length of yarn and tie round, inside the two rings of card. Knot tightly to hold all the threads of yarn in place. If you’re making a decoration you can use the long lengths of yarn to hang it up, otherwise you can trim them.
7. Tear off the rings of card and fluff out your pompom.
8. Add eyes and a beak and you have a fluffy little robin.
Why not make some smaller ones to create a family?
Let’s make this winter the year when we delight in the cold and the dark.
Gather your children, get cosy, and make memories and connections together.
I’ll show you how with this guide to a cosy and connected winter:
…. CLICK HERE FOR YOUR GUIDE ….
![]()
- « Previous Page
- 1
- …
- 7
- 8
- 9
- 10
- Next Page »


