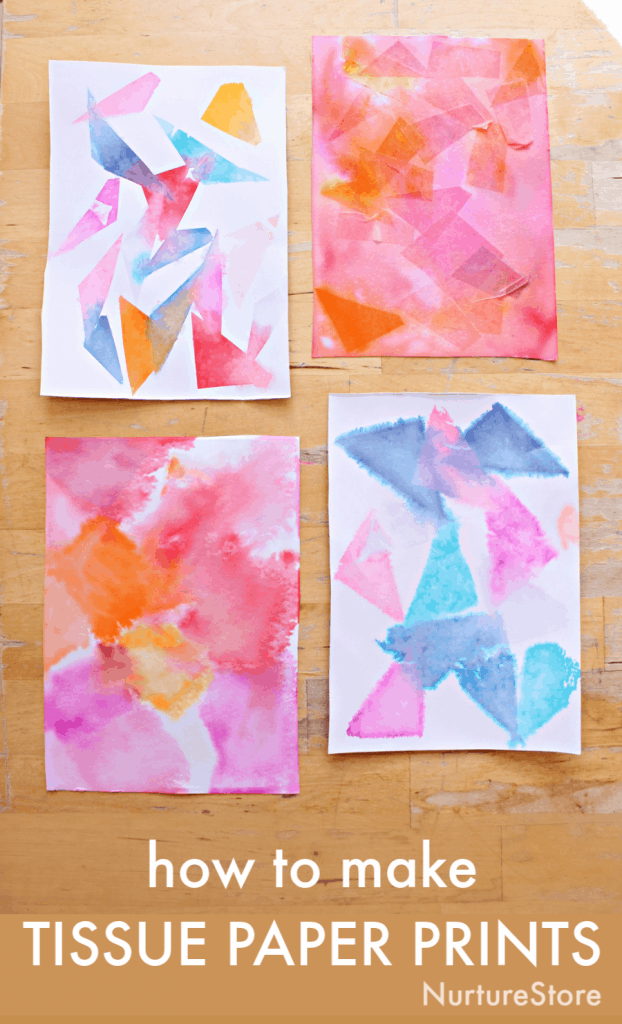
Let’s use tissue paper to explore colour transfer and printmaking.
Tissue paper printing project
This is a beautiful process art technique that produces a unique effect each time.
Colour transfer using tissue paper can be used in several ways to create a variety of designs. Let’s experiment and see which ones we like the best.
Watch our Printmaking Masterclass
Click play on the video above to see ten great ideas for art lessons for children using printmaking techniques. The video gives you art activities for kids of all ages, using simple materials.
These printmaking activities are perfect art lesson for teachers in school and parents and homeschoolers. Subscribe to NurtureStore’s YouTube channel to get more art lesson videos!
Materials needed
This page contains affiliate links from which we earn commission.
As an Amazon Associate I earn from qualifying purchases.
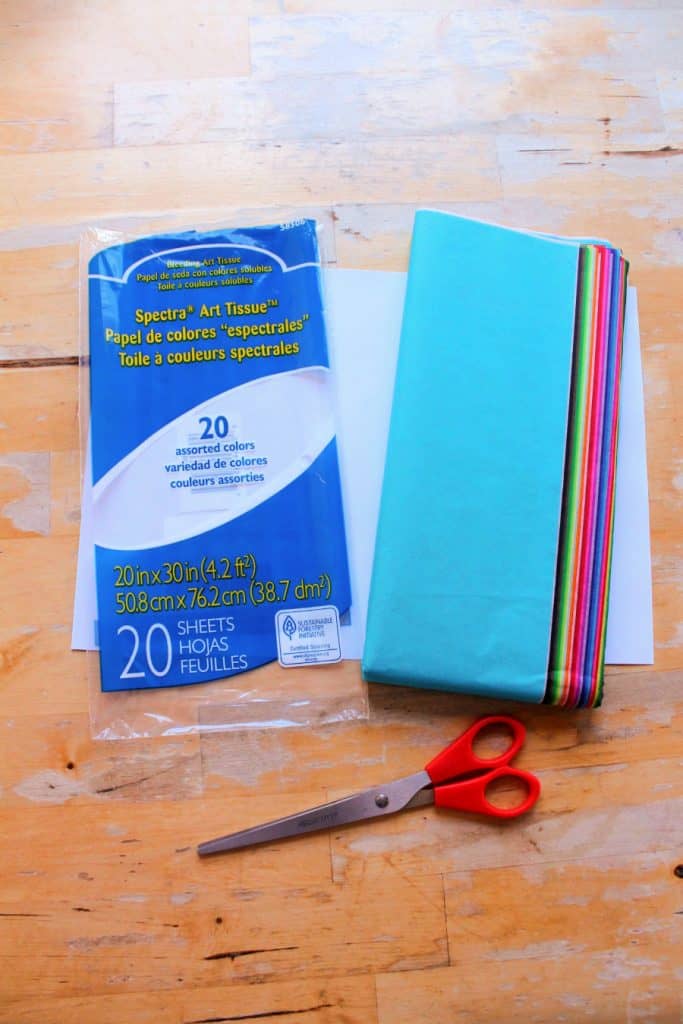
:: card or watercolour paper
:: scissors
:: water
:: paintbrush or sponge
* It’s essential that you use the right tissue paper for this project. Much of the tissue paper sold for gift wrapping is colour-fast. That’s great for gift-giving and packaging, where you don’t want any colour transfer, but not what we need here. For this art project be sure to buy bleeding tissue paper.
How to print with tissue paper
Set out your card/watercolour paper, water, and a selection of tissue paper.
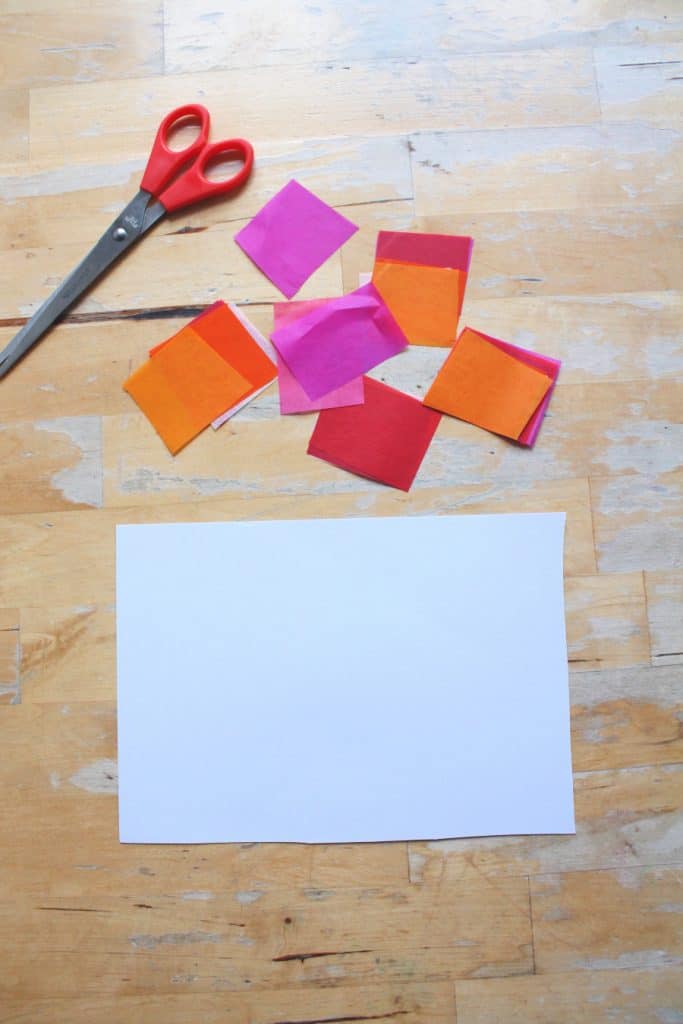
Choose the colours of tissue paper that you prefer and cut them into small shapes.
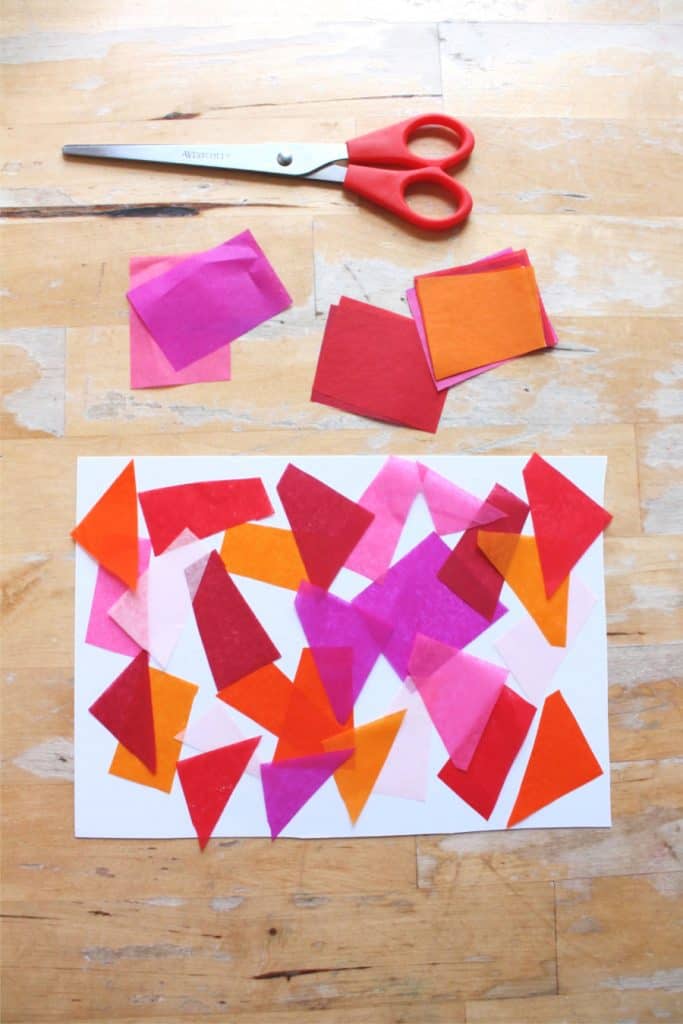
Place the tissue paper pieces onto your card, to create your design.
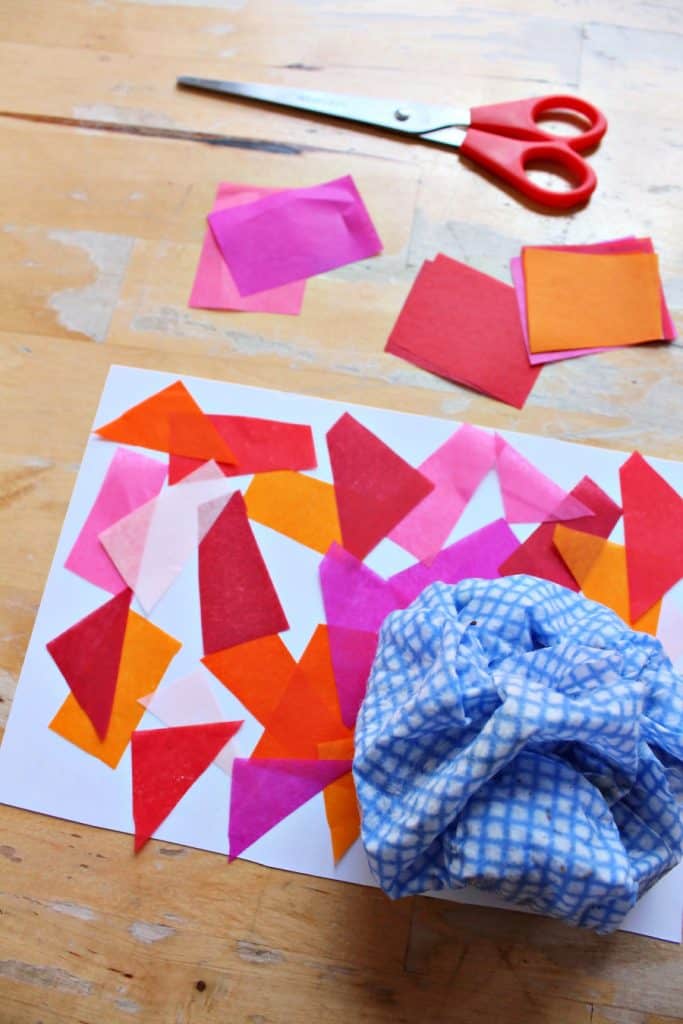
Then apply water. There are a few different ways to do this, depending on what effect you want to create.
Try all the techniques to experiment and see how each looks.
To begin, you can use a cloth or sponge to dab water across all the surface of your card. Take care not to lift the tissue paper pieces.
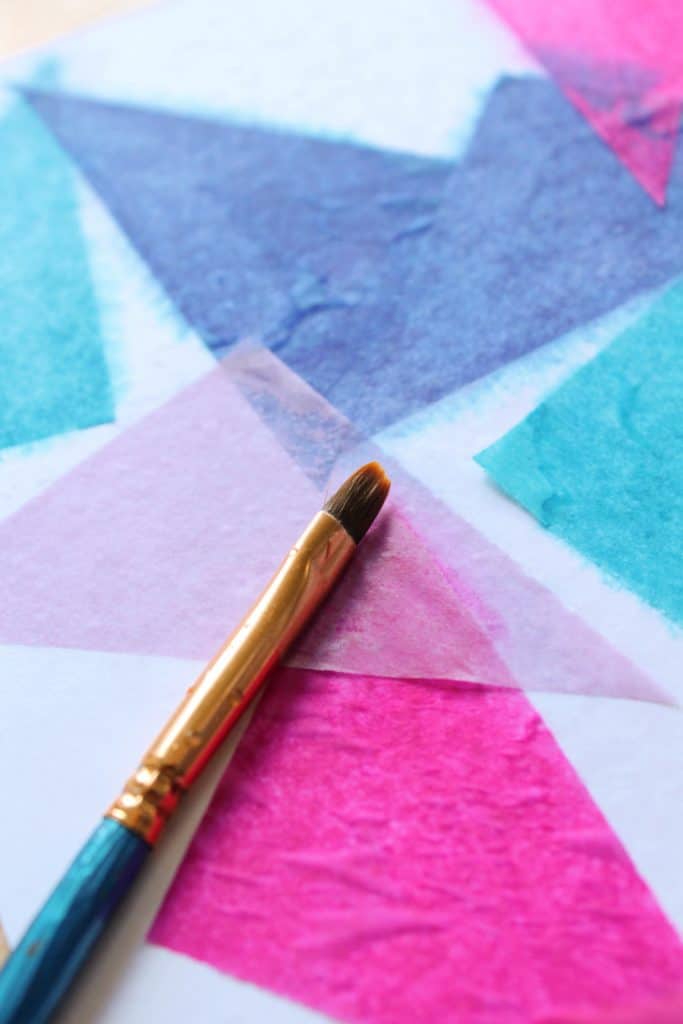
Or you can use a paint brush to apply water only to the area of each piece of tissue paper, not to the surrounding card.
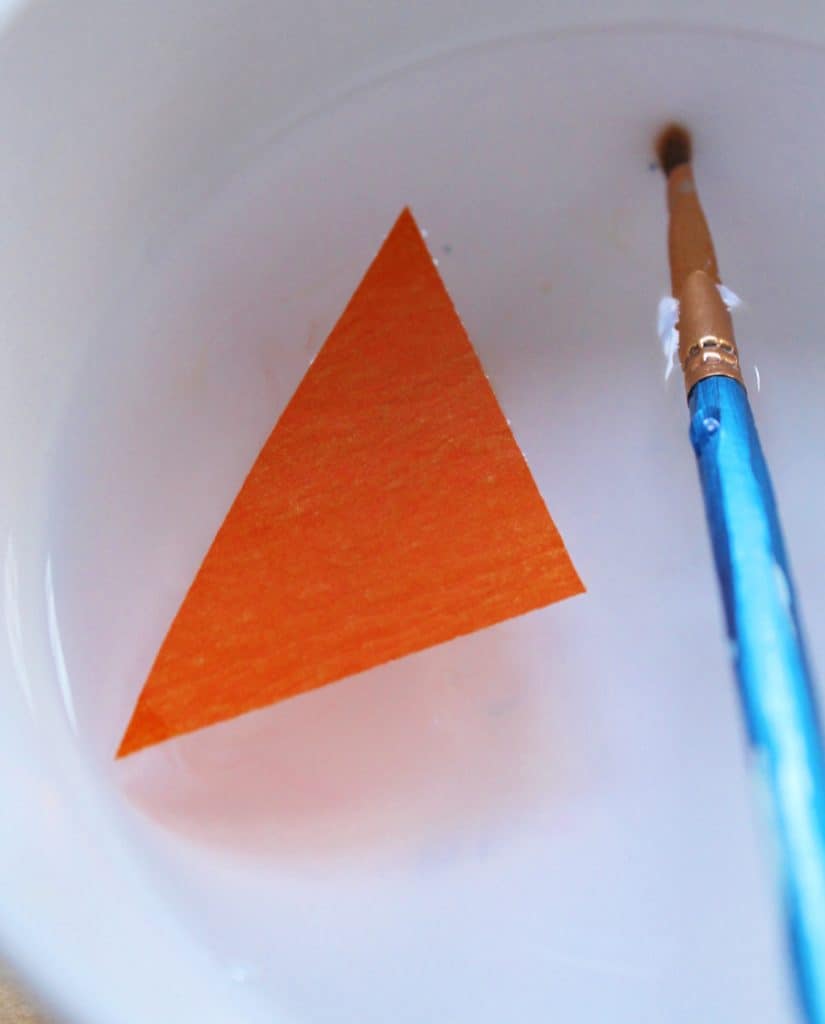
Alternatively, you can dip each tissue paper piece into a bowl of water and then place it onto your card.
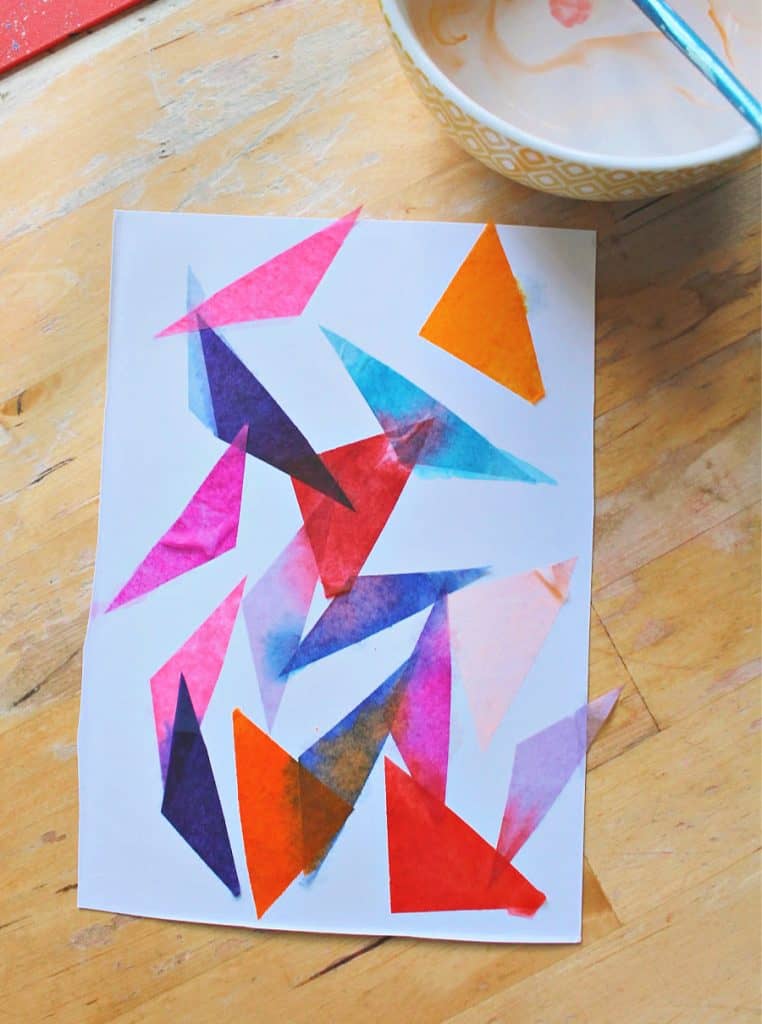
Whichever water application method you use, then leave the card on a flat surface to dry.
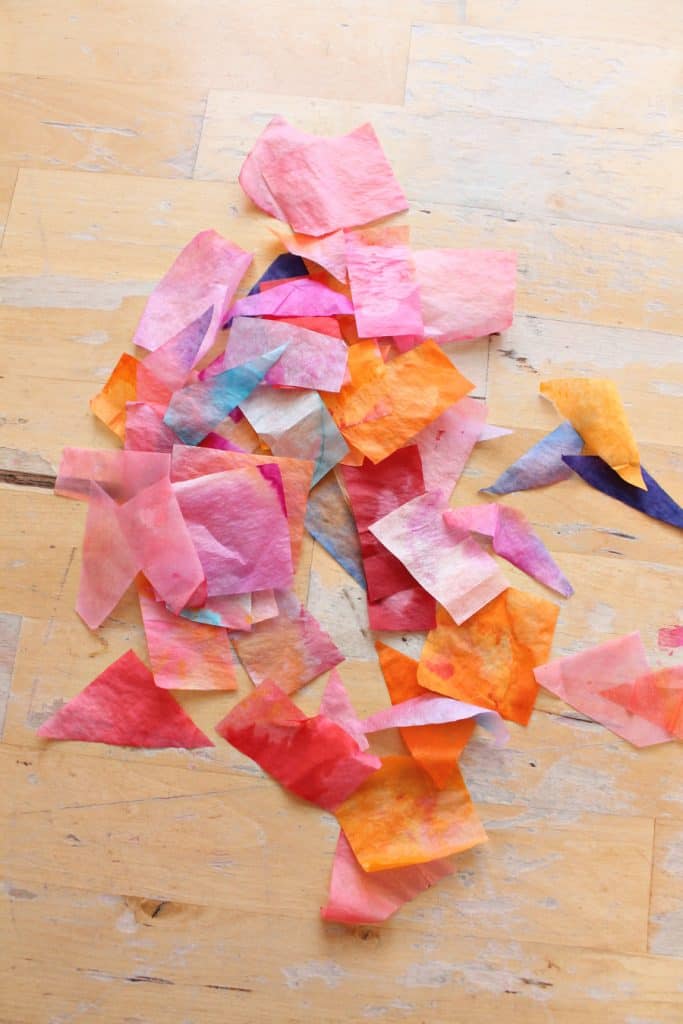
Once dried, carefully peel off each piece of tissue paper to reveal the card underneath. You’ll find that the colour from the tissue paper has bled onto the card to create a print.
Don’t forget to save all the pretty tissue pieces for a future collage project.
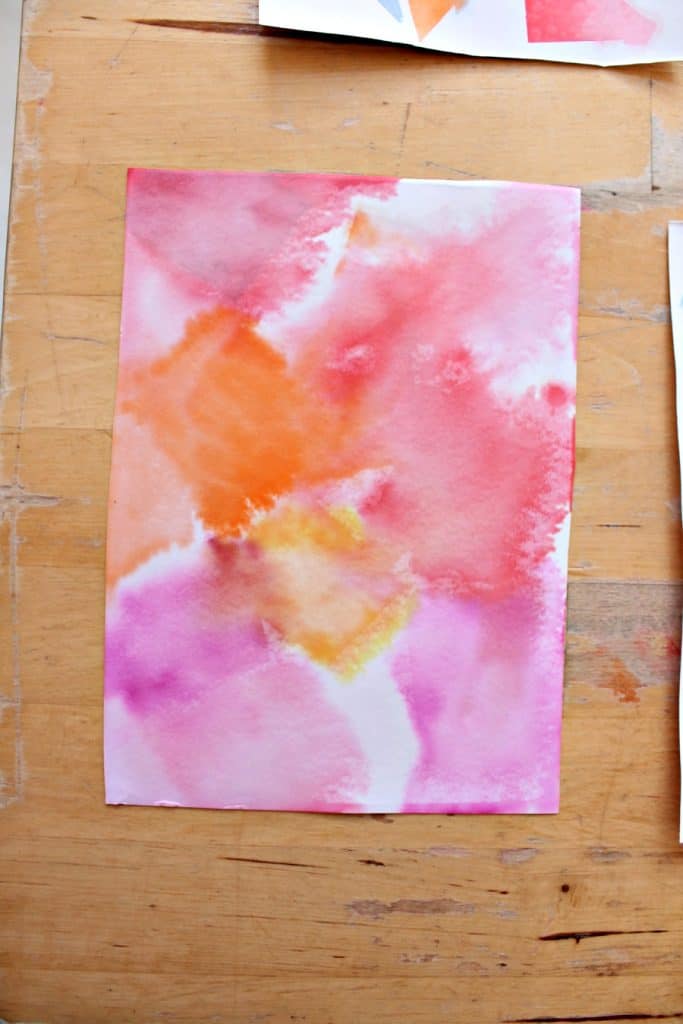
Depending on how you applied the water, you will have created a variety of unique prints.
This picture above was made by applying the water all over the tissue/card with a sponge.
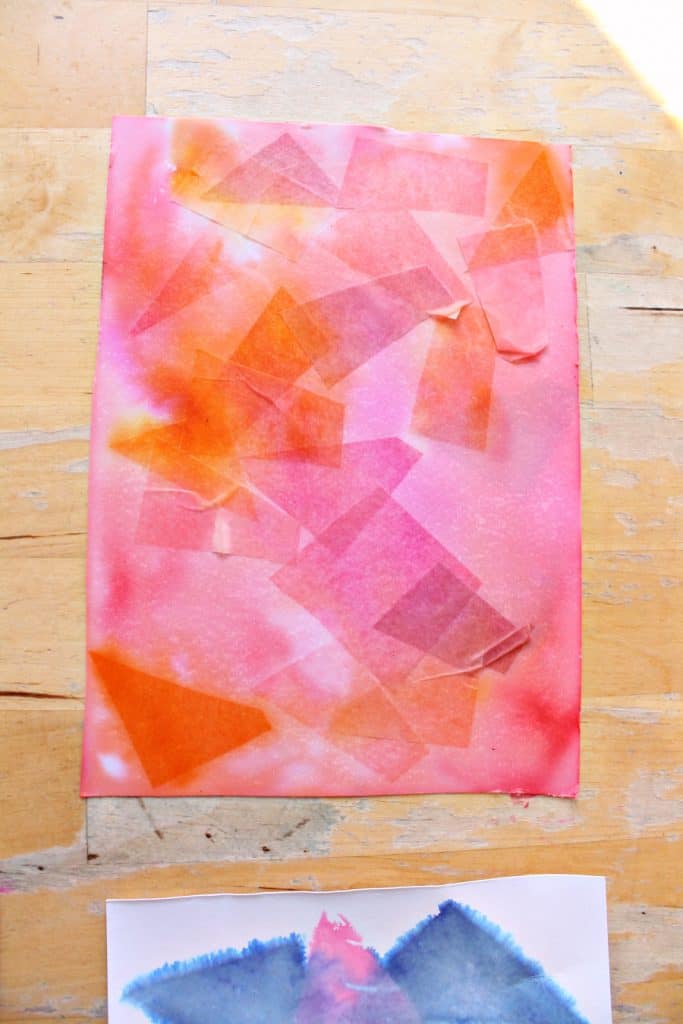
This one was created by wetting the card first, applying the tissue paper, and then applying more water on top.
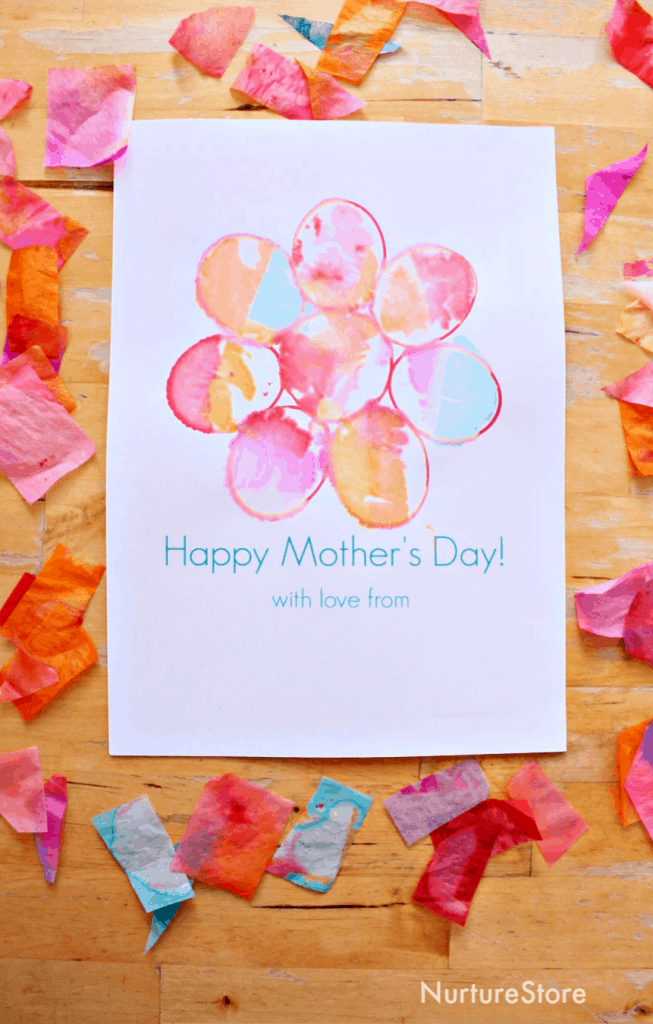
This Mother’s Day card was created by only applying water to the petals, not the surrounding area.
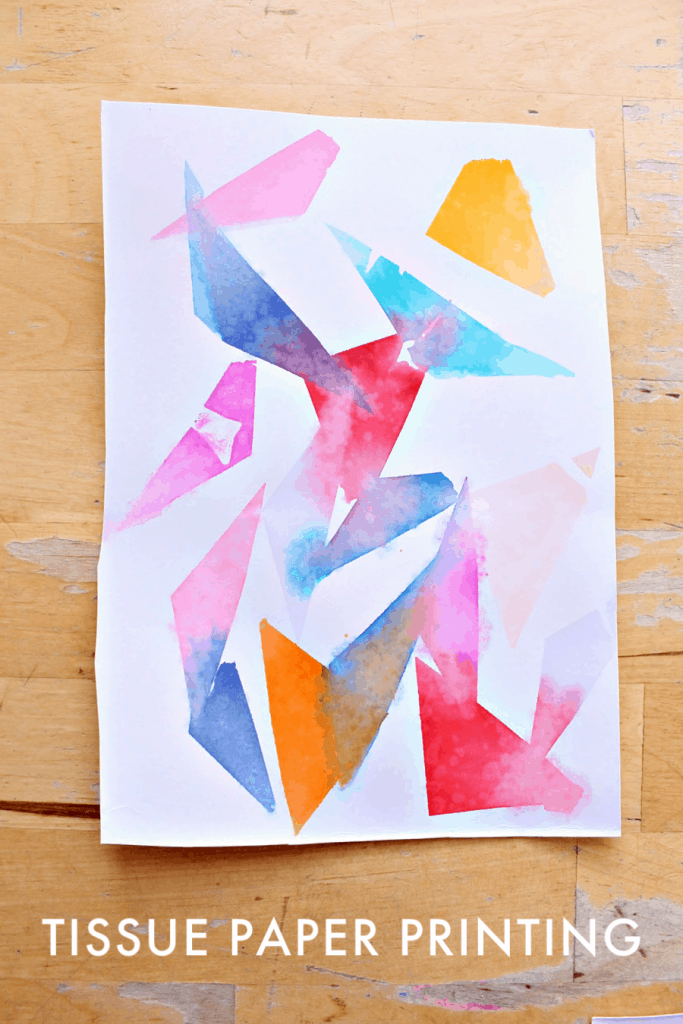
This design was made by dipping the tissue paper triangles into water and laying them down on dry card.
Which design do you like best? Experiment with each technique to explore the possibilities of this printmaking technique.
More process art techniques
Exploring art techniques is a wonderful way to encourage children to develop their creativity and to think like scientists. Try these activities from our art lesson plans:
:: water colour painting experiments


