This ice art idea turned out to be such a great winter craft idea – my girls loved it so much! It combines messy play, creative art and science experiments all in one colourful activity.
Ice art :: winter craft for kids
I’m going to have to resist showing you every picture I took while we did this because the ice turned out to be so beautiful and I got a bit carried away!
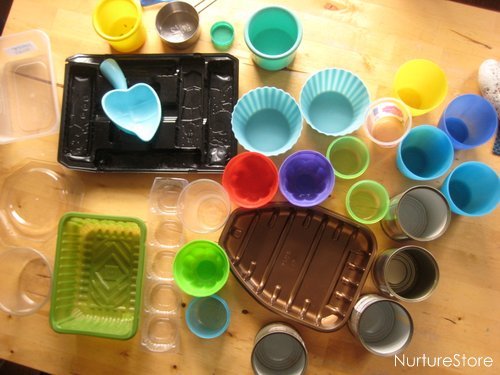
We started off our ice art by going on a scavenger hunt to see what interesting containers we could find around the house.
A mix of shapes and sizes will give you lots of variety in your sculpture building blocks.
We used tin cans, pots, scoops, plastic packaging and trays, shells and cups.
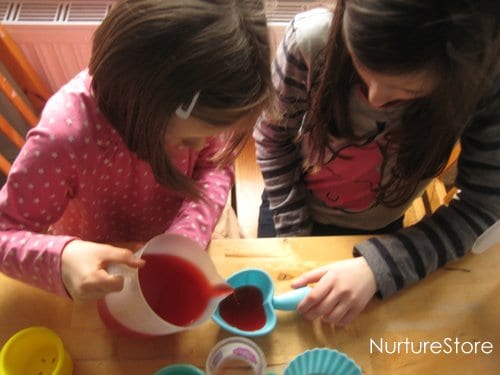
Then we mixed food colouring with water and use that to fill the containers. Great team work and hand-eye co-ordination involved in pouring out the jugs of water.
We talked about how the water would get bigger when it froze, so made sure to leave space at the top of each container.
We tested out some colour theory too, mixing red and yellow colouring to make orange, and red and blue to make purple.
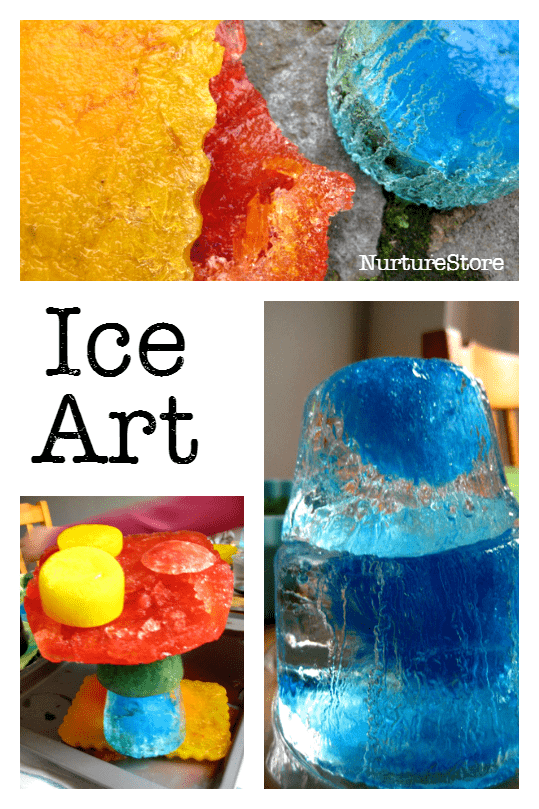
We filled some of the containers part way and them topped them up once the first lot of water had frozen to make layered colours in our ice blocks.
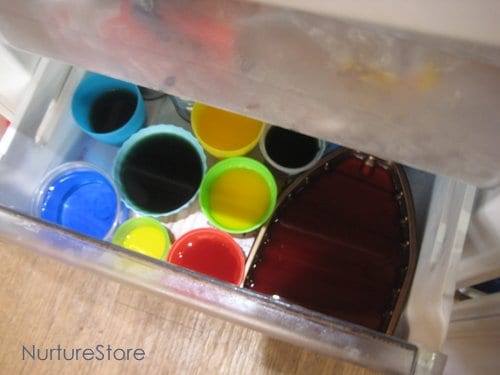
Then into the freezer they all went.
The water could take anything from a couple of hours to overnight to freeze, depending on how big the containers are, so plan ahead or you might end up with impatient kids!
If your temperatures are cold enough you could place your containers outside overnight and let nature work its magic.
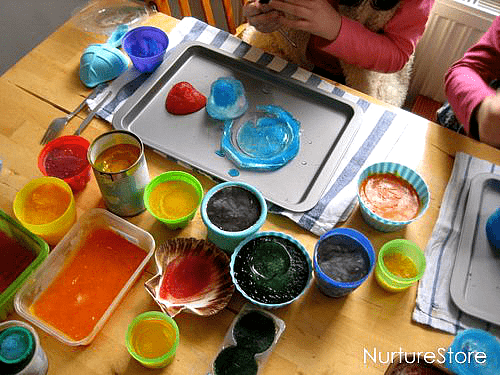
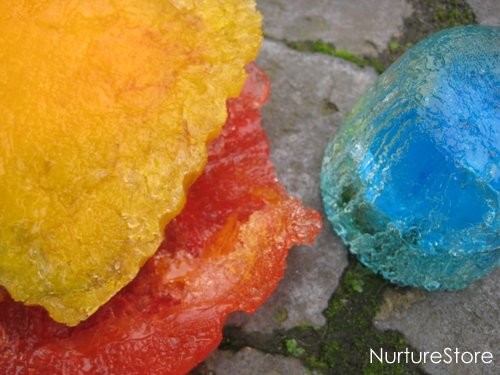
The frozen ice turned out to be just beautiful!
Running the containers under the tap for a few seconds helped to release the ice from their pots.
We’d been generous with our food colouring which resulted in really strong colours and the mix of containers gave us such interesting shapes to work with to make our ice art.
We placed baking trays with raised edges onto towels, so we could catch any melting water, and then set about playing and creating.
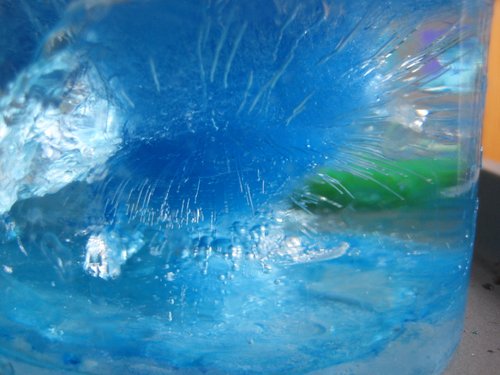
There were lots of oohs and ahhs as each ice block popped out of its container – look how beautiful science can be!
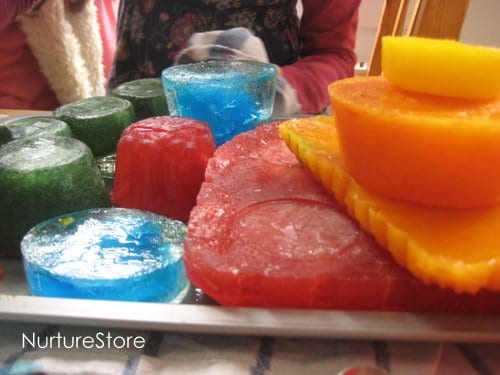
The bricks were great for playing – creating strange buildings and lands.
We also poured salt onto some of the bricks to experiment with the effect that had on the ice.
I love how this kind of hands-on, playful science really lets children see what happens and encourages them to wonder and ask their own questions. (After playing with the salt B said – oh, is this why the sea never freezes?)
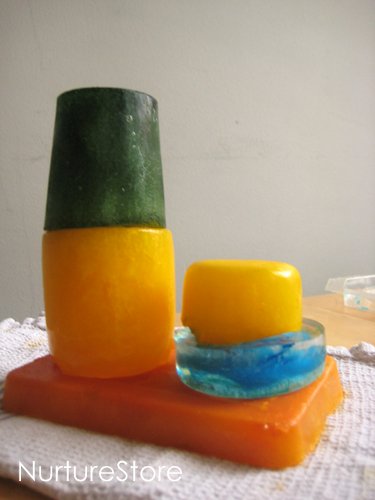
We made ice sculptures…
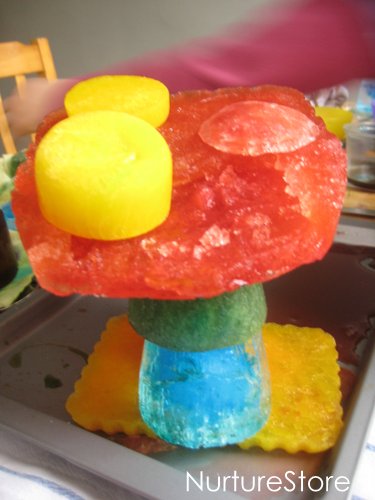
And ice people.
Although we tried this indoors as a winter activity, it would work just as well if you want to play outdoors on a hot summer day and have some ice to cool you down.
Everything you need for a winter unit, all in one place.
Click here to get your copy of the complete Ice and Snow Unit.
:: over 80 pages of lessons, activities, and printables
:: a complete unit of Ice, Snow, Arctic, Antarctic, Polar Bear and Penguin-themed science, math, literacy, arts and crafts, sensory, food and play
:: materials lists and bonus printables make it so easy!
:: everything planned for you, so you can enjoy it as much as your children do
:: created with children aged 4 to 8 in mind
Save time and teach better with NurtureStore’s resources!


yeah I think I might have to resort to the freezer for mine. I have been trying to freeze them outdoors but its been an utter failure – the tubs look pretty though!
I love these and will be doing this with Baba when we have a free day how brilliant xx
What a cute, creative project… my daughter will love doing this. And I love’ B’s comment about the ocean. Very smart 🙂
https://emilowowarsztatowo.blogspot.com/2013/01/klocki-lodownikowe.html
Beautiful ice sculptures Izabela!
🙂
For an extension I highly recommend getting the children to add spoonfuls of salt (rock salt is best!). This is a fantastic experiment because salt raises the temperature the ice and after a while, creates crevasses!
Ah this is so cool. Something I should try in out home school lessons 🙂
Hi Cathy! Thanks for sharing this beautiful idea! Do you know if it is possible to use watercolor so instead of the food coloring?
Hi Maria. Yes I think that would be fine, but your colours will likely look a lot paler.
This is such a great idea! Thanks for sharing it. I’m going to do this with my cub group.
Hope the cubs enjoy it!