
Having the right things, in the right places can really help to spark children’s imagination. Pulling in play dough, art and imaginary play, here’s how to turn a pumpkin into a house!
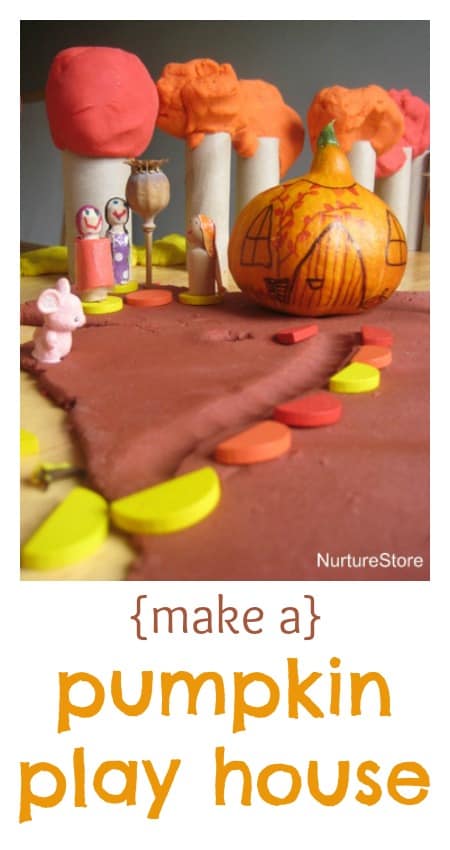
How to make a pumpkin house
Watch our Playdough Masterclass
Click play on the video above to see our playdough masterclass.
This video gives you everything you ever wanted to know about play dough: how to make homemade playdough with quick and easy recipes; the benefits of playdough for children; and lots of sensory play activities using play dough including playdough math activities, playdough literacy activities, and playdough fine motor skills activities.
Plus find out how to get printable playdough recipe cards and printable play mats. It’s an excellent beginners guide to play dough!
Subscribe to NurtureStore’s YouTube channel to get more gardening and nature study videos!
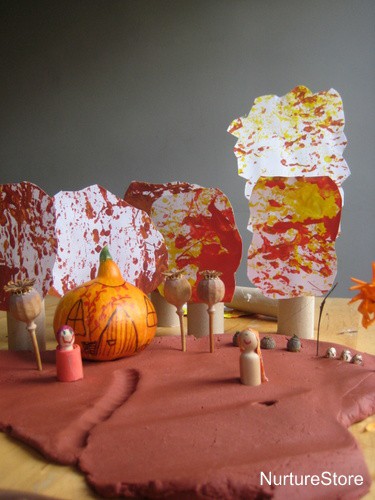
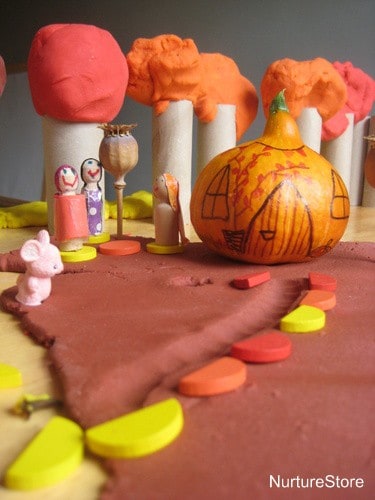
I have a special fondness for pumpkins. I’ve dreamed of having a pumpkin patch since I was a child, and this year, for the first time, we had the space to grow some of our own. They’re so pretty, and these small ones are so tactile, that we couldn’t resist using one for some play. Don’t you think they’re just the right size and shape for a fairy house?
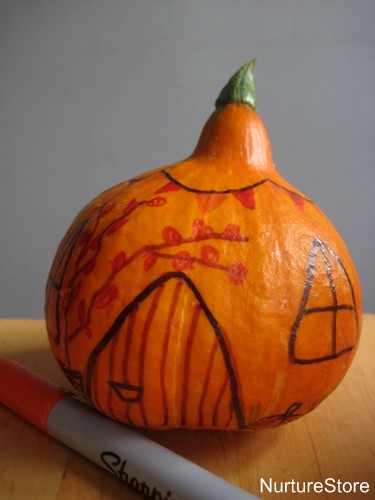
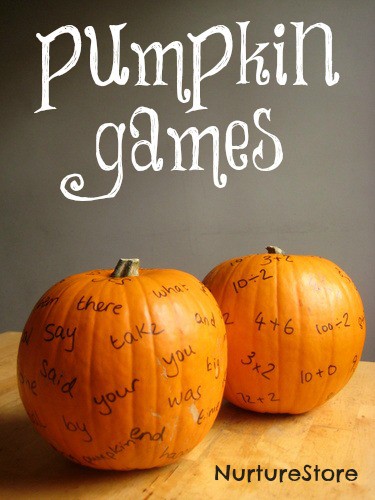
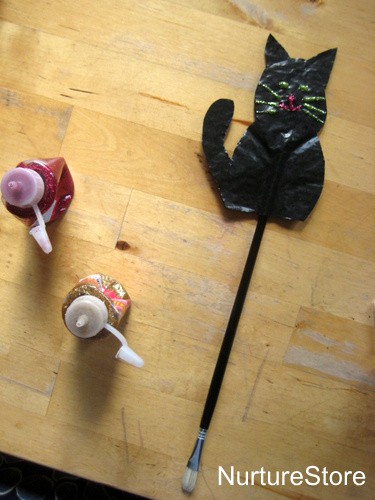
I think carving pumpkins isn’t the best way to decorate them if you want the children to be involved: it’s difficult for them to carve them safely and successfully, and once they have been carved they soon start to go soft and mushy. So, we decided to draw on the outside of ours using permanent markers. This way there’s no cutting into the pumpkin, so it will last for ages, for lots of play. {And if we decide we want to eat it later, we could still scoop out the insides.}
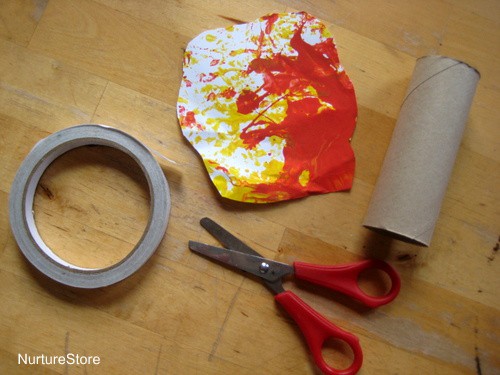
Then to go with our house, we pulled in lots of bits and bobs from past playtimes to create an imaginary land. We used the paintings we made with acorns, cut them out and stuck them to some paper rolls with a bit of double-sided sticky tape….
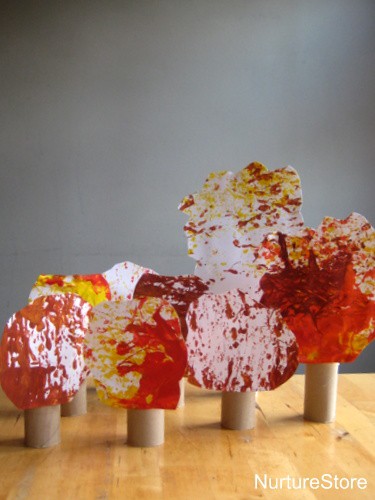
and made some gorgeous autumn trees.
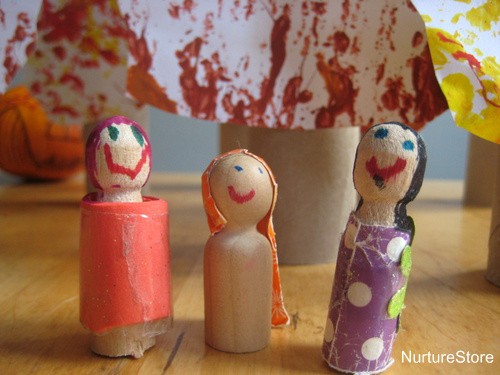
These dolls were last seen when we made a fairy land.
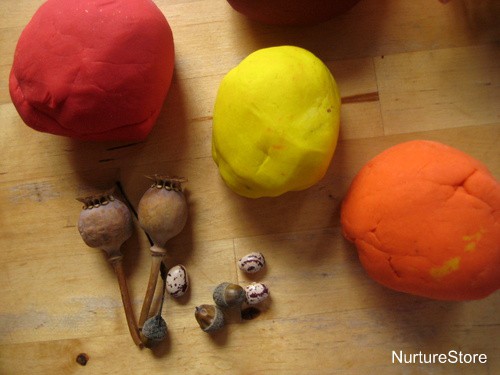
We added in our homemade autumn play dough, along with some natural loose parts…
and made a forest.
My daughter decided one of the fairies was actually Baba Yaga, the bony-legged witch, in disguise, and set about re-telling the whole story, creating extra props when she needed them – like the play dough trees which she needed to make her deep, deep forest.
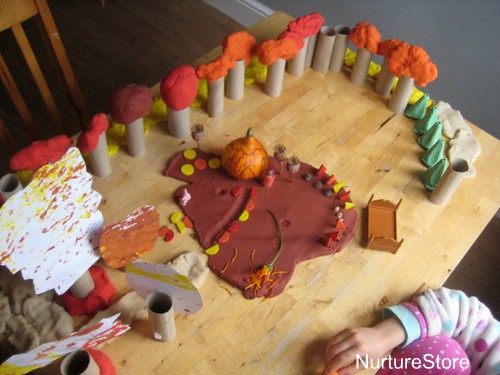
The result: a fantastic imaginary play time, full of creativity and language and storytelling – all from things around the house. Play doesn’t need to be complicated – but creative play can really be encouraged by having the right kind of materials, in the right places, available to your children.