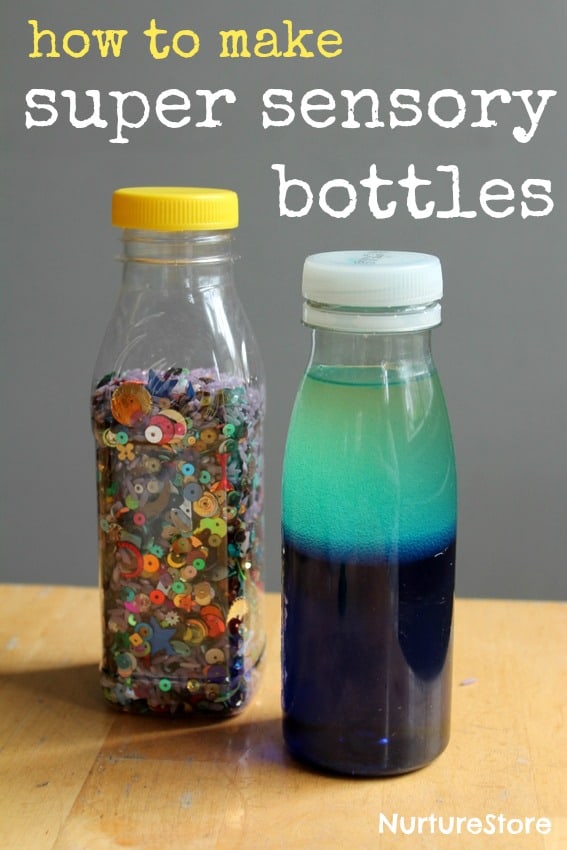
Baby and toddler sensory play can now include glitter, sequins and lots of tiny, shiny delights! Here’s how to make sensory discovery bottles so the youngest children can join in the fun.
How to make sensory discovery bottles
When we’re rightly concerned about our children putting everything in their mouths, glitter, sequins, pompoms and the like are usually no-go. But pop them in one of these discovery bottles and even the youngest children can join in with the sensory fun.
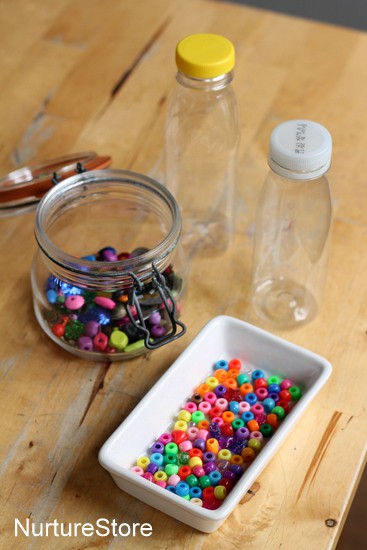
Discovery bottles are really quick and easy to make, so you can put together an interesting selection for your child to explore. All you need is a clean plastic bottle with a well-fitting lid, some super glue to make sure the fastening is secure, and some interesting contents to go in your bottle.
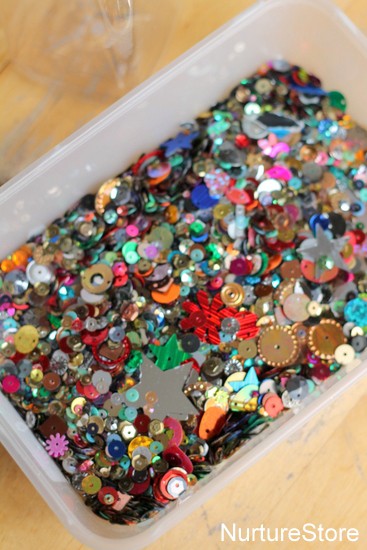
You can include all sorts of lovely items that are normally off-limits for very young children. Think about what would be interesting to shake and hear inside the bottle, or what would be interesting to roll around and look at.
What to include in a discovery bottle
Things you might include:
:: beads
:: dried pasta shapes
:: shells
:: glitter
:: sequins
:: buttons
:: pompoms
:: toothpicks
:: rice (see how to dye rice here)
:: sand (see how to make coloured sand here)
:: number and alphabet shapes
:: small toys, such as animals and cars
:: dominoes
:: dice
:: raid your craft shelf and see what you can find!
Just be sure to fasten on the lid of your bottle absolutely securely, and supervise your child all the time they are playing with their bottles. You might like to place a layer of super glue inside the bottle top, so that when it is screwed on tight it is very securely held shut.
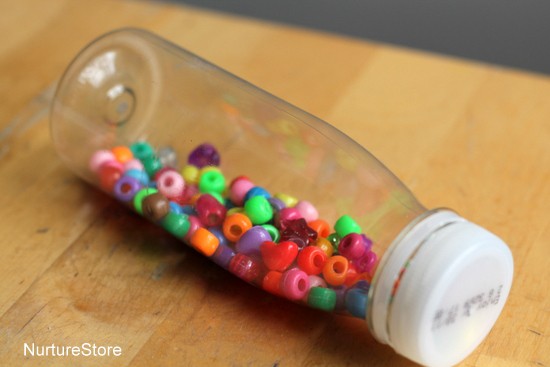
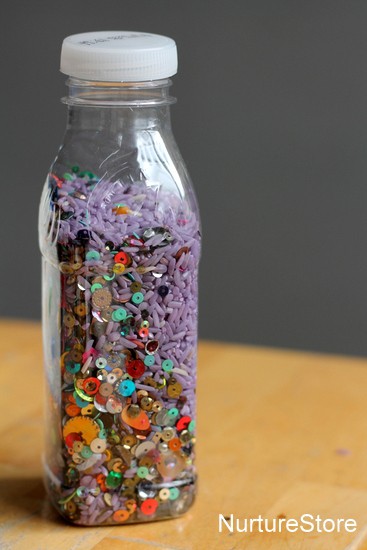
You might decide to put a few items inside on their own, but you can also use a filling material such as rice or sand. Using a funnel makes it much easier to fill the bottle rather than cover the floor!
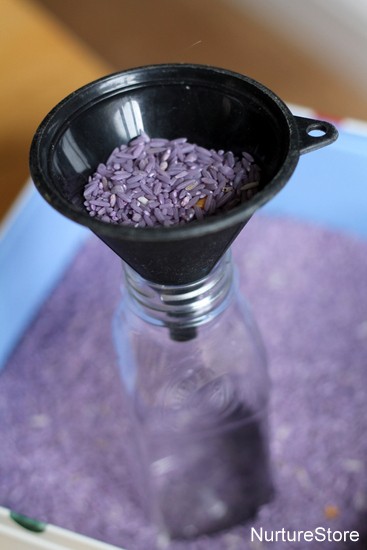
Add some extra items in with your rice and you can play I-spy.
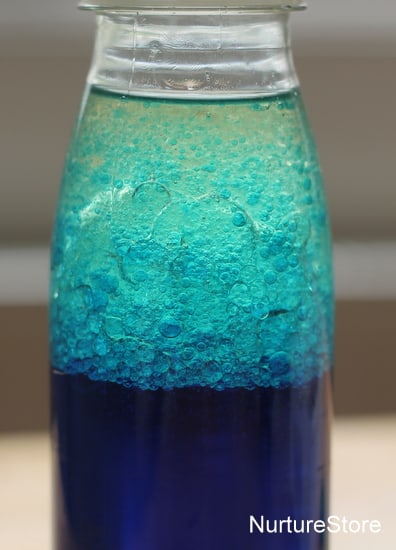
You can make a liquid version of the discovery bottles too. Fill half of the bottle with water that has some food colouring added to it. Then top up with some vegetable oil.
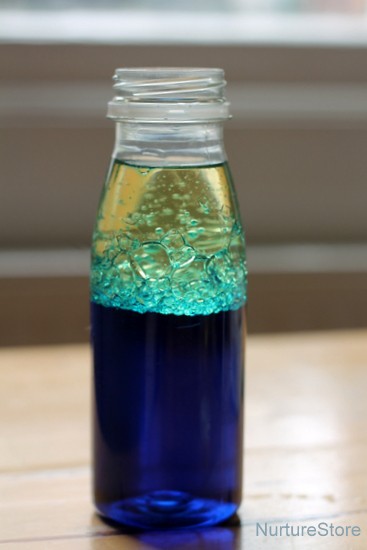
Again, make sure your bottle top is on tight and then you can shake and roll the bottle and watch the effect of the oil and water mixing. It’s like a beautiful DIY lava lamp!
How to play with discovery bottles
As they’re so quick and easy to put together you could make a selection of discovery bottles that explore sound, sight, colours, and different themes. Shells and sand make a lovely beach bottle. Older children might like an I-spy bottle which has all the letters of their name hidden inside.
If your child doesn’t like to feel sensory materials or get their hands dirty, these bottles might be a way for them to begin to explore new materials. Try some rice inside a bottle before your play with it using your hands.
You can make the bottles in different sizes too. Small ones are hand to pop in your pram or bag, so you have a sensory toy for your child to play with while you’re out and about. You’ll probably find smaller bottles are easier for your baby to manipulate, shake and pass from hand to hand. Bigger bottles are great when your baby starts crawling, as you can roll them across the floor and chase them.
The bottles can also be used as a tool for taking a break or calming down time. The lava lamp is particular good for this. Encourage your child to give it a shake and stay and watch until the oil and water settles back down before you re-engage with your other activities.
GET FREE SENSORY PLAY RESOURCES
Sign up for my weekly Super Sensory email and your teaching fairy godmother - that's me! - will send you free sensory play activities.
You'll get:
- sensory play activity ideas to match all the festivals and themes of the year
- fun recipes so you can make your own sensory play materials
- free printables to add math, literacy and lots of creativity to your sensory play activities
To get all the free sensory resources, sign up in the box below.
By subscribing, you consent to our use of your personal data as per our Privacy Policy, which includes agreeing to receiving interest-based email from us.



Lovely idea will make these .
Im Making Them
Thank you so much for sharing the many items you can put in the sensory bottles. my assistant made I-spy bottles for our pre-k students as a end-of-the year gift and they loved them!
Love the sensory bottles
I always thought you were suppose to super glue the lid to the bottle.
Yes Kristina, that’s what I do.
Great idea. I have tried this for an after school program
Even made another bottle with oil and vinegar and left it open for discussion what happens when you mix oil with vinegar in a bottle (different food colouring) and the same thing with water and oil.
makes up for good conversations.
You can also add items to it and check for float or sink challenges 🙂
Love the sink and float idea!
Putting letter beads or different items in with water or sand make it fun to play iSpy and shows the children when the bottle is turned, new things appear every time!
What a great idea!
Baby oil works better, it stays clear and clean when adding certain items. I have made,over 40 dir retention bottles and have found baby oil and shaving cream are 2 of my favorite ingredients.
Thanks for the tip Nichole.
How does the shaving cream react to the baby oil or are you saying you do them in separate bottles? Does the shaving cream ‘melt’ down after a while?
Hi Kara. I’ve never used shaving foam, but I would think it would ‘melt’. Perhaps have a search on Pinterest to see how people are using it in discovery bottles?
interesting work i like it
I use Gorilla Glue to secure the bottles!! Works great! Thanks for the ideas.
Loved the idea did it with my 7 year old for a home work challenge for push n pull n the ideas are great for that
I use these as “calm down” bottles if my little ones need a bit of time out. I shake it up, put it in front of them and they watch all the glitter etc settle to the bottom, by which time they are calmer. Works a treat!
We’ve used all sorts of things for our prek kiddos. One year they were especially curious about bandaids, so we carefully placed a few in a clear water-filled bottle. They loved it. I have hidden laminated sight words in bottles. A great use for those nearly gone markers… Drop one or two in a bottle. It will use the last bits of ink left and trails out in a cool way. If you pick two that make a secondary color you can have kiddos make predictions before shaking together.
I love the marker pen idea Jennifer!
Super awesome!!!!
These sound like they would be useful for nursing home patients also. Simular to fidget blankets, it will give the patients different things to look at. Thanks for the ideas.
What a great way to use them!