In this spring science lesson we’ll learn about the parts of a flower through a daffodil dissection experiment.
Save time with our ready-made Daffodil teaching unit
For the best spring flower lesson ideas, save time and get our ready-made Daffodil teaching unit from our Play Academy. You’ll get:
- a ready-made Daffodil thematic unit
- bonus printables to make your teaching even easier
- a lesson plan to dissect daffodils and learn about the parts of the plant
- a lesson plan to paint a still life daffodil study
- a lesson plan to make daffodil bunting
- a lesson plan to read and write daffodil poetry
- a lesson plan to make daffodil pinwheels or bunting
- bonus printables including a print of the “I Wandered Lonely As A Cloud: poem to read and interpret plus spring poetry writing printables to guide you to create your own poems
- plus over 300 more individual lesson plans in 50 ready-made teaching units so you can easily teach an engaging and successful program that includes math, literacy, science, art, and more, all year round, year after year. Everything is planned for you and easy to find, saving you so much time.
Download your Daffodil Unit here
Come and join our popular Play Academy community and never have to lesson plan again! Join here and download your first ready-made unit today.
Daffodil dissection :: parts of a flower lesson
As part of our daffodil exploration, let’s take a very close look at daffodil flowers.
Here we can combine investigative exploration with drawing and painting. Crossing over from science to art lets us engage our analytical thinking and our creative talents. We’re engaging our whole brain, appealing to all different learning styles, and perhaps discovering new talents and interests.
:: daffodils
:: magnifying glass
:: craft knife or scalpel
:: cutting board
:: paper
:: coloured pencils, crayons or paints
The parts of a flower
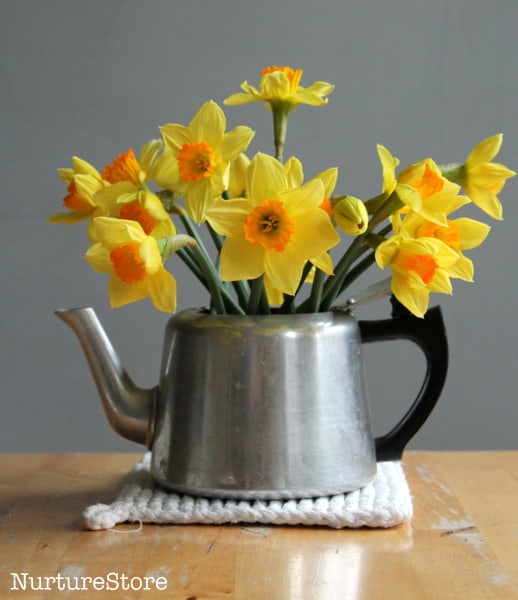
Start by taking a very close look at your daffodils. I asked my children to imagine I’d never seen a daffodil and to describe one to me. They noticed some things they’d never thought about before: the petals sparkle, the stem has ridges, the flower is symmetrical, there are six tiny ‘stalks’ inside the trumpet….
You can note down these initial observations in your nature journal.
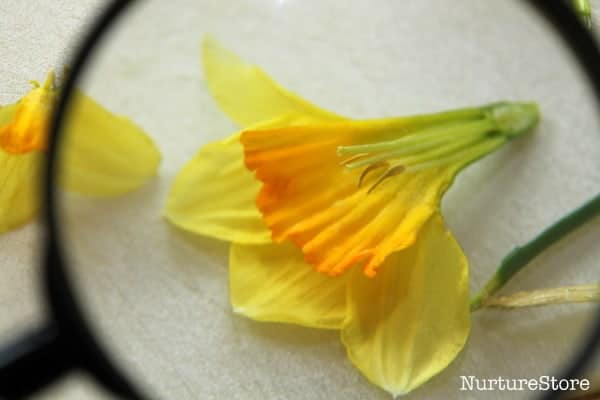
Then it’s time for an even closer look. We placed a daffodil on a chopping board and used a craft knife to slice right through the middle of the whole flower and stem. New things were revealed! And a magnifying glass let us get an even better look.
One thing to note is that some daffodil varieties can have a sap which can irritate the skin. And of course, no part of the daffodil should be eaten. Make your own judgement, based on your own children, about how you might investigate the daffodil. Perhaps wear protective gloves, wash your hands after touching, maybe only you will handle the flower, or maybe simply take a good look at the flowers in the vase without cutting them open.
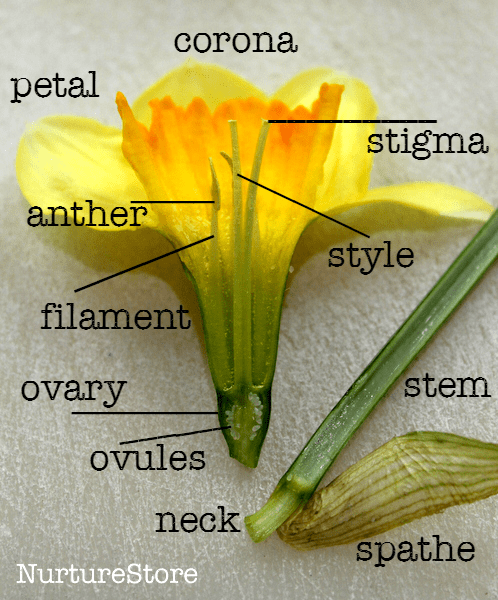
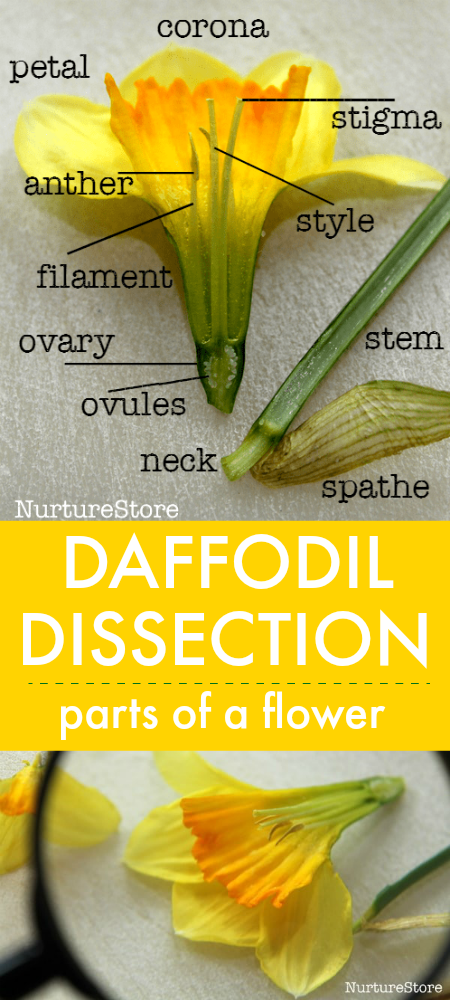
My children really enjoyed investigating the daffodils, and were amazed at how much is going on inside. They peeled away the petals and corona, and made neat piles of filaments, spathes and stalks. We used lots of new vocabulary – you can see the different parts of the daffodil that we discovered, in the photograph above. You might like to print the photograph off to put in your nature journal, or draw your own version, annotated with the vocabulary.
You might talk about pollination, how the flower attracts bees, and what service the bees provide. You might talk about how the daffodil gets water from the soil all the way up to the flowers.
This film, made by Neil Bromhall, is a time lapse which shows how daffodil flowers burst open and how the petals unfold. If you have flowers growing in your garden or nearby, or even in a vase on a windowsill, you might like to observe them each day over the course of a week to see this blooming in real life.
Did you notice how the daffodils bend their heads over when the petals have opened? I wonder why they do that. Can you think of a reason why they do?
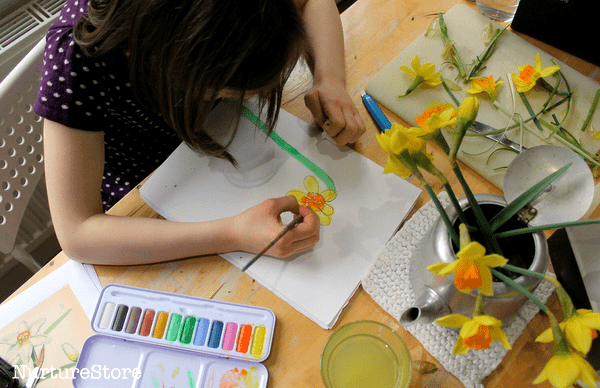
Drawing the parts of a daffodil
You might have already drawn some daffodils this week, on the nature walk and as part of Tuesday’s art and craft, capturing the mood of daffodils in your woods, or you interpretation of their appearance. For today’s activity you might like to focus on a very scientific drawing of the daffodils you have investigated.
You can look at some botanical drawings of daffodils and note that while some paintings can showcase the artist’s imagination, other paintings, including botanical drawings, are designed to be as true to life as possible. Certainly in the days before cameras, scientists would share paintings to show the plants they had discovered, and to help others with plant identification.
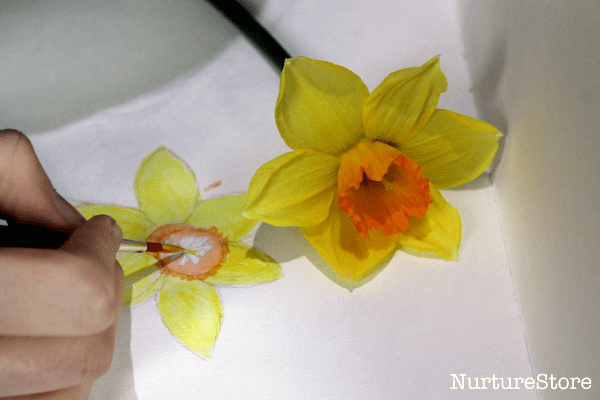
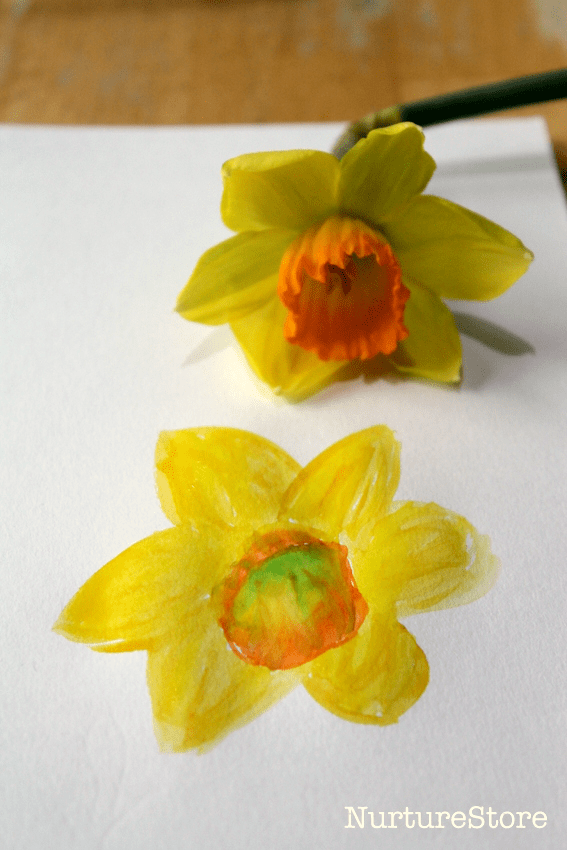
Try making your own scientific sketches in your nature journals. Watercolour paints and a fine brush are great for this, perhaps with a pencil to create the outline shapes to begin with.
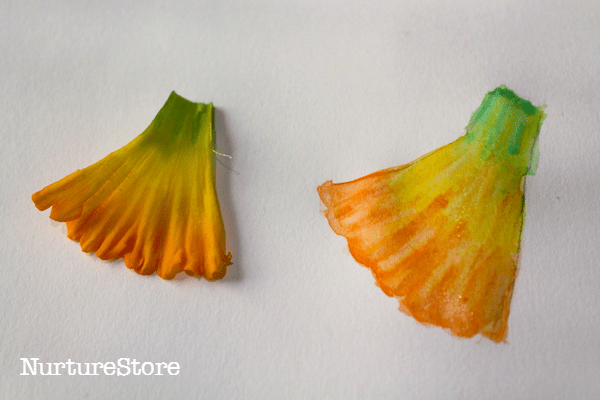
You might like to focus in on one part of the plant, to capture the exact colours; or paint the whole flower.
Save time and get your ready-made Daffodils unit!
Yes, you can do all the planning yourself if you want to, or you can head straight to our Play Academy and download our ready-made Daffodils unit. That sounds like a better idea!
You’ll get a set of lesson plans all based on daffodils: dissect daffodils and learn about the parts of the plant, paint a still life daffodil study, make daffodil bunting, read and write daffodil poetry, make daffodil pinwheels or bunting. Plus you’ll get fun printables to make your teaching even easier.
Come and join the Play Academy to get this and over 50 more ready-made teaching units, so you can easily teach an engaging and successful program that includes math, literacy, science, art, and more, all year round, year after year.


