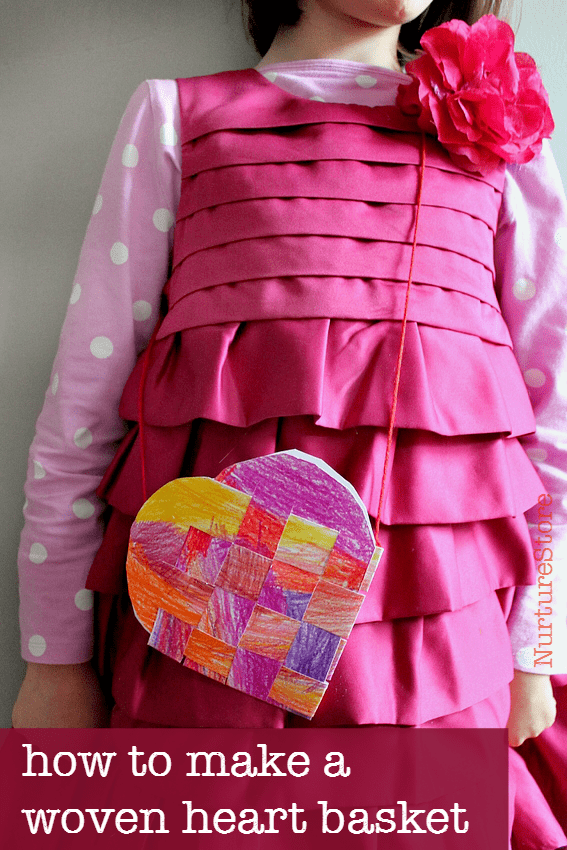
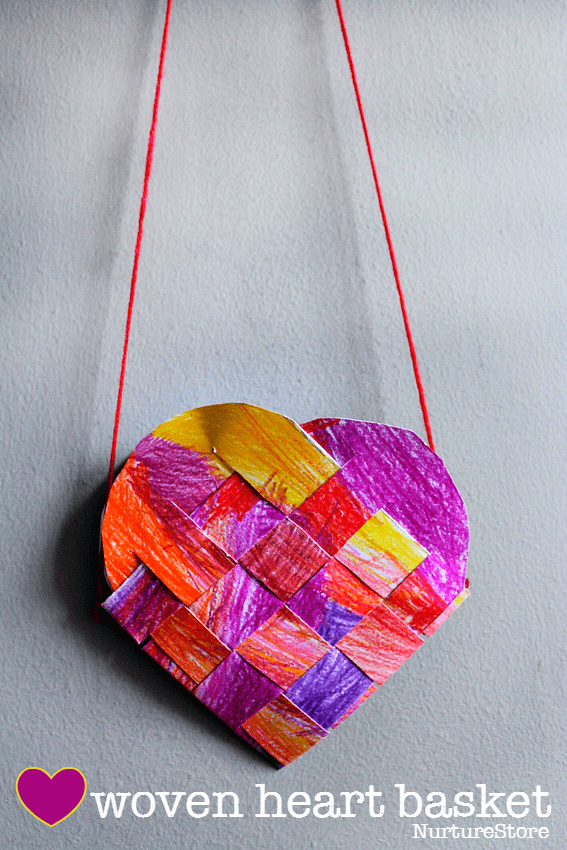
Based on a traditional Scandinavian craft this woven heart basket makes a great Valentine holder or fancy party bag!
Woven heart basket craft for Valentine’s Day
February always feels likes like the gloomiest month of the year, as we limp those final few weeks through the dark until spring. An afternoon gathered around the kitchen table with colourful pencils, heart-shaped marshmallows for snacking, and some happy crafting is just what my girls and I love to keep our spirits up.
These heart-shaped woven baskets are based on a traditional Scandinavian craft. They’re often seen in red and white around Christmas time, but they also make lovely Valentine baskets – or a fancy purse for a little girl who likes frills and twirls. You’ll notice my daughter picked out an outfit and accessories that’s totally appropriate for all the pink!
We do LOTS of process art but there is also much benefit to be gained from sometimes following a step-by-step instructions. We’re keeping traditional skills going, reading and listening to instructions, developing scissor skills and other fine motor skills – and we can always add our own mark by choosing the materials, colours and patterns we use. ‘Crafts’ seem to be being bashed by some people at the moment, so I just wanted to say that I think there is a place for them, alongside lots of other art explorations. A ‘craft’ can be just the right amount of instruction and hand-holding if you or your child doesn’t feel confident (yet!) to explore materials more freely. So if you love crafting – keep going and enjoy it! Use it as a stepping stone to trying out new materials and developing your own ideas and styles. Never feel bad about spending time making with your children.
How to make a heart basket
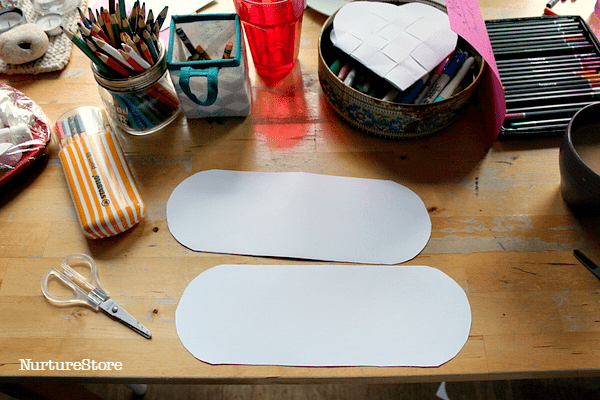
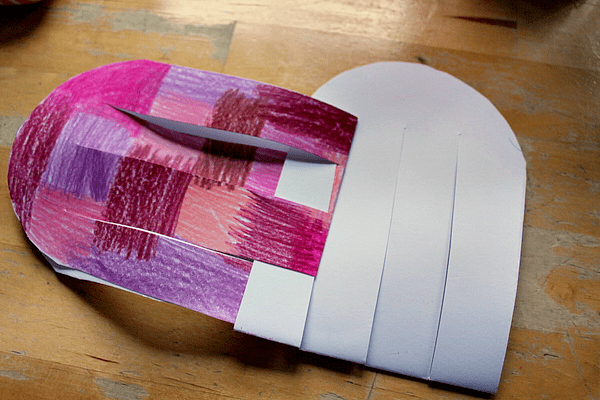
To make a basket you’ll need two pieces of card shaped as shown in the photograph above. Ours were about 20-25cm in length.
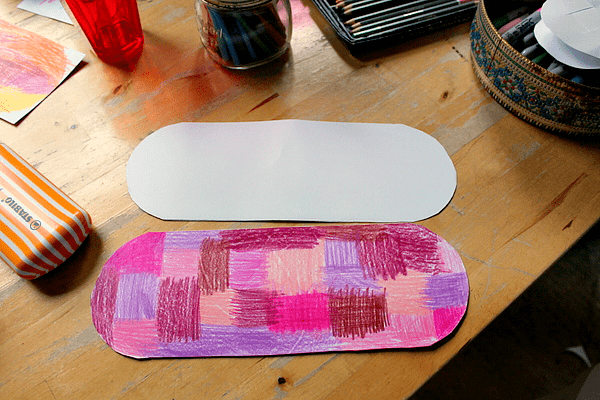
Decorate your card in whatever colours and patterns you like. Traditionally you would use two contrasting pieces of card (often red and white) to highlight the weaving, but here you can go with whatever design appeals to you. We’re following a step-by-step construction here, but there is plenty of scope for your children to add their own style ideas. I like to set out a selection of pens, pencils, markers and crayons so there’s a good choice of things to pick from. You could also upcycle your child’s art and use their old paintings.
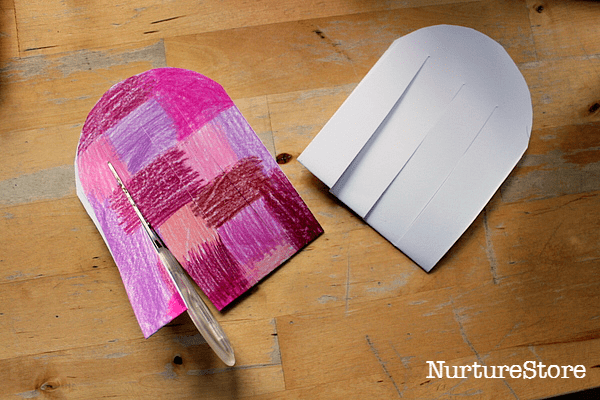
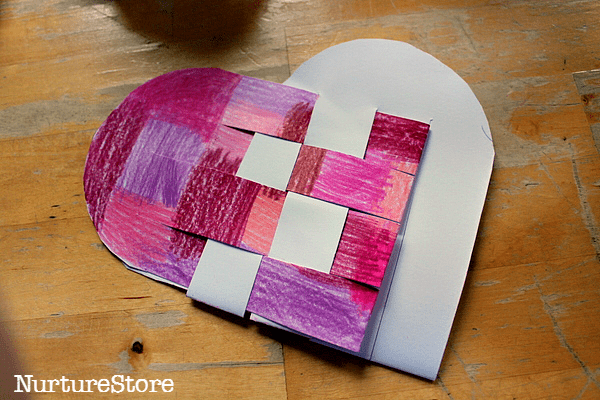
Then you need to prepare the two parts of your basket for weaving. Fold each piece of card in half with the design on the outside. Use scissors to cut three slits on each piece of card, as shown above. It’s important not to cut the whole way along your card, or it will all fall to pieces. As in the photo above, stop cutting when you get to the curved edge of your card.
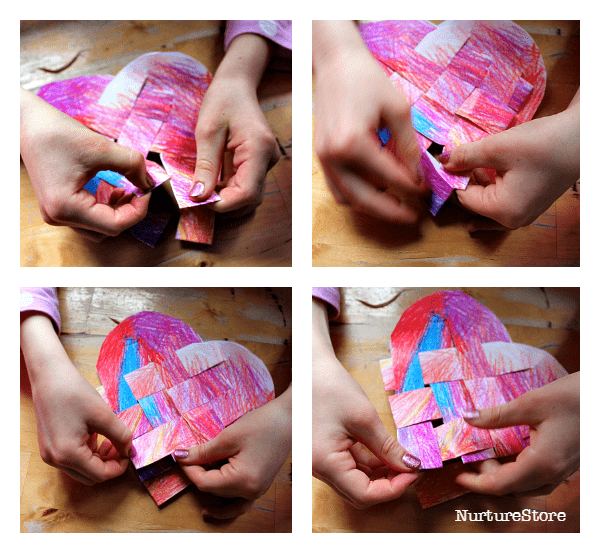
Now for the weaving. This part is a bit of a challenge, but looks harder than it actually is! You going to weave, almost plait, the two parts of your basket together. You can find a detailed step-by-step guide to the weaving here.
I thought my younger daughter would find this part too difficult but she loved it. She enjoyed the challenge of following the step-by-step guide and was really pleased with herself when she finished.
If you would like an easier version without the weaving you could make a simple threaded heart bag like this one.
The basket will open up so you can pop Valentine treats inside.
Finally you can add a handle. You could make a short handle if you would like to hang your basket up as a decoration. The red and white hearts are often used to decorate Christmas trees.
If you would like to make a fancy purse like my daughter you can use a longer length of yarn or ribbon, and then wear your basket with your fanciest outfit!
More lovely Valentine’s Day activities for your children
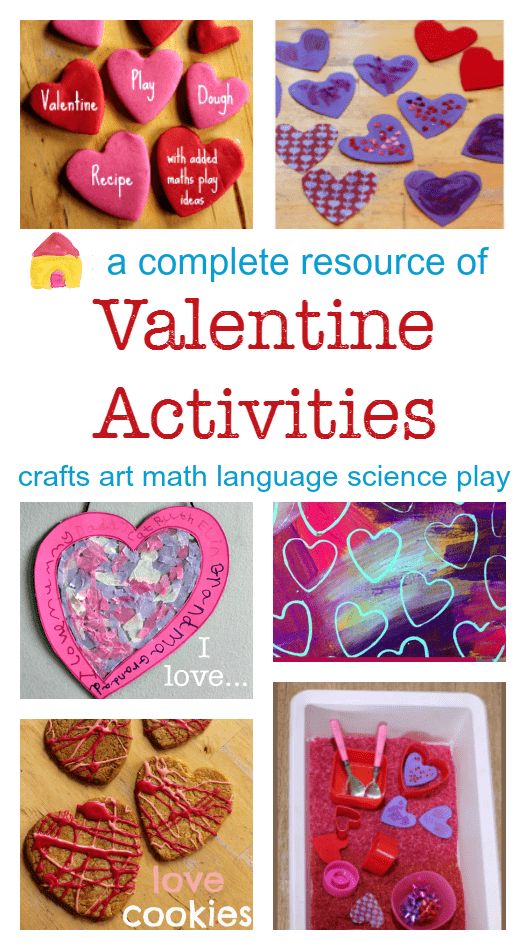
Did you see all my other Valentine’s Day activities for children? I’ve got more free printables, art, math, science, literacy and play ideas, all with a Valentine theme. You can find them all here.


