Join me for a winter art workshop. In these easy winter art projects we are looking at winter skies and the skeleton shapes that trees make.
This workshop is great to combine with a nature walk, or you can stay home and simply use the materials here for inspiration.
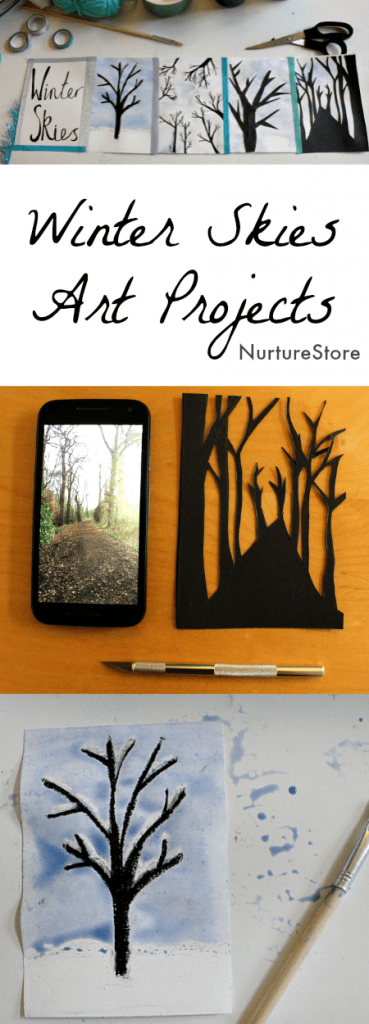
Winter skies art project for children
There are four art projects to choose from in this workshop.
We’ll begin by looking at famous art to set the mood for our workshop and for inspiration.
Then we’ll introduce the materials available and think about how each can be used: oil pastels and watercolour paints, sketching with pens, papercuts, and cutouts collage.
There are four different projects suggested – you can pick just one or try as many as you like. You can work on a large piece of paper / card, or use smaller pieces of card which you can combine in a zig-zag book to make a Winter Skies album.
Everyone is invited to create their own interpretation of the theme. You don’t need to try and reproduce an exact copy of the projects here, but rather be inspired by what you see. How do you think of a winter sky? How would you like to combine the materials available to create your own work of art?

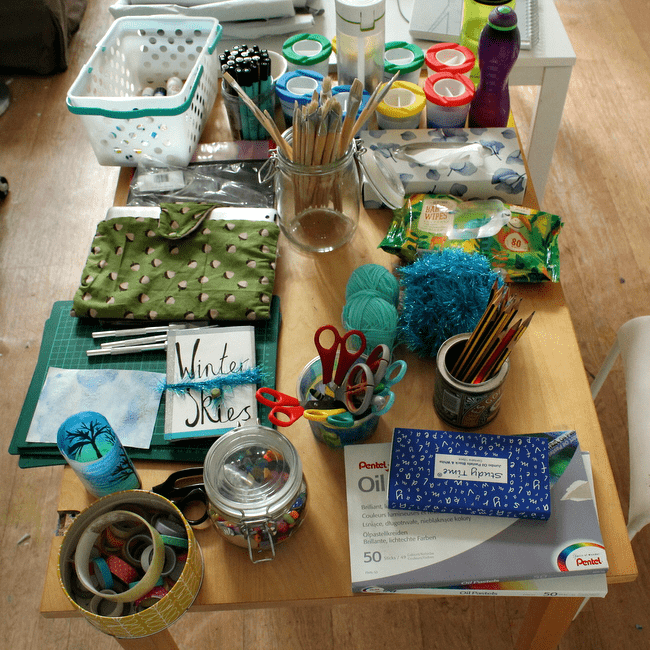
Materials needed
:: white watercolour paper or card
:: black and white oil pastels (or wax crayons)
:: pencil
:: black card
:: scissors and / or craft knife and cutting board
:: blue and grey watercolour paints (tempura/craft paints with extra water will work fine) and paint brushes
:: black marker pen, Sharpie, or Micron pens
:: photographs of trees: your own or you can use mine below
:: salt (optional)
:: sticky tape or washi tape (optional)
:: yarn and beads (optional)
:: glue stick
Famous Winter Art
Let’s being by looking at some famous art for inspiration. Click the links below to see each picture and as you take a look, talk about:
:: What do you see?
:: How do you think the artist created this painting?
:: How does the painting make you feel?
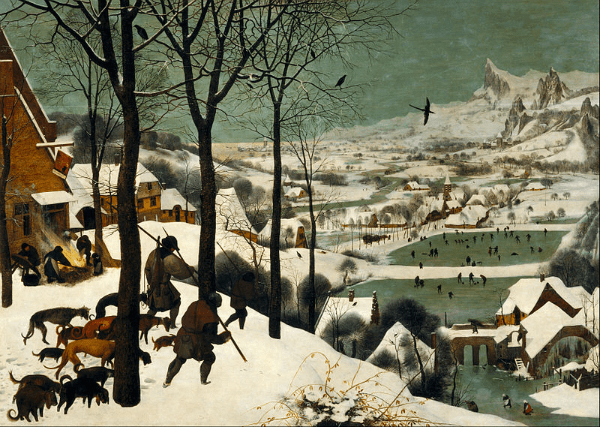
Hunters in the Snow :: Pieter Bruegel the Elder, 1565 (above) is one of the most famous winter landscapes. Think about how hard winters were in the 1500s and notice how the people in the town are preparing for winter.
A Winter’s Landscape :: Giuseppe de Nittis, 1875
Snow at Louveciennes :: Alfred Sisley, 1878
The Magpie :: Claude Monet, 1868-9
These three painting are all from the same period. Notice the impressionist style, the perspective of each painting, and the sunlight. (I think Monet’s capture of the light is extraordinary.)
The Drum Bridge at Meguro and Sunset Hill :: Hiroshige, 1857
This painting from Japan is from around the same time as the Impressionist paintings, but how different! And yet we see the same dark skeleton branches and contrasting sky.
Winter Landscape :: Wassily Kandinsky, 1911
A totally different interpretation of a winter landscape. Did this one surprise you? Kandinsky had a condition called synesthesia which allowed him to hear colours. Can you imagine what that is like? Perhaps you hear / see in the same way?
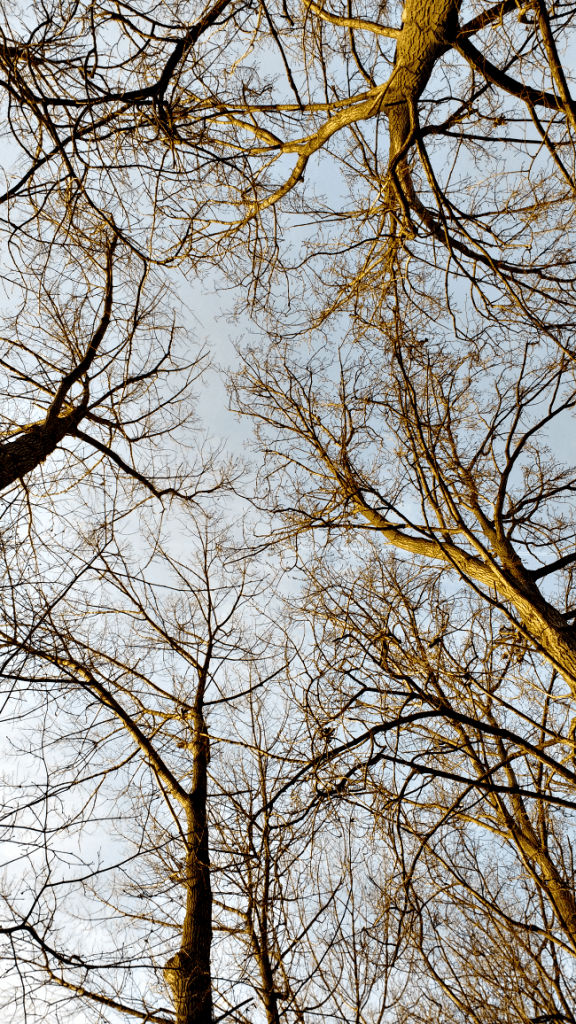
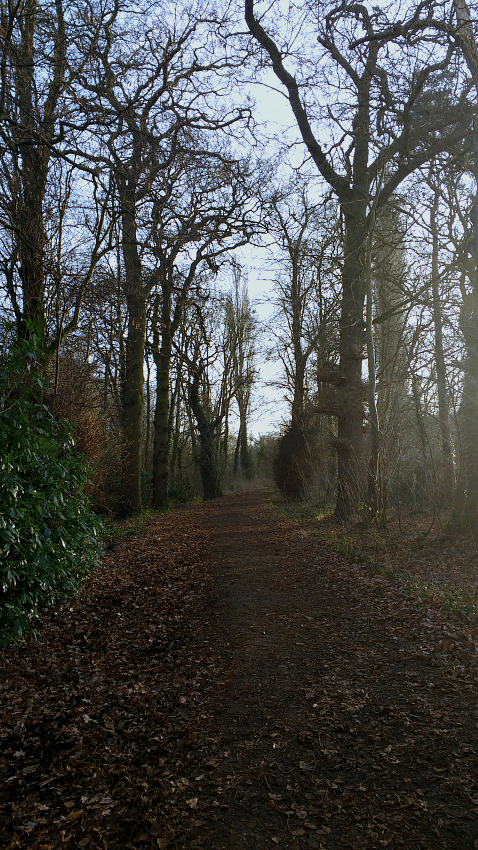
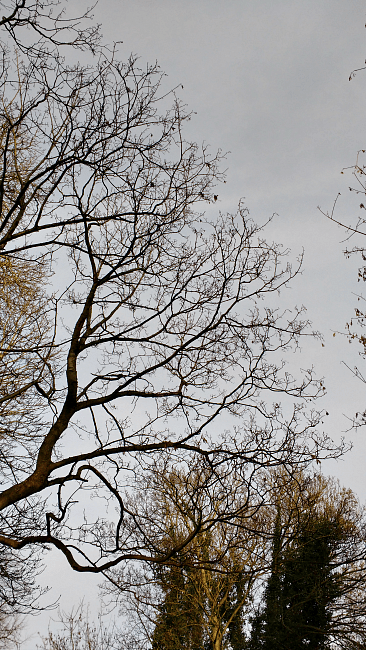
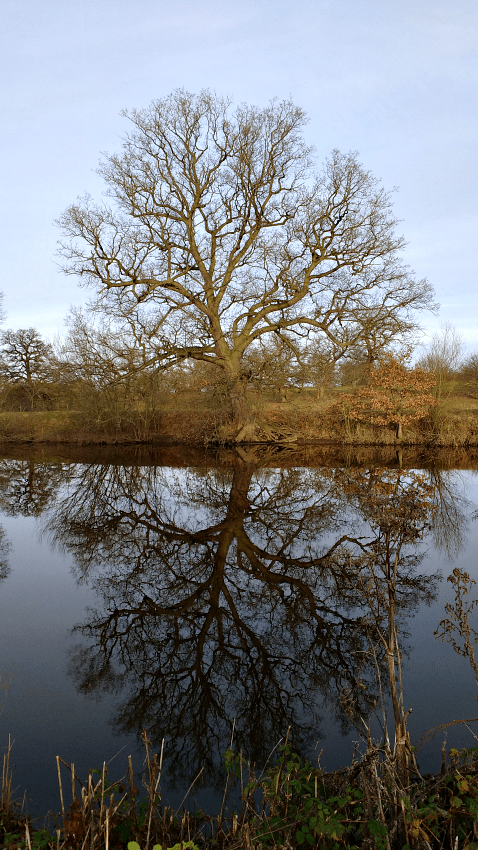
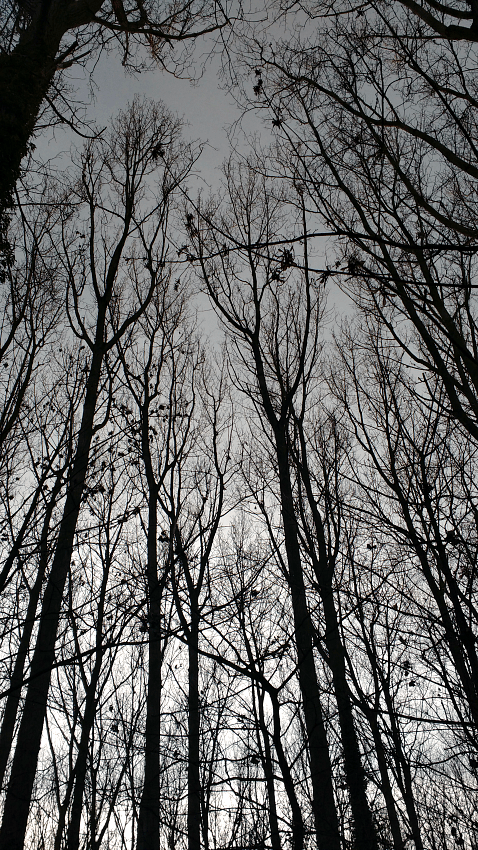
You can also take a look at photographs of trees. Notice how their trunks and branches relate to one another, how they join, how their sizes compare, and what forms they create.
This workshop combines really well with a nature walk where you go tree-spotting and take photographs of the ones you like, or you can use my photographs below for reference.

PROJECT ONE :: OIL PASTEL RESIST PAINTINGS
This project combines oil pastels and water-based paint and uses the pastels’ oil-based property which is resistant to the wash of watercolour.
If you don’t have oil pastels you can try the same technique using wax crayons.
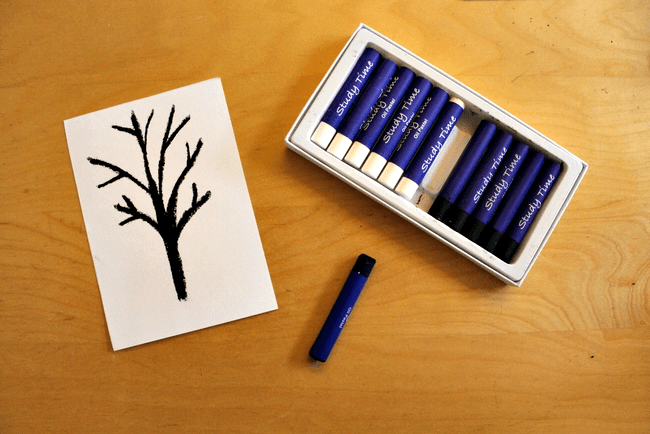
Begin by drawing out a skeleton of a tree with a black oil-pastel on a piece of white card. You can use a photograph of a winter tree for inspiration or draw from your imagination.
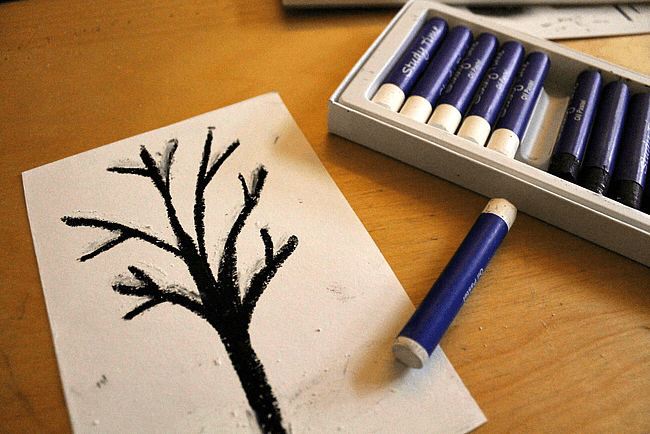
Next, imagine snow falling from the sky; where would it land on the branches of your tree? Use a white oil pastel to add a layer of snow on to the top-facing branches, and a carpet of snow on the ground.
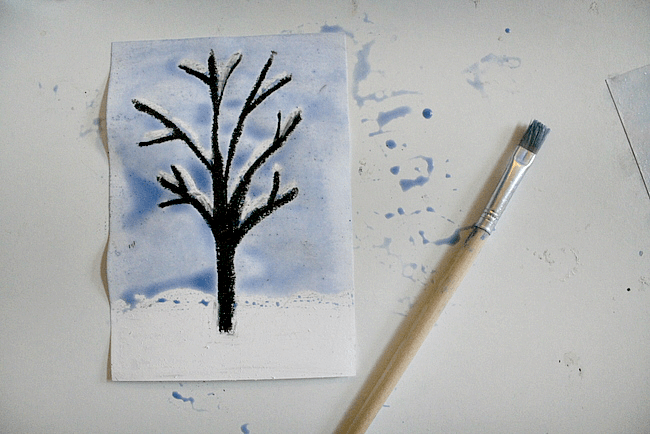
Finally, wash over the whole of your card using watercolour paint. You can blend your own shades of blue or grey and combine them on the card to blend colours together, or wash over with only one shade of blue.
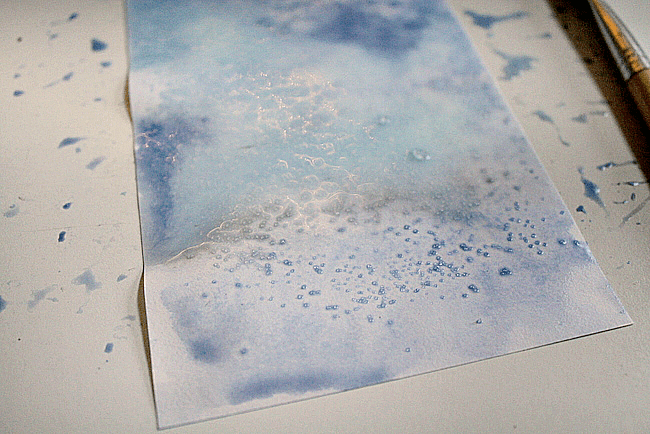
You might like to sprinkle a little salt onto your wet paint for added texture. Once the paint is dry you can brush off the salt and see the frosty effect it creates on your card.

PROJECT TWO :: PERSPECTIVE SKETCHING
This project uses nature photographs and invites you to consider the perspective of different views.
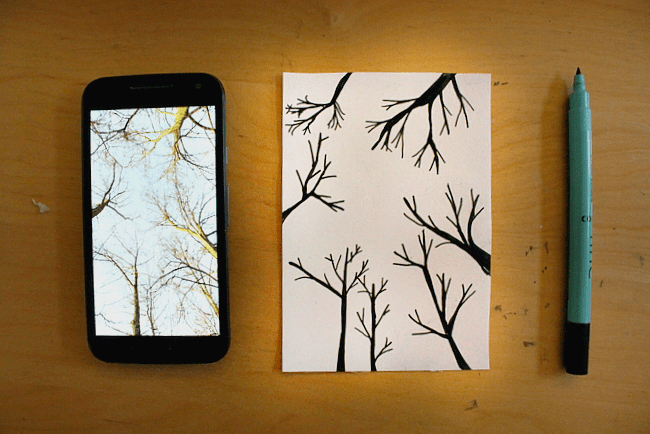
We went on a walk through the woods in preparation of this project, taking photographs on my phone of the trees we found, looking from many different perspectives: along a path, straight up into the sky, at a tree reflected in the river, at a lone tree in the middle of a field.
Then, in our workshop, we chose a photograph to use as inspiration and tried to sketch out the skeleton shape of the trunk and branches. Trees can look very different, and can create very different feelings in art, depending on our point of view.
You can use a pencil, or a black marker pen.
You can use some blue and grey watercolour paint to fill in a sky around your sketch.
Take care about the paint touching your sketch, as your marker pen may bleed into the paint. I personally like the fractured, frosty look this creates.
Alternatively, paint your background first, leave it to dry, and then add your tree sketch on top.

PROJECT THREE :: PAPERCUT
This project uses a craft knife to cut out a wintery tree scene, drawn with inspiration from a photograph. I think it is good for children to learn to use tools safely, so assess your own child and instruct or assist them appropriately.
Our rules are to always sit when you’re using a craft knife, always use a cutting board, cut away from your body, and always replace the cap as soon as you have finished cutting out.
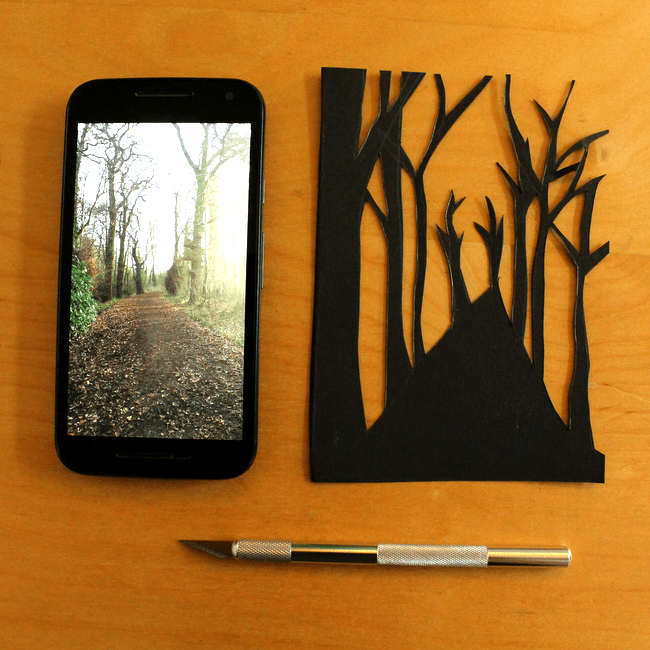
Using a photograph from your walk or using one of my photographs for inspiration, use a pencil to sketch out the skeleton forms of your trees onto black card.
Then place the black card on to a cutting board and use a craft knife to carefully cut out the spaces between your trees.
You can lay your papercut onto a piece of card that you have painted as a winter sky using the watercolour paints.

PROJECT FOUR :: CUTOUTS COLLAGE
This project uses a collage style, inspired by Matisse, using small pieces of card to create one larger image. We used all the scrap pieces of card cut out from our papercut project.
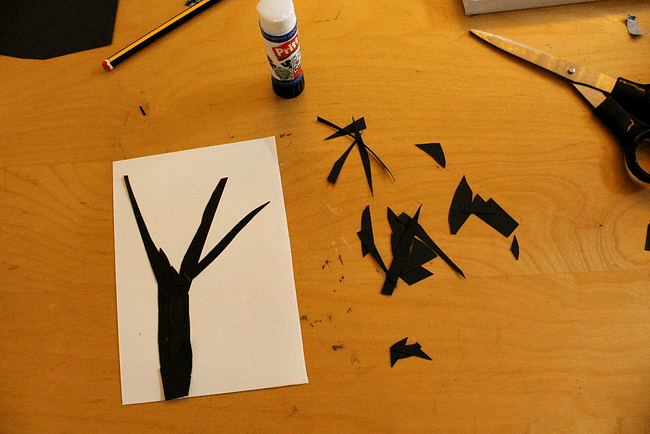
Use some scrap black card snippings and see if you can arrange them together in a way to create a tree skeleton on a white piece of card or watercolour paper.
Think about the shapes you want to create for your trunk and branches, and try flipping and rotating your scraps of card around to build up your picture. Once you are happy with your design you can secure each piece in place with glue.
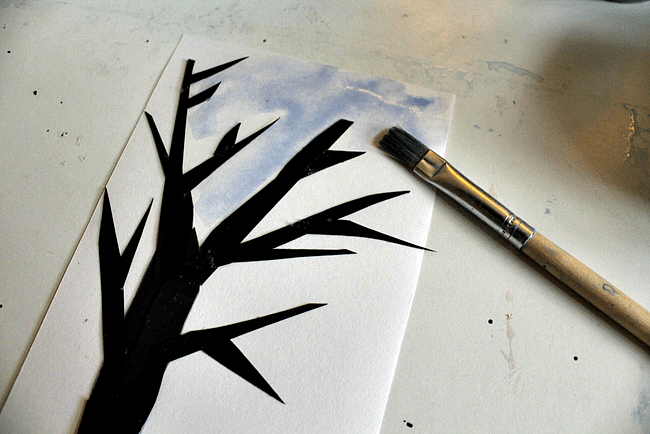
Then fill in the space around your tree with watercolour paints to create your wintery sky.
You might like to use salt, as suggested above, to add a frosty texture.
You could also dab the paint with scrunched up tissue or kitchen paper to add texture.

PROJECT FIVE :: A WINTER SKIES ALBUM
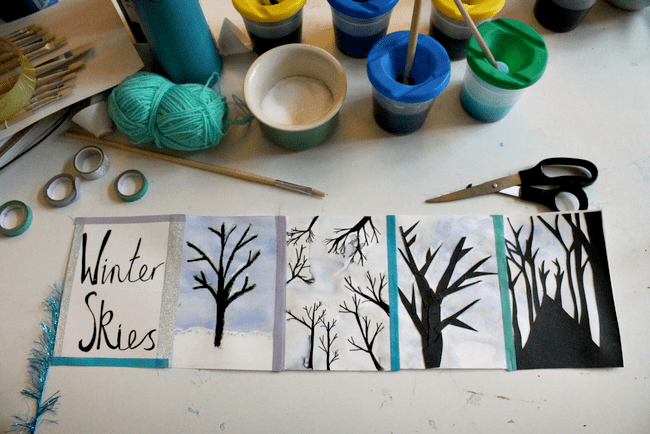
If you have tried out several of the suggested projects, you might like to combine them all together in a zig-zag album.
To do this, once all the paint is dry, you can use sticky tape or washi tape to fasten each picture page to the next, in a long line, as shown above. It helps to leave a tiny gap between each piece of card when you tape them together, so that they fold more easily – rather than lining them up exactly next to one another.
You can add a title page, and use yarn, perhaps with a bead on the end, to make a wrap-around fastener to hold the book together when all the pages are folded up in a zig-zag format.


