Story box tent
Make Your Make : 30 projects that promote a love of writing, self-confidence and compassion
Help your child to make their mark with these wonderful projects that help develop a love of writing, creative storytelling, self-confidence and compassion – along with six sets of bonus printables.
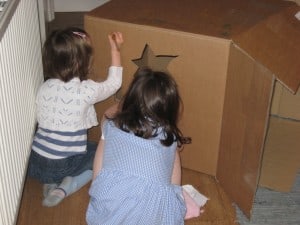
It’s always exciting when a delivery arrives in a great big box. Who cares what’s inside, the big questions is: what shall we make with the box? Over to Big this time, who straightaway said, ‘Let’s turn it into a Story Box’. Her inspiration came from the character Pinky Dinky Doo (attention: this link is noisy!) who has her own cardboard story box where she draws pictures which come to life to tell her stories.
I think this is a wonderful idea to get children creating stories of their own, developing language skills as they play with characters and settings. It’s also good to use drawing in a different way – on the walls and roof of your house. And writing on a vertical (or even overhead) surface is very effective in developing wrist strength and pencil grip, getting ready for writing.
To make your own story tent you will need:
a big box – ours is big enough for both girls to fit in to together and sit upright comfortably. (If you’re not expecting any deliveries of your own, your local removal company or white goods store are places you might source a big box.)
a craft knife – to cut out some windows to let light into the box so you can see what you’re drawing. And apparently, rectangular windows are boring, so you might like our star-shaped ones.
felt pens – to get drawing and telling stories with. Whatever you like – let your imagination go free! And you can come back again and again to add more characters and make the next installment of your adventure, until every surface of your story box is full.
You might like to add in some cushions and a blanket to make your story box as comfortable as can be.
My girls are really enjoying this play den – inside together, in their own space, lying on their backs, collaborating over a story as they draw it out on the ceiling. Why not give it a try with your children? I’d love to hear what stories they come up with.
Any if you’re looking for other ways to use a cardboard box you might like our play house or ride-on train too.
Cardboard box ride-on train tutuorial
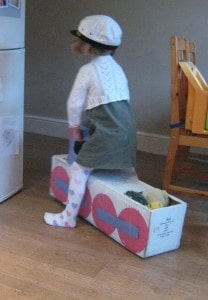
Got a long cardboard box? Here’s how to transform it into a train, for lots of role playing fun.
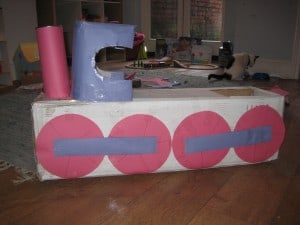
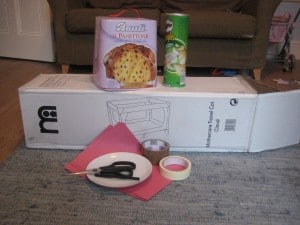
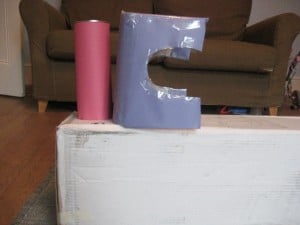
We used: a rectangular cardboard box, a Pringles tube, a panettone box, some coloured paper, sticky tape, scissors, a craft knife, a small plate, a felt tip pen
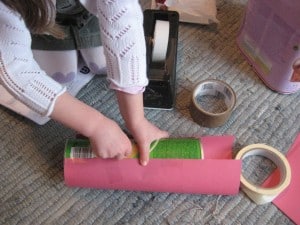
Wrap the tube in coloured paper. We used sticky tape throughout for all out sticking. You could use glue and could also paint the train instead, but then you’re going to have to wait for it to dry – and 3 year olds need instant gratification!
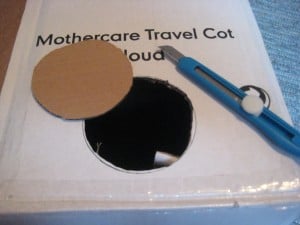
Place the tube where you want your chimney to be and draw round the bottom with your felt pen. Then cut the circle out with a craft knife (grown-ups only, of course).
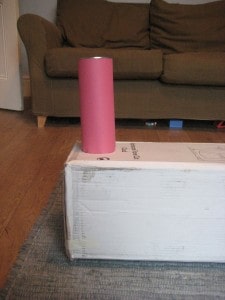
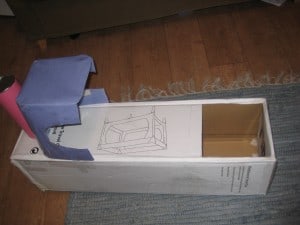
Poke the tube through the hole and you have your chimney.
Cut your other box into the shape of the cab, wrap in coloured paper and stick onto the train with sticky tape
Using the craft knife cut out a square flap to make a carriage for storing cargo and passengers. make sure you leave enough room between the carriage and the cab for the driver to sit. (We discovered later that my daughter fits inside this carriage nicely!)
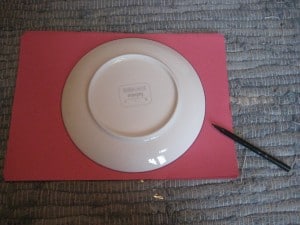
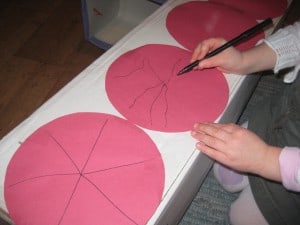
Now draw round a small late and cut out some circles from coloured paper.
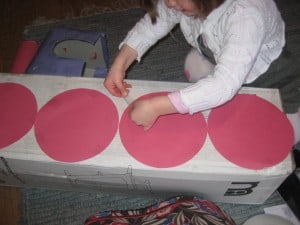
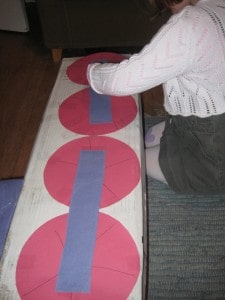
Stick these along the sodes of the train to make the wheels. Count tham as you go along and talk about what shape they are.
Adding spokes onto the wheels is a good opportunity to practice pencil skills.
Link up the wheels with a different coloured strip of paper . Talk about how this rectangle shape is different to the wheels.
All aboard! Ready to roll! Choo choo!
Add some props to extend the play possibilities – a drivers hat, some passengers, some parcels to deliver.
You can introduce some letters and numbers into the play by making signs for the stations you visit. How about making a train timetable and some tickets too?
We’ve been doing some train inspired art and maths play too – come back and see the next post to have a look.
Happily shared with Today’s Creative Blog.
and
Make a cardboard box house
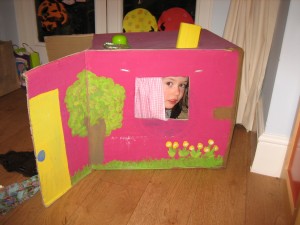 One of the favourite things we’ve ever done is to make our own cardboard box house. We had a box left over from a house move but any will do as long as it’s sturdy. Even better if your child can fit in it, but you can make teddy a home if yours is smaller.
Assuming your box is the type with four flaps at each end which fold over to close: Fasten up one end using glue or sticky tape. At the other end, cut off two of the flaps (top and bottom) leaving two (right and left) to be your front door. Cut out a letter box – so your child can deliver letters to the house – and two windows. You can cut a small square out of the roof and use a folded up strip from the discarded flap to make a chinmey – very important, as my daughter pointed out, so Father Christmas can get in! Paint the walls and roof in your favourite colours (we used a few coats of poster paint) and add some pictures such as a climbing rose or a cat sat by the door. Put your house number on the front. You can make a simple curtain by hemming a piece of fabric and threading a piece of elastic through the hem. Make two holes either side of the top of the window and thread the elastic through – knot it to hold in place.
A unique toy with hours of play – home sweet home!
Happily shared with Today’s Creative Blog.


