Try this salt, glue and watercolor paint process art activity for a super science and art project with gorgeous results.
Salt, glue and watercolor paint process art activity
See how to use glue, salt and watercolour paint to go on this art adventure with your children:
With process art, which is what my Art Spark course is all about, the emphasis is on the doing of the art, and we encourage our children to try out materials and techniques. We’re not so focused on the end result – although this salt/glue/paint combination does create gorgeous designs. Rather, we’re exploring the possibilities of the materials we’re using. It’s lots of fun!
One of the benefits of process art is that it provides such a great invitation to explore the science of art, and this trio of salt, glue and watercolor paints are a super combination for scientific process art exploration.
For this process art invitation you will need:
- salt – just ordinary table salt
- glue – we use a hot glue gun and white school glue.
- watercolour paints.
- thick paper, card, or watercolor paper
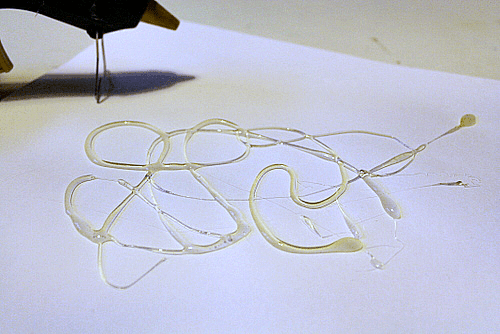
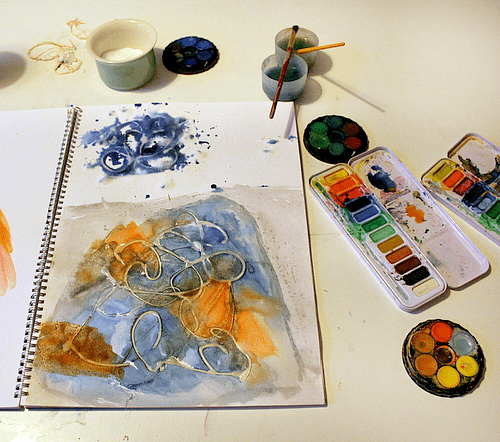
I set the materials out and then we tried them out in several different combinations to see what we could create. My children love using our hot glue gun (see above for suppliers) and used it here to make abstract patterns on the paper.
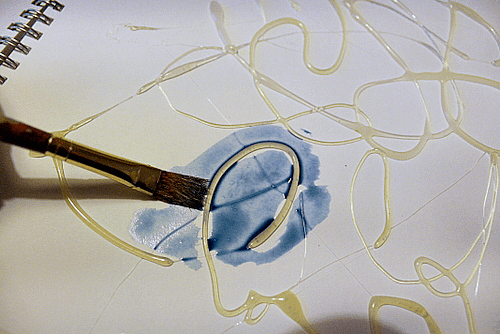
The glue from the gun dries quickly, so we were soon able to apply watercolour paints over the top of the dry glue.
Take a close look at what’s happening on your page and notice how the glue resists the paint. You could use a magnifying glass to get an even better look.
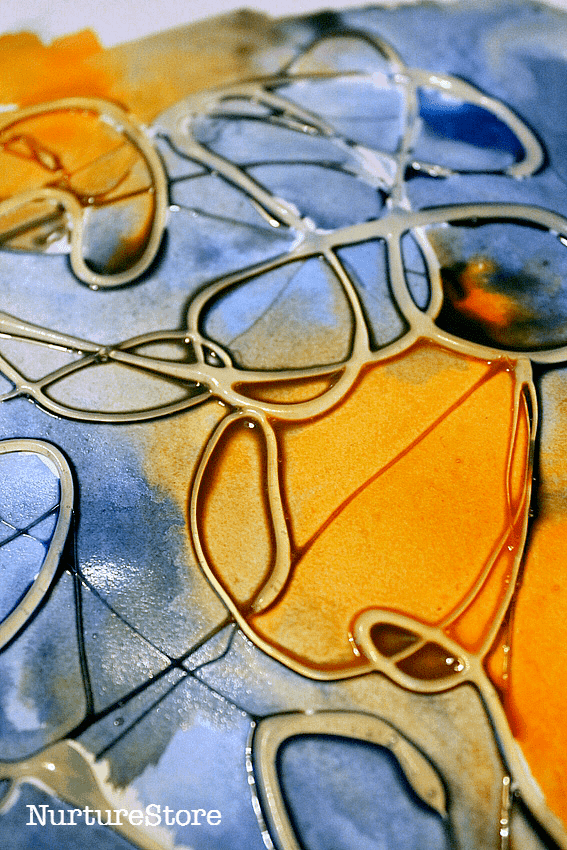
You can experiment with different colours of paint and see how they flow together and mix to create shades.
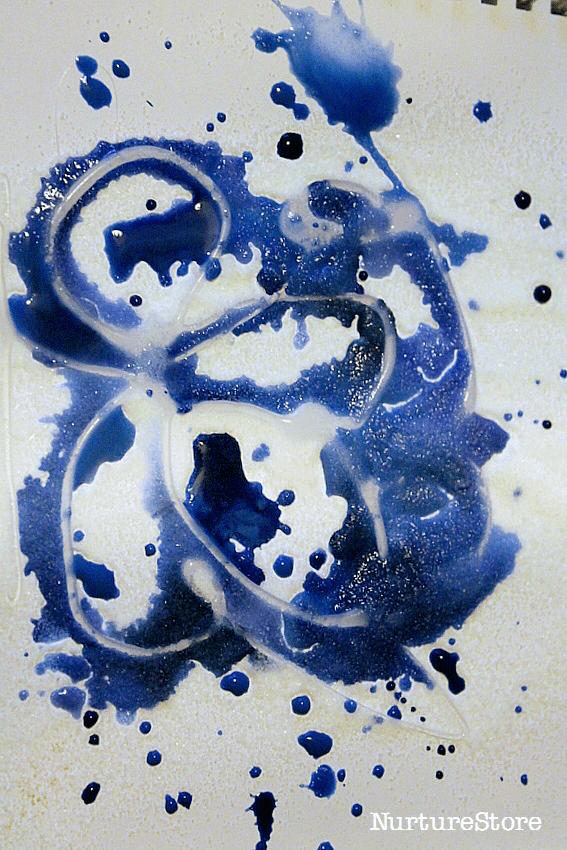
We also added in some salt. One combination we liked was pouring salt over the glue from the gun, and then dripping watercolour paints over the top. This is a good way to observe the contrast between how the glue and the salt respond to the paint.
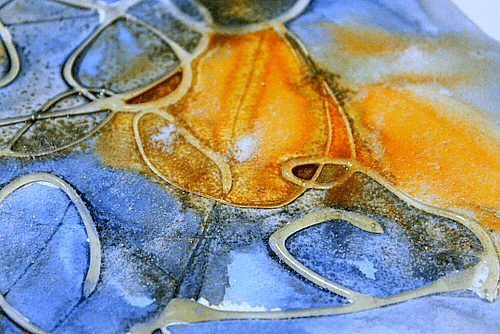
We also tried sprinkling just a little salt over some of the areas of wet paint. This makes an interesting effect as the paint dries.
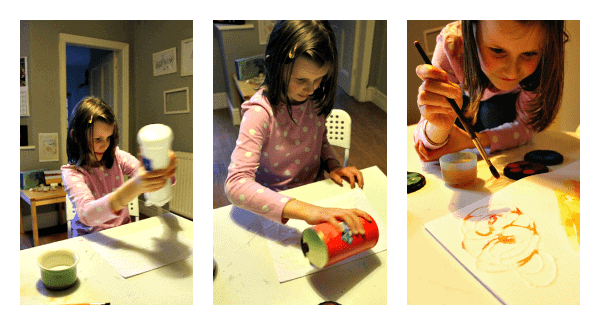
Our favourite though was with white school glue.
- We squeezed out the glue in a swirly pattern.
- Then poured salt over the top of all the glue.
- We left the glue to dry over night. Once dry, we carefully brushed off the loose salt, leaving behind the salt which was stuck to the glue patterns.
- Finally we used a brush to carefully place watercolor paints onto just the salt (not the surrounding paper).
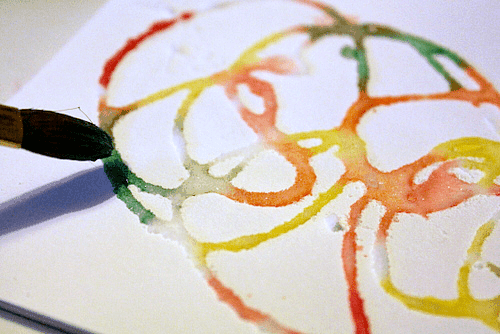
This science looks magical! If you apply the paint slowly and carefully you will see how the salt ‘sucks up’ the paint. It looks like the paint is jumping along the lines of salt. My daughter loved it! You can use different colours of paint and watch them walk along the salt lines to meet up and make colour blends.
A perfect STEAM activity combining science and art
This paint, salt and glue process art activity is a great art and science combination. We often talk about STEM subjects, meaning Science, Technology, Engineering and Math, but this has the added A of Art, giving us a STEAM activity. Combining the arts with math and science learning allows children to explore with their whole brain, and makes both sciences and arts interesting and accessible for all children. By including the two we give children the opportunity to go deeper and broader in their learning.
Here children can explore pattern, shape and colour, creating abstract process art. At the same time they are learning about absorption, and creating their own experiments to test out the different properties of materials.


This is all very cool i will be trying this out and experimenting with different techniques and styles 🙂
that is ok you can make more art
I am happy for this proyect, i dont speak english but likes me. I live in Puebla, Mexico 🙂
Your proyect is so beutiful!!!!
I teach paint and i want to learn more things whit you.
Nice yo meat you
Thank you
You find me in pinterest like Carolinda 1962
Hello Carolina! It’s great to connect with you. I hope you enjoy the ideas on my site. 🙂
Hi I work in a program in seniors adult work shop for developmental disabilities and plan on doing this project tomorrow they love to paint thank you for sharing
Hi Karen. I’m always so interested to hear how people are using my ideas. Thanks for sharing. I hope you all enjoy your painting workshop.
Hi Cathy
Pinterest lead me to your site, when I was searching for something that would interest the clients at the Early Onset Dementia Day Program, I work at. This is an exceptional activity for the wide range of clients at our charity so thank you for sharing for free.
With appreciation,
Karel
Aotearoa/ New Zealand
Hi Karel. I’m so pleased you found this useful. You and your clients might also like more of our sensory process art projects? Cathy
I have a question about the ones you did with hot glue. Did you Peel off the glue after the paint dried? If you did, what was the effect? Did it come off easily or rip up the paper?
Hi Kelley. We left the glue in place. I think if you try to peel it off it is going to tear the paper. If you do want to create a ‘peel’ effect you could try a combination of low-adhesive painters/washi tape and go over the top with paint, pens or oil pastels – then peel off the tape. You can see an example here https://nurturestore.co.uk/watercolour-washi-tape-resist-art
I used to make Christmas decorations with a similar method. If you use white glue and stretch cling film over a board to pipe your decorations on. Snowflakes are always popular. While the glue is still wet you can sprinkle with salt (thanks for that idea) or you can sprinkle the glue with glitter. When dry they can be peeled off the cling film and will stick to windows without damage. I’ve also used this method to make decorative costumes for plays just tacking the designs onto a cloak or long skirt. Many thanks for the glue gun ideas. I have two families coming round during the holidays to try them out.
Thanks for sharing this Lorna – such a great idea!
Bonjour Lorna,
Je vais tester votre proposition d’idée (colle sur film plastique…). Merci beaucoup du partage et merci aussi pour Cathy James. Je viens juste de découvrir votre site et je vais donc le mettre en favoris de ce pas !!
Irène
I love this look can you do this on glass?I have wine bot tales I want to decorate
I haven’t tried it on glass, Barbara, but I think it would work. You’d want to check you have a glue that would adhere well to glass.
I tried this using watercolor pencils. I picked 4 colors, colored in the open spots in the glue lines. Sprayed with water and mixed with a brush. I misted one more time before adding the salt. Before totally drying I removed the glue. Yes, it ripped the paper somewhat, but I am ok with that. I pushed the ragged edges back in place. I really like the effect. Looking forward to doing this with the granddaughters.
Thanks for sharing with us Kellie. I hope your granddaughters enjoy it too.
you are soo nice Cathy kepp doing good
Thanks Nickolas.
I have done this using Epsom salts which turned out really well. The salt crystals are bigger and don’t dissolve as much as table salt so the end product is different. It would be fun to try both kinds of salt and look at the differences with the children.
Interesting! Thanks for sharing your experience Marilee.
I love your artwork, it’s very inspiring me.
I’ll try it with my little one.