Join this famous art lesson for children to learn about the artist Jackson Pollock. We’ll look at some of Pollocks’s famous paintings created using action art and make our own Jackson Pollock inspired art project using flick painting.
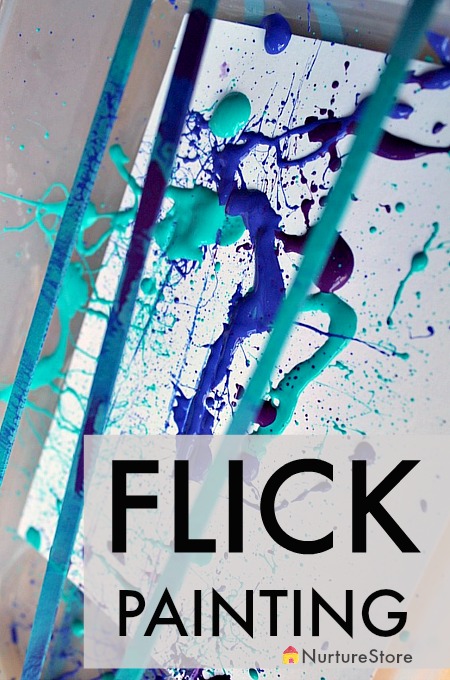
Jackson Pollock action art lesson for children
In this famous art lesson we will::: learn about the artist Jackson Pollock:: look at some of his paintings and talk about what we see in them:: learn about action art
:: create our own action art paintings using a flick painting technique
Famous artist in focus :: Jackson Pollock
Jackson Pollock was an American painter. He was born in 1912 and died in 1956.
He is famous for his messy, splashy, and drippy paintings created using a technique called Action Art. Action Art is the process of dribbling, splashing, and using other unconventional techniques of applying paint to a canvas.
Pollock didn’t always use traditional oil paints in his artworks but instead also used enamel and commercial / household paints.
Pollock often set his canvas out on the floor, rather than upright on an easel. He would use paint brushes and sticks to flick paint onto the surface and would also pour paint straight from the paint can. Gravity was also a part of his process.
With all these variables, and perhaps influenced by Pollock’s love of jazz music, you will notice his artworks have great rhythm to them.
Pollock’s Action Art
Click through on these links to see examples of Pollock’s action art. As you look at the artworks, answer these questions:
- What can you see?
- What words would you use to describe the artwork?
- What does the image make you think about?
Autumn Rhythm (Number 30), 1950Untitled, ca. 1948–49
Summertime: Number 9A, 1948
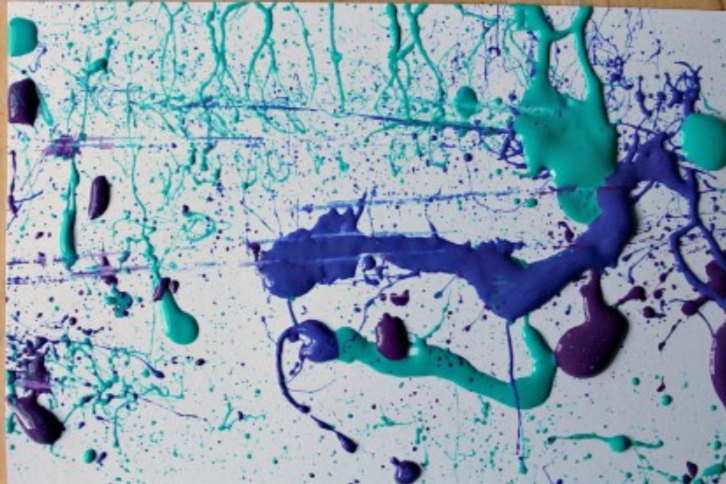
ART PROJECT :: FLICK PAINTING
Let’s make our own flick paintings inspired by Jackson Pollock. This is a really fun process to explore, especially suited to children who love action.
Do be aware that this can be very messy, so take appropriate precautions:
:: use washable paint
:: cover everyone and everything
:: or take the activity outdoors
Don’t let the fear of a little mess put you off giving this a try though, as it’s such a fun and creative process.
Materials needed
:: strong frame: baking tin with raised edges, picture frame with glass removed or a sturdy box
:: rubber bands
:: paper
:: paints
:: paint brush
You can thin down your paint with water if you find the consistency too thick to flick.
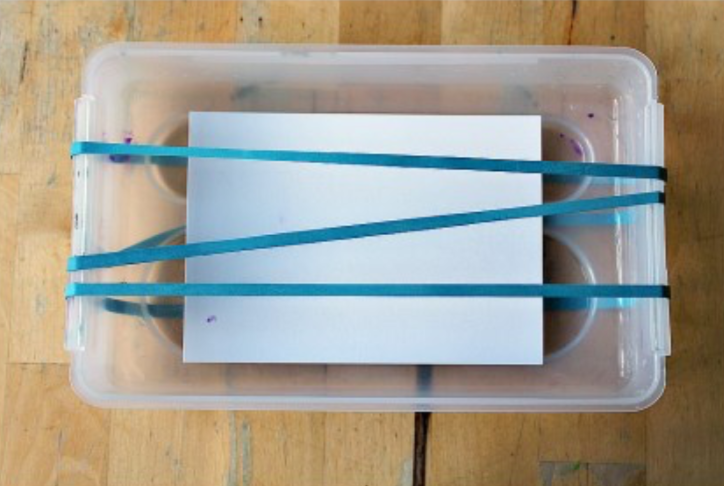
Stretch rubber bands across your frame, tin or cardboard box.
Place a piece of paper under your frame / at the bottom of your tin / box.
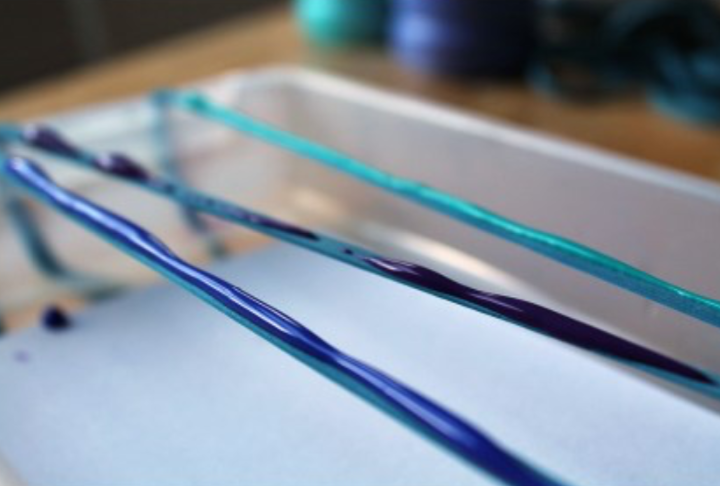
Use paint brushes to apply a layer of paint to each rubber band.
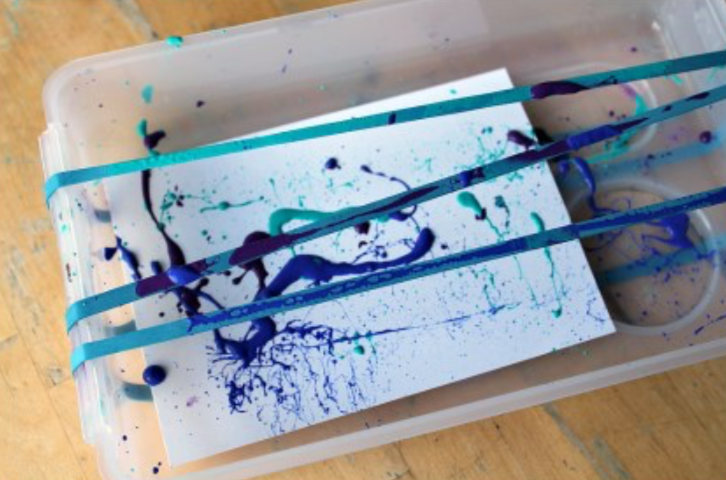
Pull back each rubber band and let them ping!
As the rubber bands snap back into place the paint will splatter on to your paper.
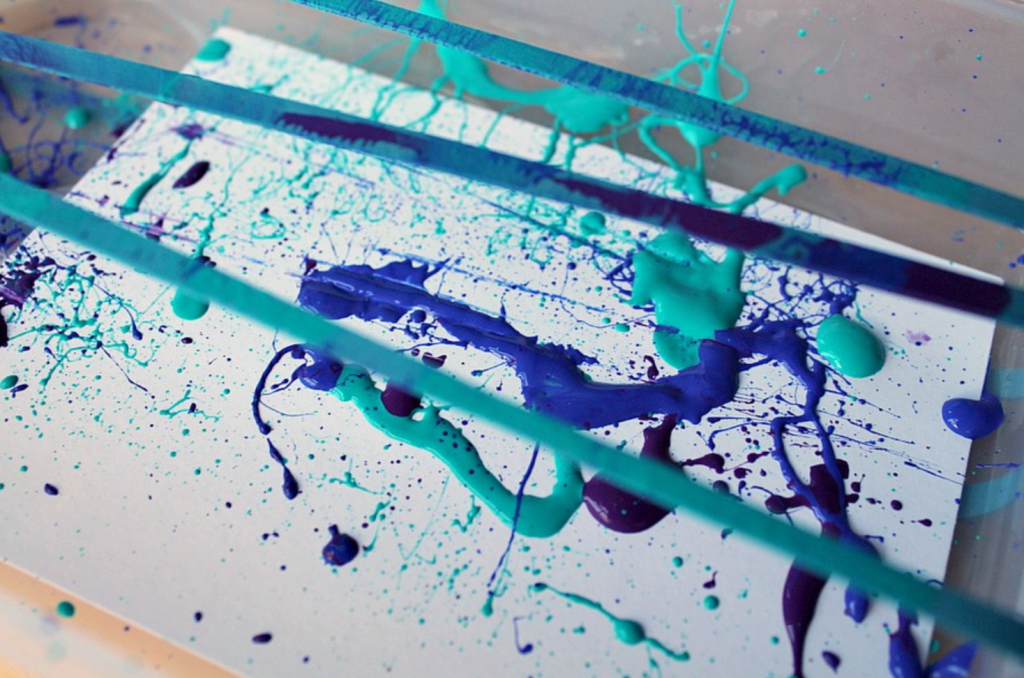
Have fun applying different colours and repeating the process.
Variations to try
Use the technique to create a firework painting: use neon paints on a black piece of card to create fireworks in a night sky.
Use rubber bands in a different way: take a piece of think cardboard and wrap the bands around it. Use this as a homemade stamp to make mono prints.
Explore the process of flicking and splattering further: use paint brushes, tooth brushes, or hair brushes and flick using your wrist to create splatter art.
Try using fly swatter to apply the paint.
Fix up a large piece of paper or fabric to an outdoor wall or fence and create your splatter art on the vertical surface.
Share your art with the NurtureStore community!
We would love to see the art you create! Share a photograph on Instagram with the hashtag #ideasfromnurturestore and join our community gallery.


