This homemade puffy paint recipe is really quick and easy to make. With just four household ingredients, you’ll be ready for some fun art and sensory play in minutes.
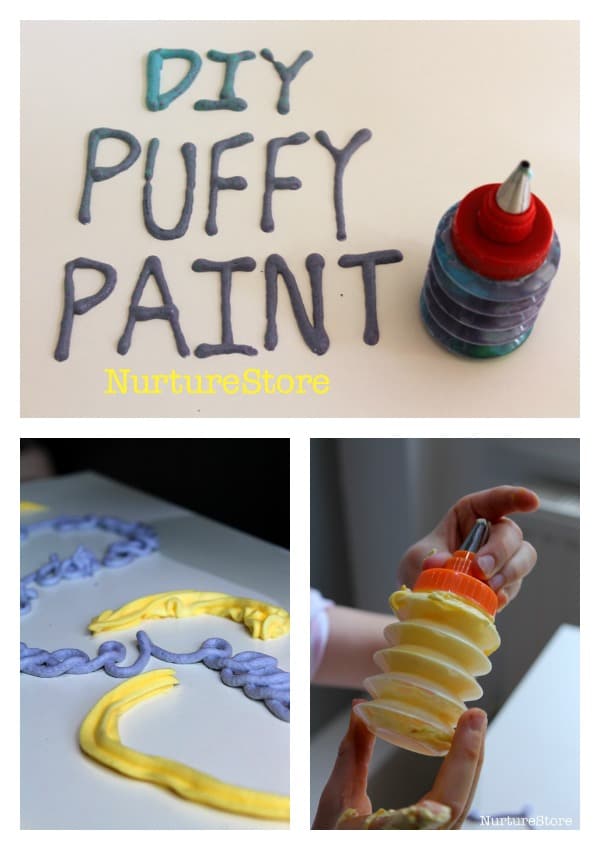
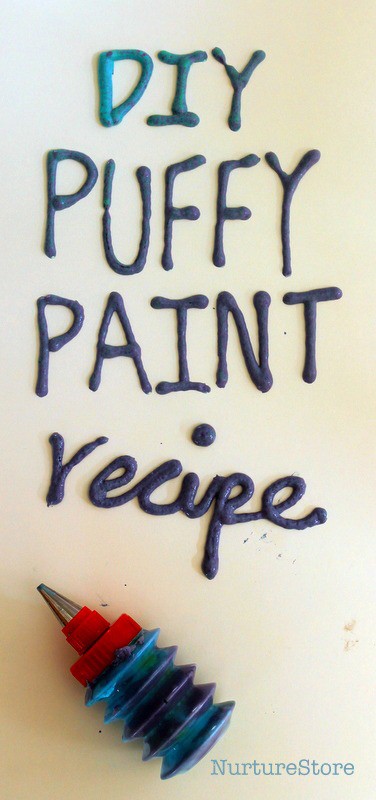
Homemade puffy paint recipe

To make our homemade puffy paint recipe we use:
a teacup of shaving foam
a quarter teacup of PVA / white craft glue
a quarter teacup of plain / all purpose flour
(Although, I never measure anymore. A big squirt of shaving foam, a small squirt of glue and a spoonful of flour does the job.)
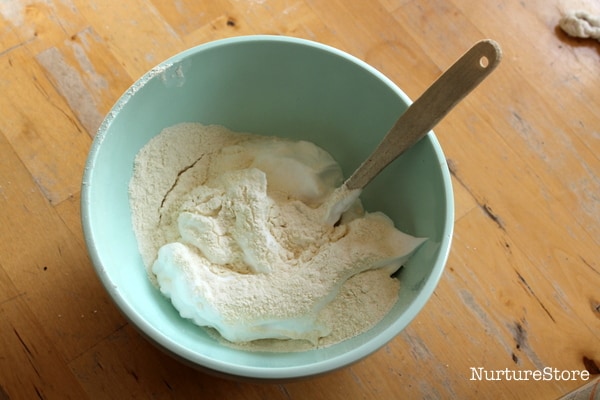
Stir these ingredients together and then add a drop of food colouring, stirring that in to give an even colour – or stirring just a little for a marbled effect.
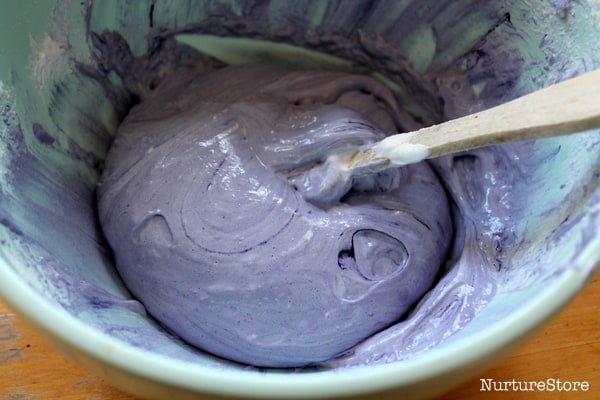
You can make a few pots of the puffy paint and add different colours to each. We just use a tiny drop of food colouring gel and find that, once combined with the puffy paint, it does not stain our hands – but do check this carefully with whatever colouring you are using.
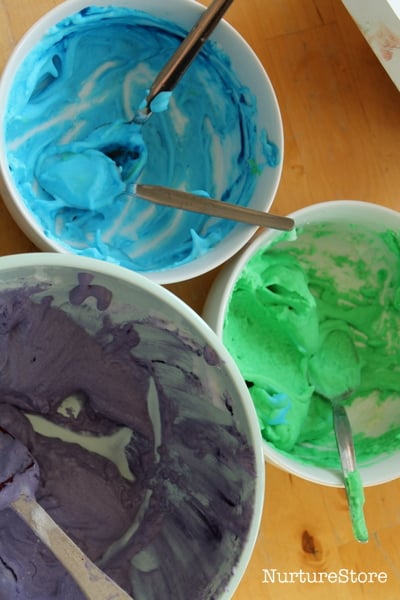
We use a big, white board for lots of our sensory play – it was a shelf from an old cupboard – which provides a good surface to paint on, and it’s easy to carry to the sink when it’s time to wash up. You can set out a few colours of your puffy paint and invite the children to explore with paint brushes, fingers, spatulas, or glue spreaders.
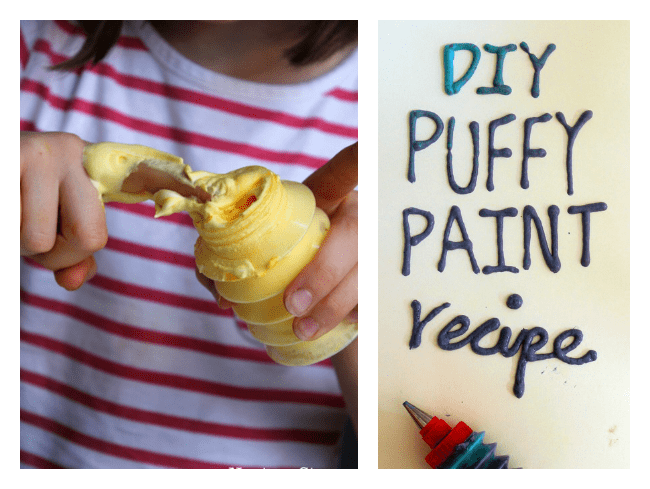
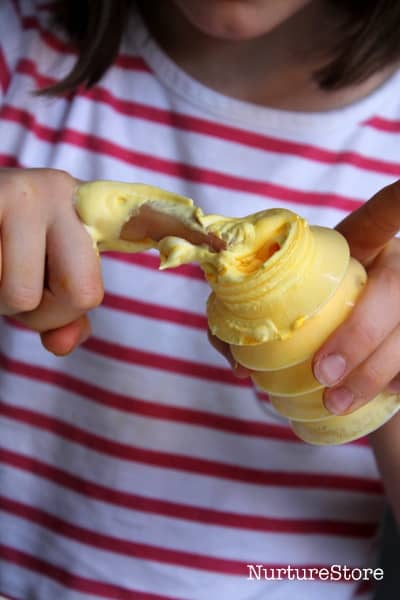
The puffy paint is also excellent in piping pots (the kind you use for icing a cake). Your assistants can use their fingers to squelch the paint inside…
then screw on the piping nozzle…
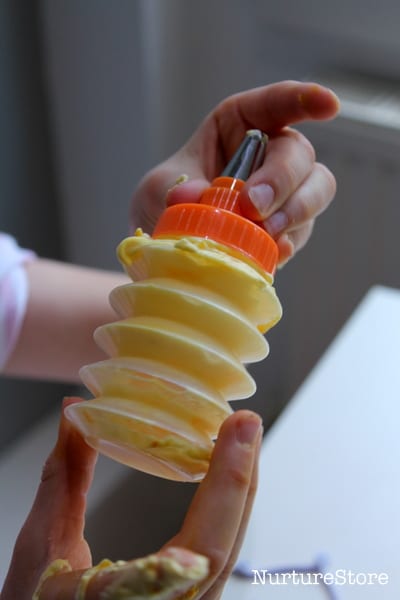
and give it a squeeze! It’s really fun, and an interesting alternative if your children are used to using brushes to paint with.
How to use your puffy paint
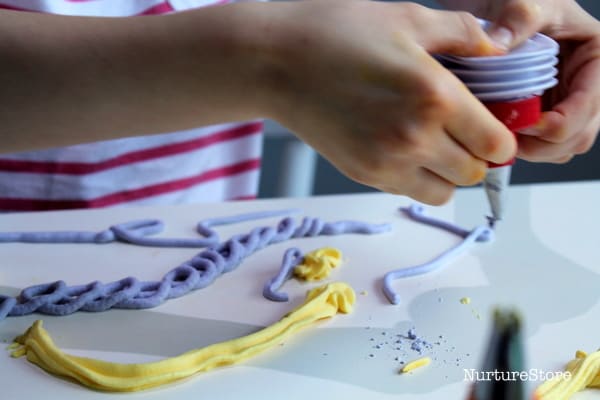
If you have a few different nozzles you can swap them around and let the children experiment with the shapes and the patterns they can make with them.
You can mix up a couple of different colours of the paint in one piping bottle and see how it mixes as you draw.
You can also control the flow of the puffy paint to draw pictures or write letters. It’s very good practise for dexterity. This would be a great multi-sensory way to practise spelling words.
You can also press a piece of paper or card onto the top of the designs you paint, to take a print of your art.
When you’ve finished, do remember that you have combined glue and flour in your puffy paint, so scrape as much of the remains as you can into the bin rather than washing it all down the sink.
I can’t even begin to say how excited I am to try this with the children this week. I know they will love it and super simple. All ingredients readily available in my craft supplies. ❤️❤️❤️
Hope you all have fun Adria!
this looks fun. Is it suitable to make the peel off snowflakes I want to try with my
granddaughter?
Hi Anne, I’m not sure what peel off snowflakes you mean? This puffy paint doesn’t set firm, so I’d guess it wouldn’t be suitable for any kind of peel-off design.
Hi Cathy, where did you buy those piping nozzles? They look awesome for toddlers !
Hi Kaushambi. I got them a few years ago, I think from the Tesco supermarket. You can probably find something similar in a baking store.