Let’s learn about the quilters of Gee’s Bend, Alabama and try our own simple quilt project. This is a bright and bold art history lesson which is a perfect addition to art lessons for Black History Month, and as part of a curriculum of art lessons for children inspired by famous artists.
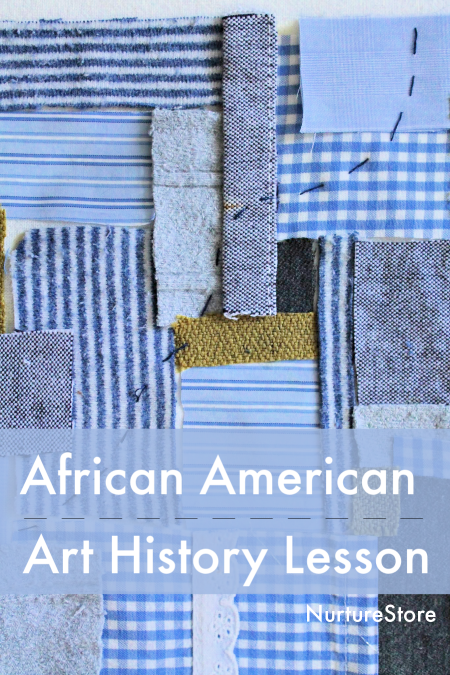
Gee’s Bend quilters art lessons for Black History Month :: easy quilt project for children
> > QUICK RESOURCE > > Download our ready-made Black History Month Unit
This art project celebrates the beautiful quilts made by the quilters of Gee’s Bend, Alabama. It invites children to learn about the tradition of quilting, an aspect of African-American history, and how art can be found in ordinary homes as well as famous art galleries.
You don’t need to be able to sew or quilt to enjoy this project! I have adapted the idea of quilts to make this lesson accessible to everyone by using fabric glue to create fabric collages.
There is also the option to include an element of hand stitching or machine sewing if you wish.
In this lesson children can:
:: learn about the quilters of Gee’s Bend, Alabama
:: learn about an aspect of African-American history
:: talk about their family history and important crafts from their culture
:: learn about the art of quilting
:: use graph paper, ruler, and pencil/pen to design their own quilt patterns, working with size, symmetry, colour, shape, and composition
:: develop a range of designs to try new ideas and extend their creativity
:: explore collage and quilting
:: extend their artistic practice by developing one of their initial designs into a final design, making it with fabric
:: explore a simplified version of quilting design using fabric glue
:: try hand-stitching and/or machine-stitching
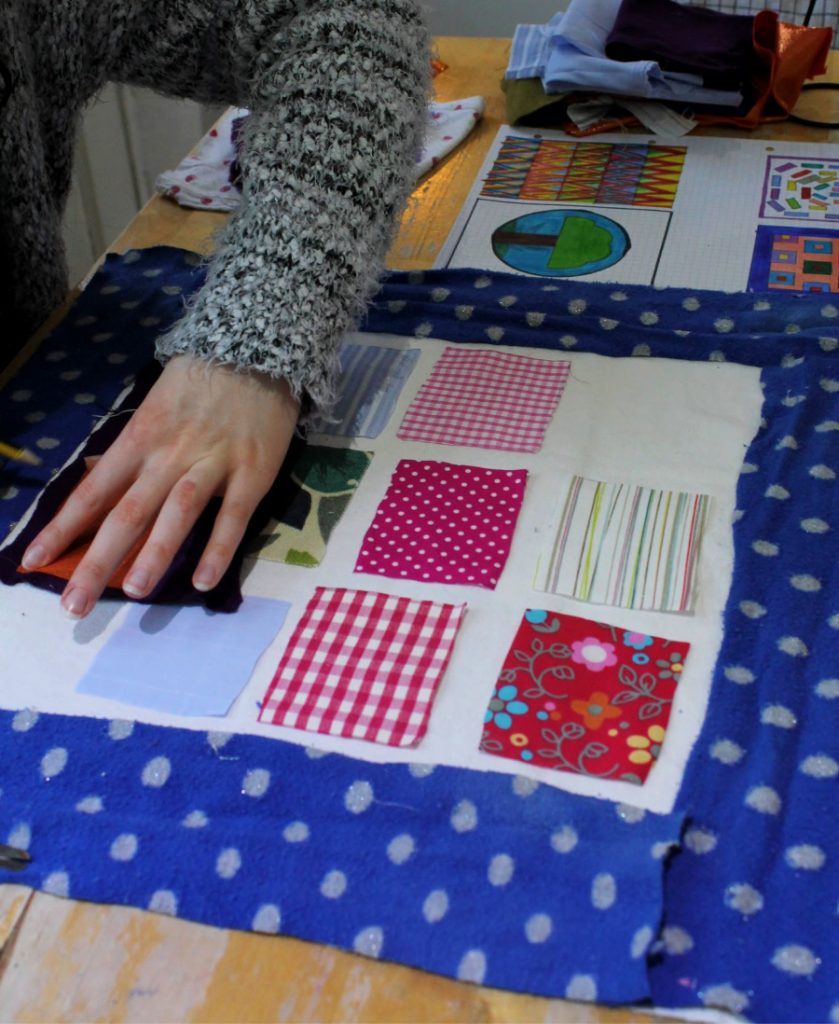
Materials needed
:: graph paper
:: pencil
:: ruler
:: coloured pens or pencils
:: a piece of fabric or card (around A4 or letter size – larger if you prefer) for each child
:: selection of fabric pieces (small pieces and scraps)
:: fabric scissors
:: fabric glue
:: sewing needle and thread / sewing machine (optional)
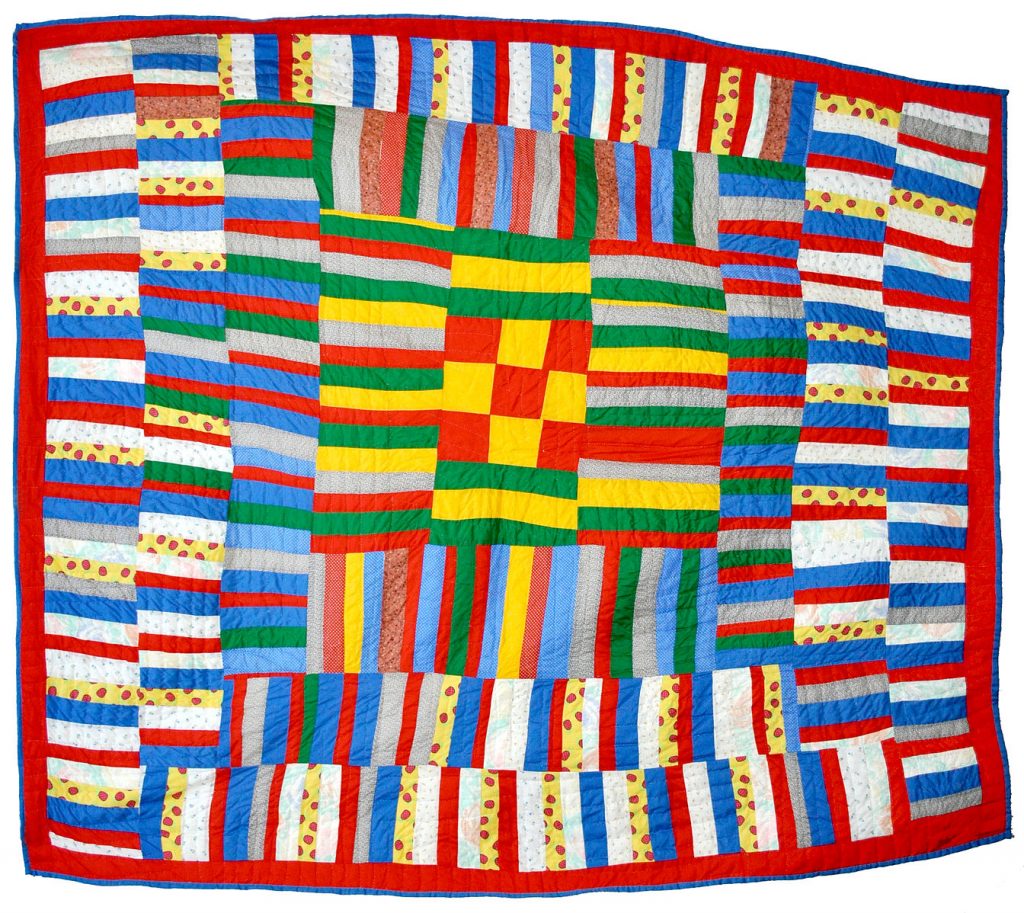
The quilters of Gee’s Bend, Alabama
The quilters of Gee’s Bend are a group of artists and craftswomen living in the isolated hamlet of Gee’s Bend, Alabama, in the United States of America. T
he Gee’s Bend quilters include Annie Mae Young, Jessie T. Pettway, Loretta P. Bennett, Lucy T. Pettway, Rachel Carey George, Arlonzia Pettway, and Mary Lee Bendolph.
They and their ancestors have created beautiful quilts for generations.
Their work is now recognised as a unique art form and a significant African-American cultural contribution to the art history of the United States.
Their quilts are bold, colourful, and distinctive and feature fabric re-purposed from their families’ clothing and household items.
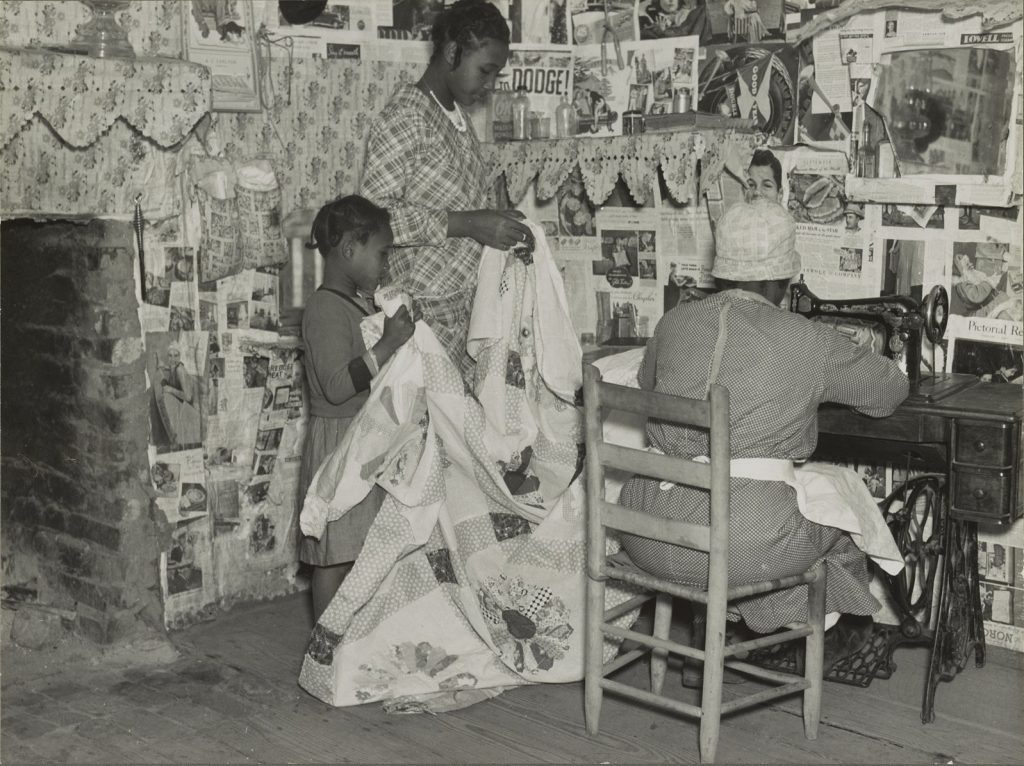
Sewing a quilt. Gee’s Bend, Alabama Other Title: Jennie Pettway and another girl with the quilter Jorena Pettway. Suorce: Farm Security Administration – Office of War Information Photograph Collection, Library of Congress LC-USF34- 025363-D [P&P]. Photograph in the Public Domain
The Gee’s Bend community began making quilts to provide warmth in their homes.
Over time, their designs and ideas have developed to become a skilful and beautiful art form.
Examples of the Gee’s Bend quilts have recently been exhibited in the Smithsonian Institution and other museums and galleries around the world.
In the UK, one of the Gee’s Bend Quilts is on display in the International Slavery Museum in Liverpool. Watch this video to learn more.
ART PROJECT INSPIRED BY FAMOUS ARTISTS: Gee’s Bend-inspired collage quilts
You can adapt this project to suit your children. I taught the lesson over three sessions, which is how I’ve set out the scheme of work below. You could vary this and put activity one and two together; combine all three into a full day programme; or add in an extra (fourth) session to give more time to explore hand-stitching and machine sewing if you would like to.
We made collage quilts using fabric glue, for speed and ease, but if you / your children are experienced sewers and quilters, you can make a more traditional quilt.
You can also vary the size of the quilt you create.
This project includes conversations about our families and heritage, so I would like to include a reminder for us to always be aware that these conversations may be difficult for some children, perhaps especially if they have family trauma, adoption, immigration or other experiences in their family history.
You can adapt the lesson to explore these issues further, or to pass over them with a light touch, to best suit your individual children. I have included suggestions for variations.
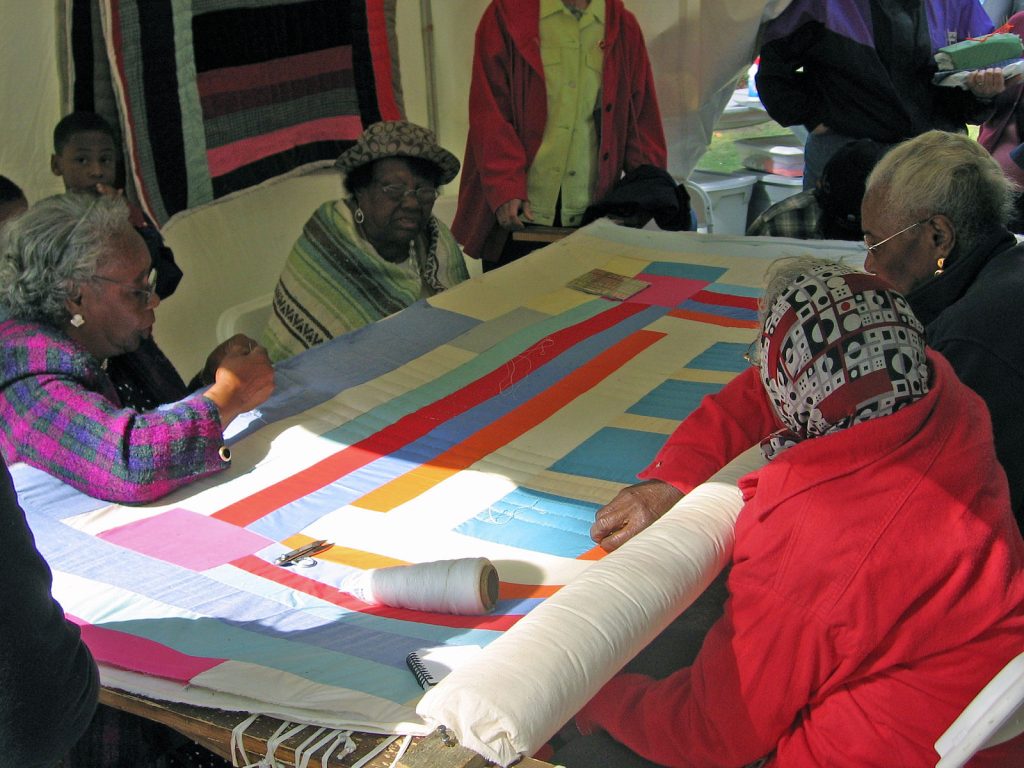
Women from Gee’s Bend work on a quilt during the 2005 ONB Magic City Art Connection in Birmingham, Alabama’s Linn Park. Photo by Andre Natta licensed under the Creative Commons Attribution 2.0 Generic license.
Activity One: The Gee’s Bend Quilters art history lesson
In session one we learnt about the quilters of Gee’s Bend.
We watched the video included above, and looked up Gee’s Bend on Google Maps. We looked through this selection of quilts made by the Gee’s Bend artists.
For each one we talked about:
:: What colours and shapes are used in this quilt?
:: What materials have been used to make this quilt?
:: What do you see in the quilt? What does it make you think of?
:: What three words would you use to describe this quilt? We talked about why the quilts were first made, and how everyday, practical items in our homes can be considered art.
We discussed whether we have traditional crafts in our families and special blankets we have at home, including Welsh blankets and baby blankets.
We also talked about how the concept of ‘story’ relates to the Gee’s Bend Quilts. This included talking about the idea that the quilts tell the story of the place and history of Gee’s Bend.
As they include fabric from items of clothing previously worn by the artists’ families as they worked and went about their lives, the quilts are inherently made of the story of the families.
We also talked about the stories of the quilters themselves and how they have gained international recognition for their art.
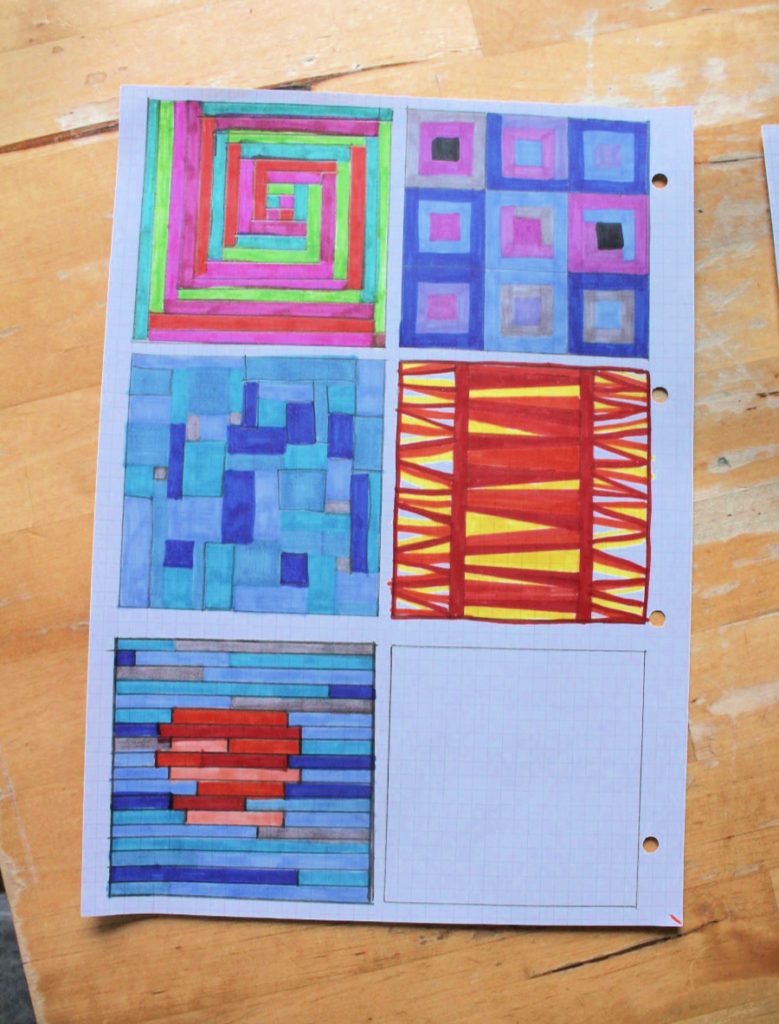
Activity Two: designing our own quilts
For activity two, we explored how we might create quilt designs of our own.
We began by briefly looking at the quilts we had seen in Activity One, to refresh ourselves with their designs.
Then each child worked with a piece of graph paper.
They drew out 4-6 large squares or rectangles on their page, each to represent a quilt.
Using coloured pens and pencils, they filled in each quilt space with a different design.
You can use rulers here or simply follow the grid lines on your graph paper.
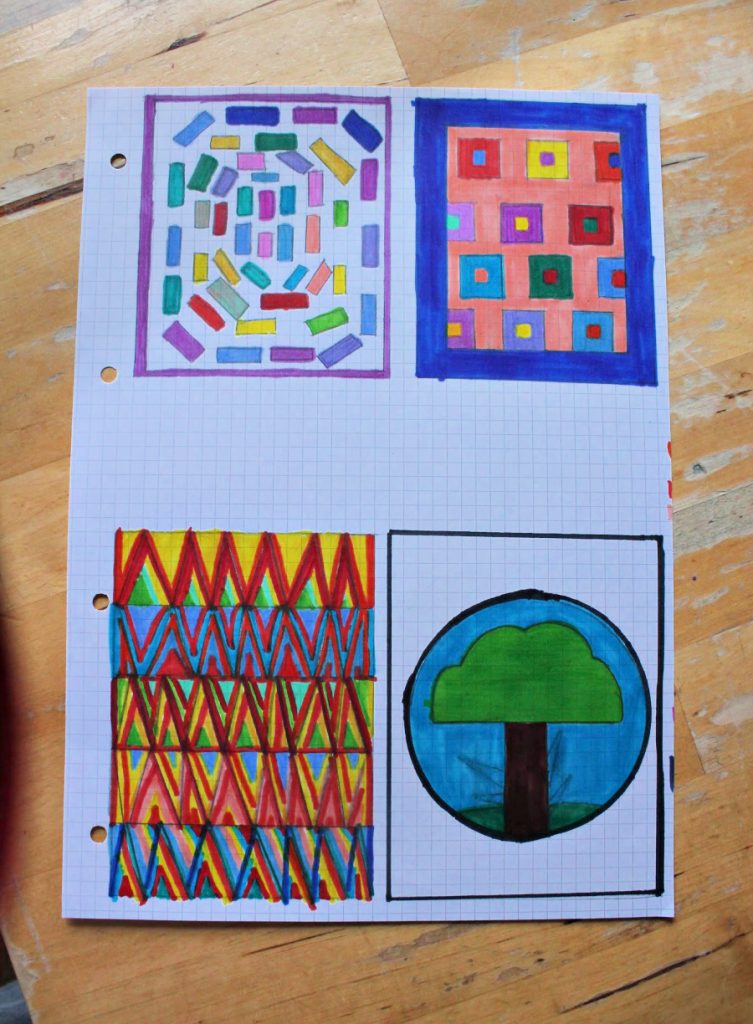
An objective was to try out several different designs: using different colours, shapes, sizes of shapes, symmetry, pattern and composition.
We wanted to stretch our artistic practice and explore all the possibilities.
Some ideas you might like to experiment with include:
:: using shades of all one colour
:: using contrasting colours
:: using only 3 colours
:: making a symmetrical pattern (mirror or radial symmetry)
:: having a focal point
:: not having a focal point
:: using a different background colour
:: making use of negative space
:: including representative shapes (for example, houses)
:: using abstract shapes
:: telling a story with your quilt
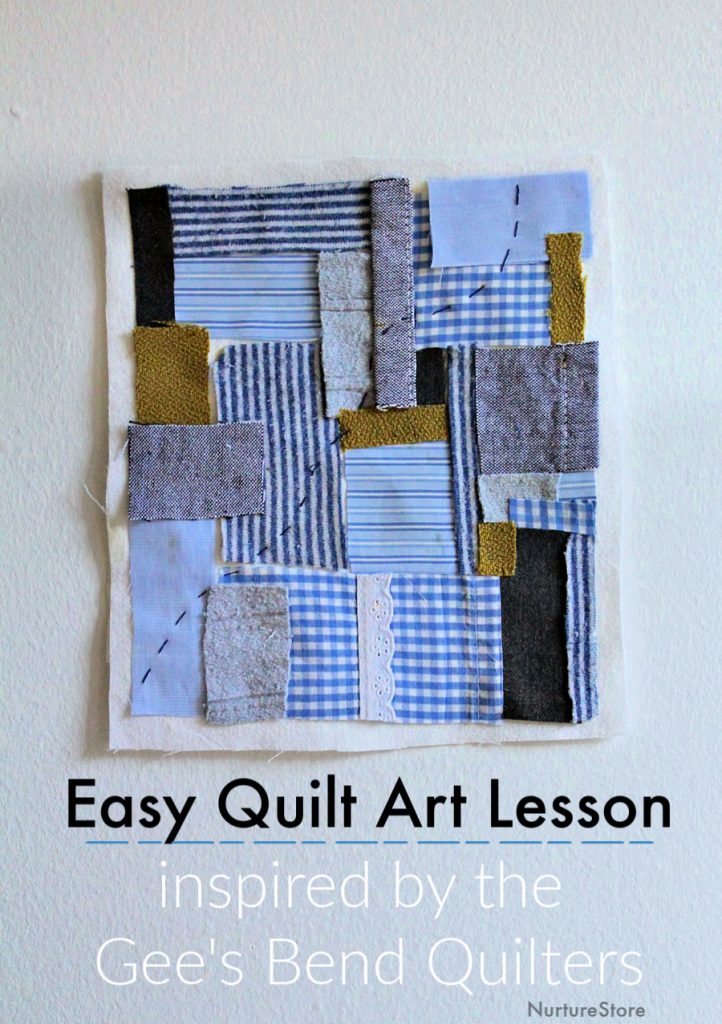
Activity Three: fabric collage quilts
In our third session, we picked one of our quilt designs to develop into a fabric collage quilt.
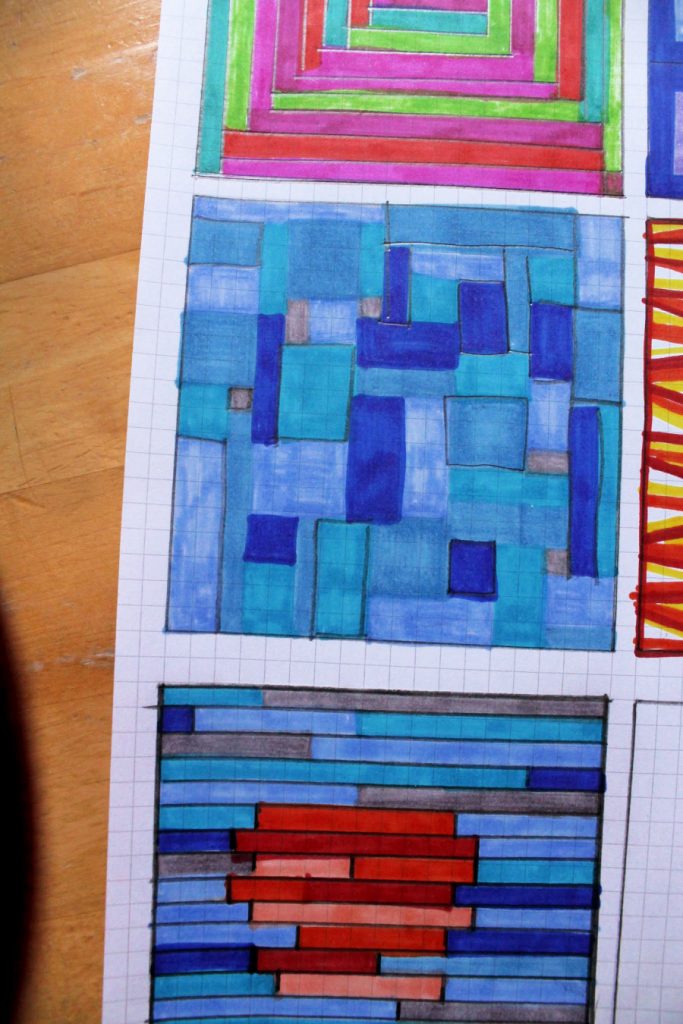
You don’t have to re-create your quilt design exactly, so don’t worry that you don’t have exactly the right matching fabric.
You might need to simplify your initial plan when making it out of fabric.
You might also like to combine elements from a couple of your earlier ideas.
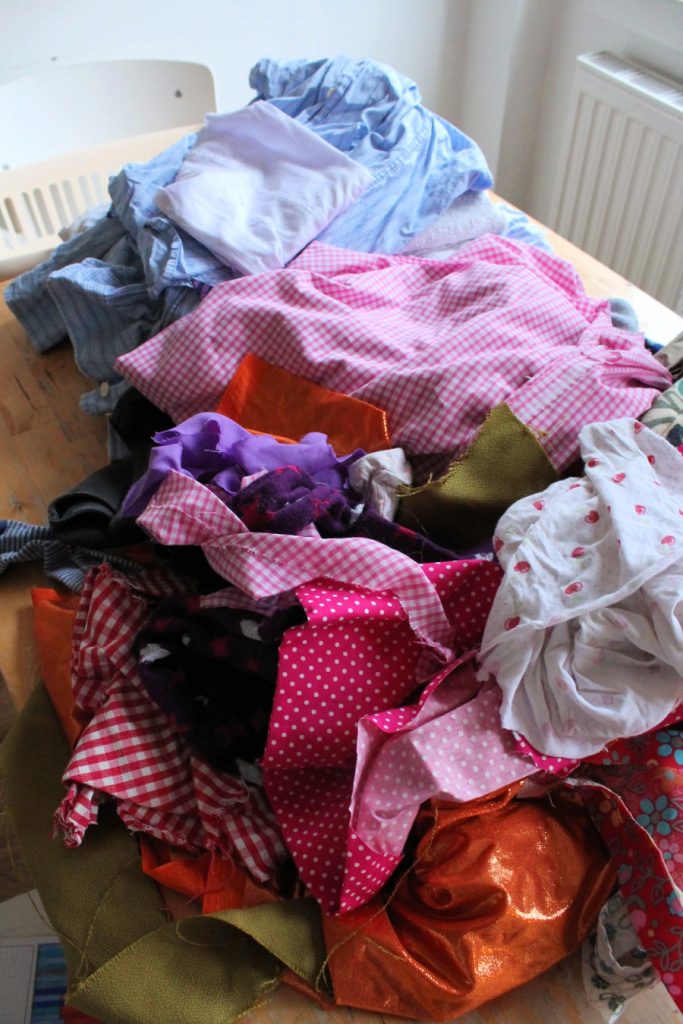
To make your collage, you will need a selection of fabric. Re-purposing old clothes, curtains, and other fabric scraps is perfect, as it reflects the materials used by the artists of Gee’s Bend.
You might like to use sentimental items, such as baby clothes you’ve grown out of, or fabric passed down from older relatives. We really enjoyed looking through our fabric stash and talking about who wore what, when.
Of course, you will want to be very sensitive to your children’s circumstances. If adoption, trauma, or other experiences might mean that revisiting the past, or not having memory items from the past, could be difficult, then you can lightly move over this aspect of the project and provide a selection of fabric for everyone to use.
If some children are not able to use fabric collected from family, then I would recommend everyone participating uses the same community stash of fabric, rather than having some children working with family connections and some not.
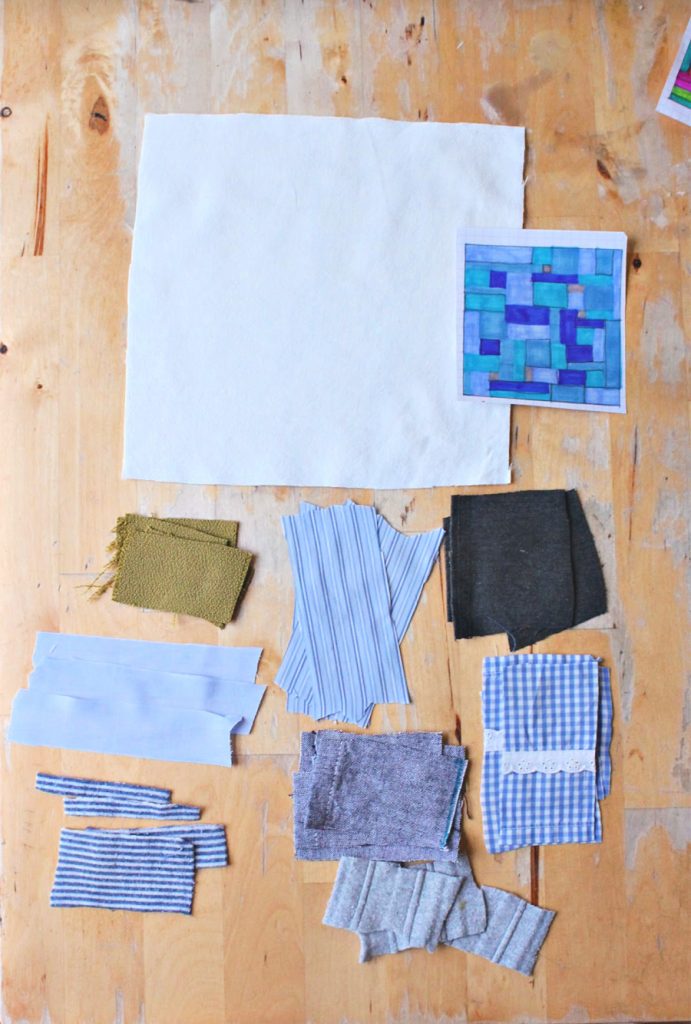
Each child will need a piece of fabric to be the base of their quilt.
A piece around the size of A4/Letters works well.
Then choose a selection of fabric pieces to use for your collage.
Refer back to your original design and see which pieces from the pile of fabric are a good match.
Cut bigger pieces down to a smaller size and collect a variety of pieces to work with.
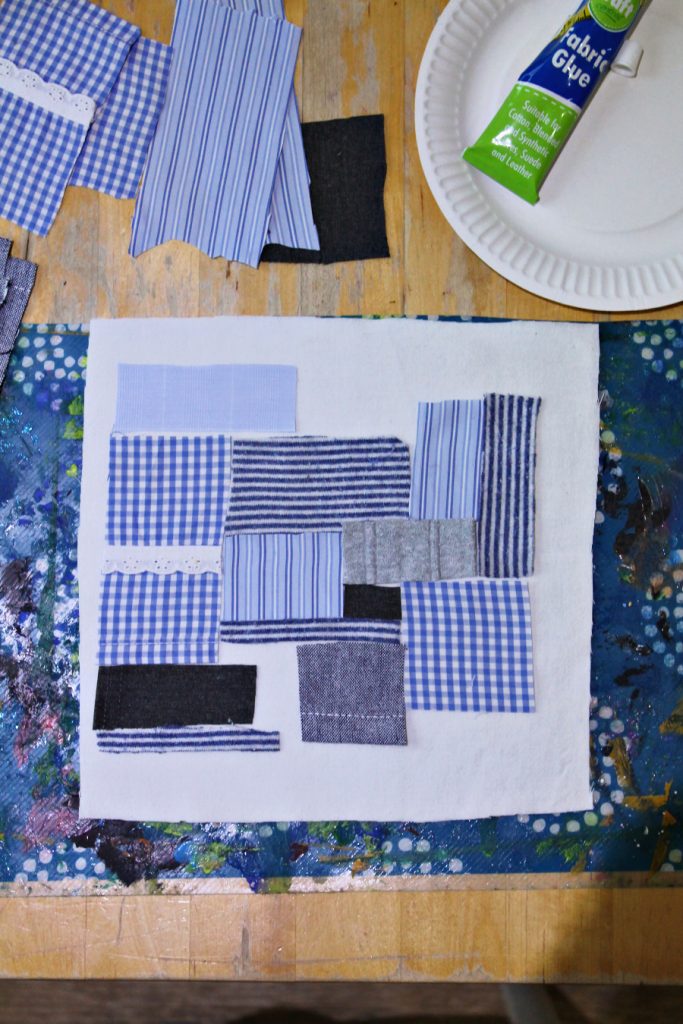
Build up your quilt collage on your base fabric.
Use fabric scissors to cut pieces down to just the right sizes. Don’t stick anything down yet, work out where you want to place things.
Now you know which exact colours, patterns, and textures you have to work with, you might want to develop your original idea to suit the materials you have.
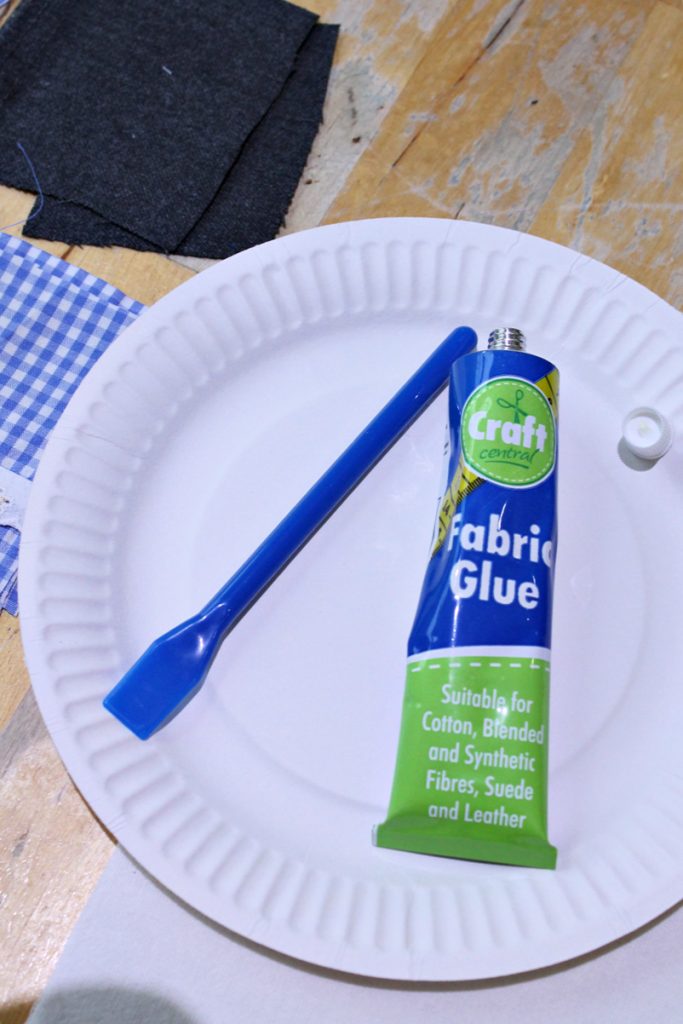
Once you are happy with your composition, use fabric glue to stick the individual pieces in place on your base fabric.
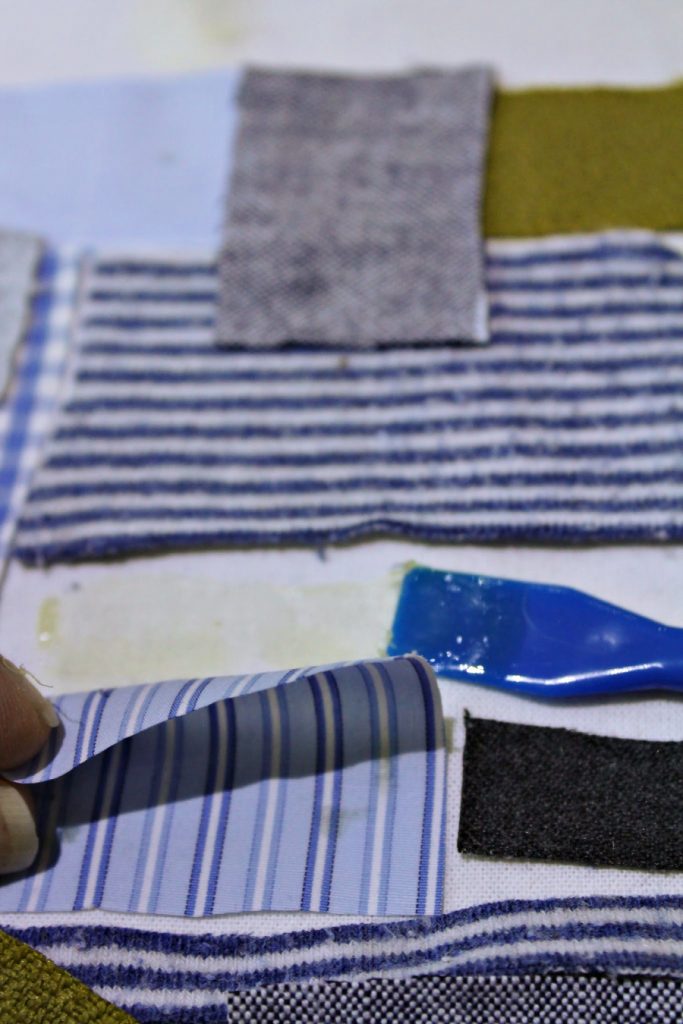
We found that squeezing just a little fabric glue on to a spatula and dotting it on to the back of each piece of our collage worked well.
We only needed a tiny bit of glue for each piece and could carefully lift up each section of our collage, one piece at a time, to stick them all down.
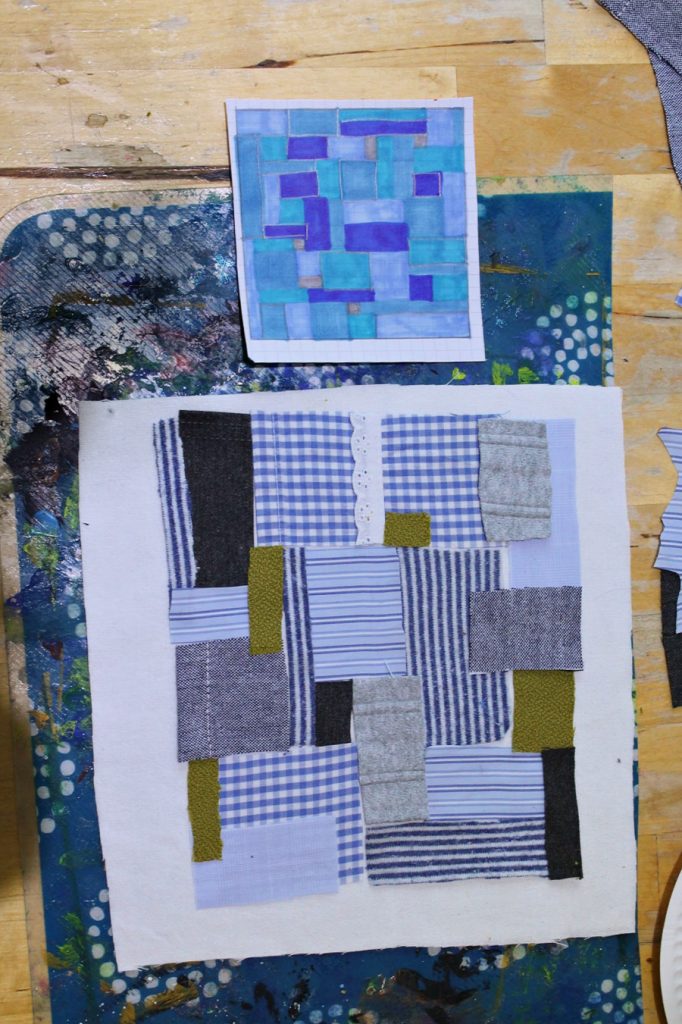
Once you have glued each piece of fabric in place, you can add a stitched element if you wish. This gives children a taste of the skills the Gee’s Bend artists use in their quilt making, but in a simple, accessible way that all children can participate in.
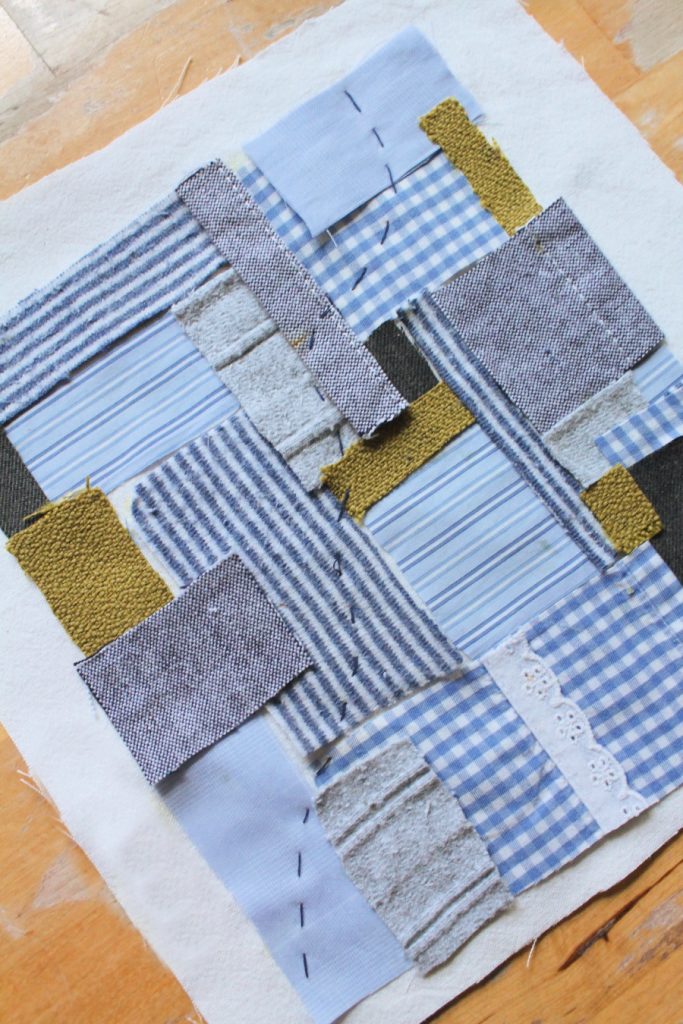
You might like to thread a needle, tie a knot in the end of the thread and then use a simple running stitch to add hand stitching to sections of your collage.
You might:
:: freestyle a design over the top of your fabric pieces
:: follow the edges of some of your fabric shapes
:: stitch lines of thread to fill one of your fabric shapes
:: use a thread that matches the base colour of your quilt or use a range of coloured threads.
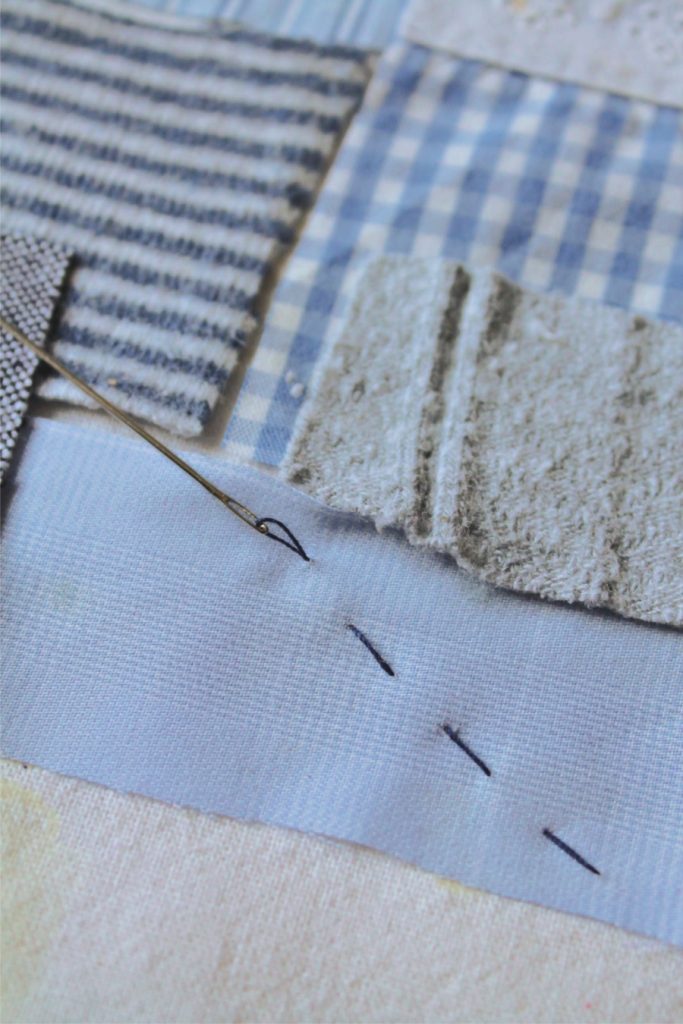
If you have a sewing machine you might also like to show your children how they can add machine-stitched lines to their work.
If you wish, you can add a layer of wadding and a bottom layer to your collage, to give a more authentic quilted appearance.
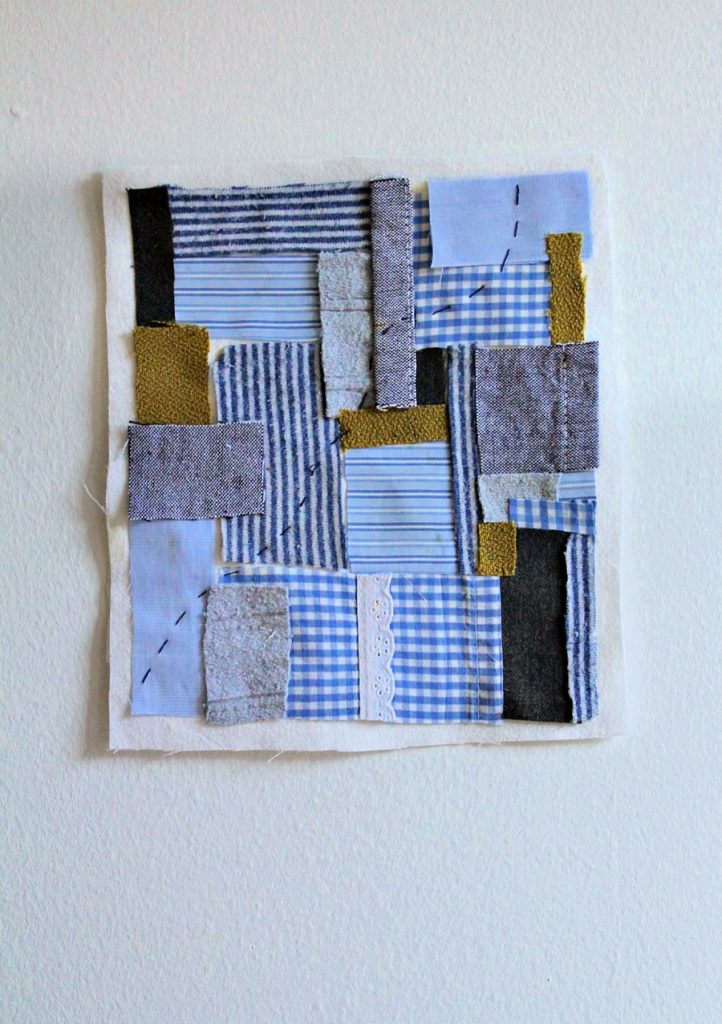
To display your finished collage quilts, you can outline each child’s work with a card frame.
Alternatively you could decide to stitch all the children’s sections together to create a class quilt.
Download your ready-made Black History Month Unit
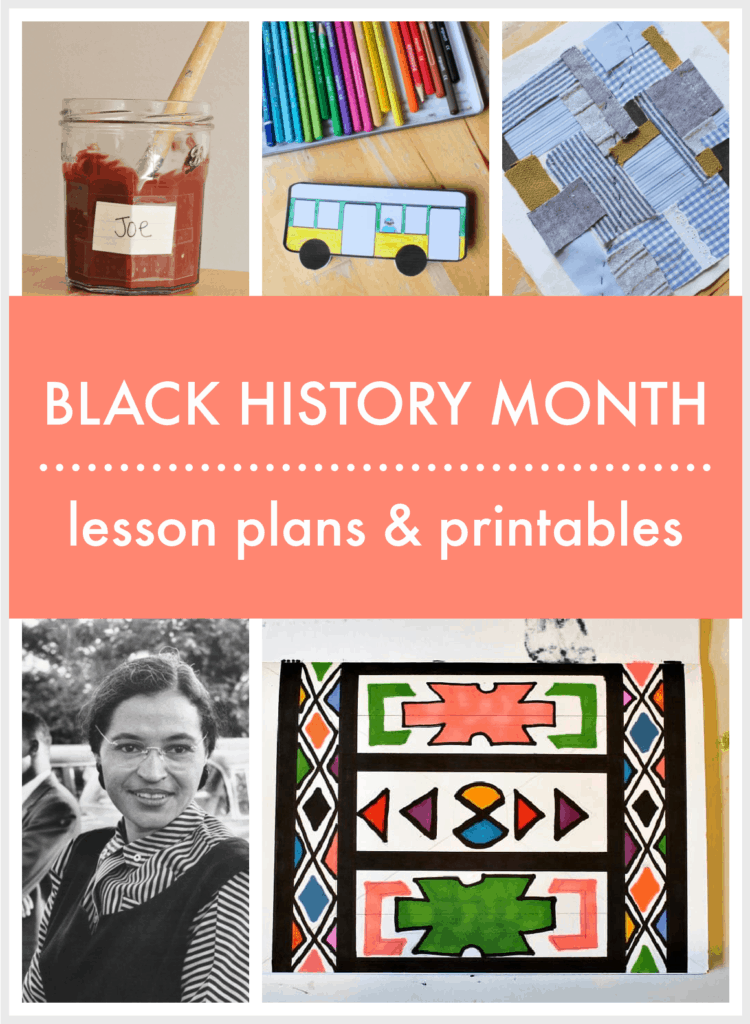
February is the month Black History is remembered and celebrated in the US, and for the UK it’s October. Download your copy of the Play Academy’s ready-made Black History Month Unit and you’ll be ready to lead a set of engaging Black History Month activities with your children. In these Black History month lesson plans your children can:
:: learn about Black History Month: what it is and why it is important
:: explore identity and make multicultural faces
:: learn about Rosa Parks and make their own ‘bus book’
:: learn about the art of the Gee’s Bend Quilters and make their own quilt project
:: learn about Esther Malangu and try their own designs inspired by south African art
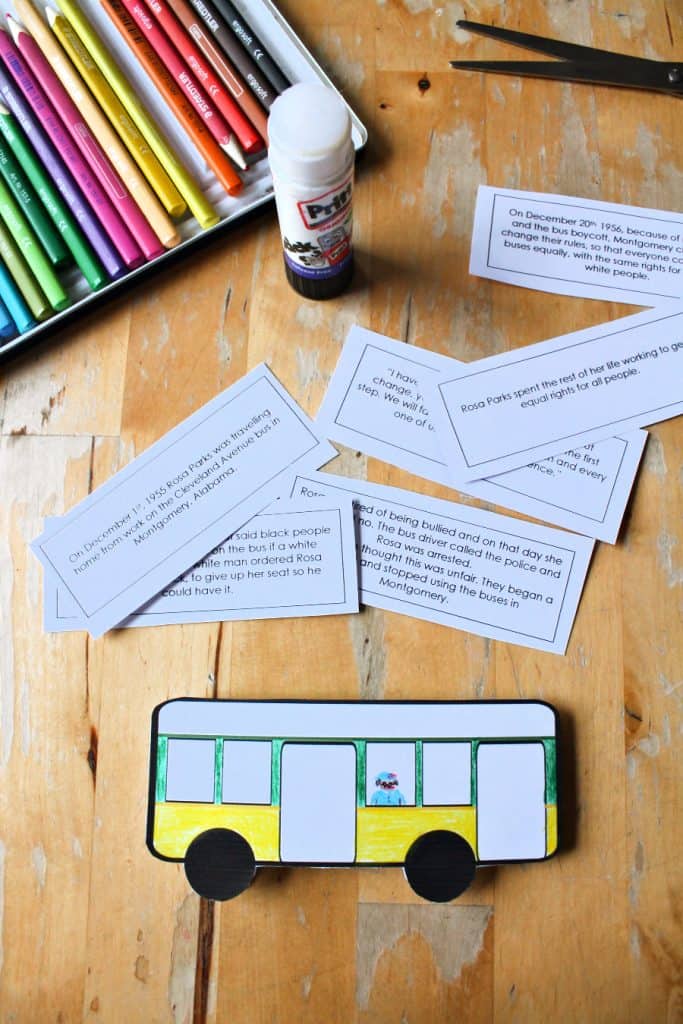
Bonus Black History Month thematic unit printables
The Play Academy’s thematic units come with practical printables that make the lessons more engaging for your children and easier for you to teach.
No need to go searching for printables to accompany your lessons, they’re all included when you download your chosen unit.
In this Black History Month Unit you’ll receive these bonus printables:
:: make-your-own Rosa Parks Bus Book printable
:: Multicultural Faces play dough mats
How to download this Black History Month thematic unit
You can download this unit along with over 50 more from NurtureStore’s Play Academy.
If you are already of the Play Academy, you can download this unit straight away from our Library here.
If you are not yet a member, find out more and choose your first unit here. Your teaching is about to get a whole lot easier!


I deeply appreciate the nod to trauma-informed teaching in this piece. Thank you.
Yes, it can make such a difference and is so easy to include if we are mindful.