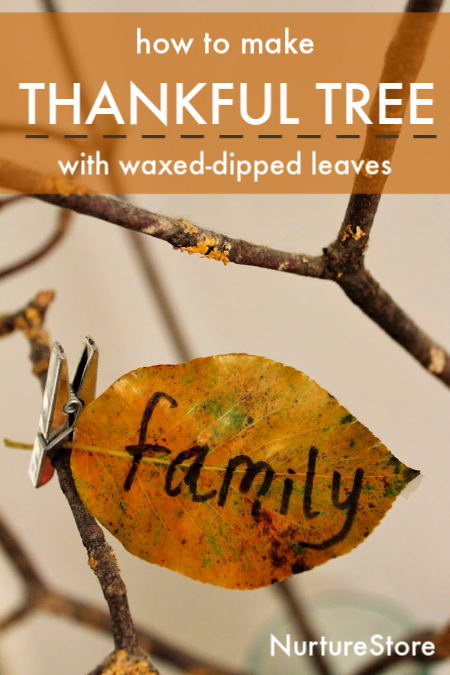
Follow this easy guide on how to preserve leaves in wax and use them to make a beautiful gratitude tree.
How to preserve leaves in wax
Watch this video to see how to preserve leaves in wax and make a Gratitude Tree:
Keep the beauty of autumn with you all year round by learning how to preserve leaves in wax.
Follow this easy guide to wax-dipped leaves and use them to make a gorgeous thankful tree.
Preserving leaves with wax is very simple and gives you shiny, colourful years to use in crafts and for decorations all year round.
It’s quick and easy process but as it uses heat and hot water be sure to carefully supervise all children who are taking part.
Materials needed
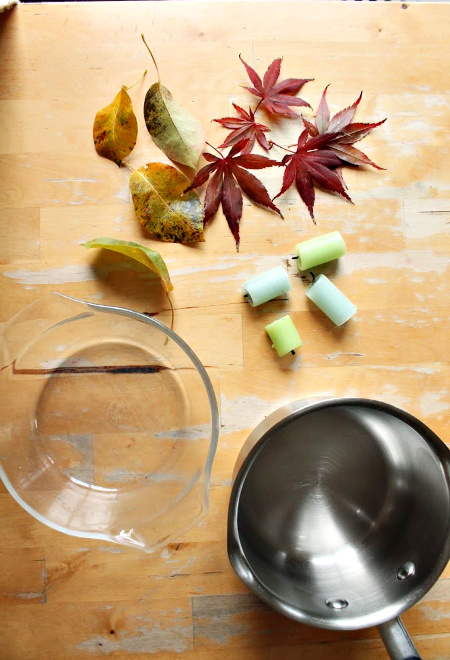
:: a selection of leaves
:: small pan
:: glass bowl
:: water
:: wax: beeswax or left-over candles
:: stove or hotplate (or campfire)
:: marker pens (optional)
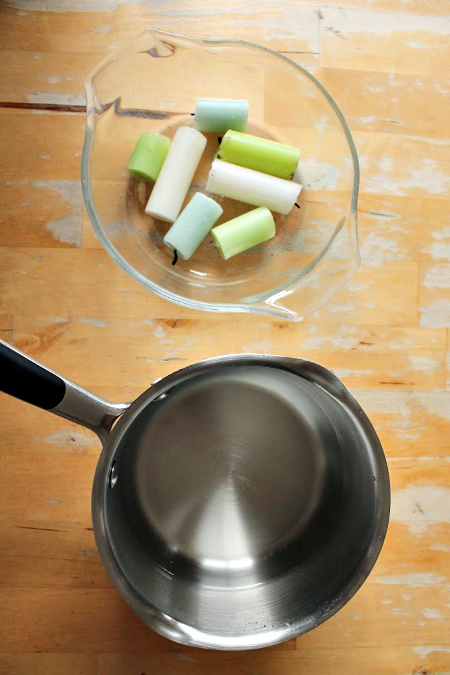
Begin by melting wax in a double boiler.
A double boiler can be made simply by placing a heat-proof glass bowl on top of a pan filled with a little water.
As the water is heated on the stove – or over the campfire of your forest school or garden classroom – the water in the pan turns to steam which rises and warms the bottom of the glass bowl. This makes the wax melt into liquid.
Make sure the water doesn’t all boil away leaving you with an empty pan.
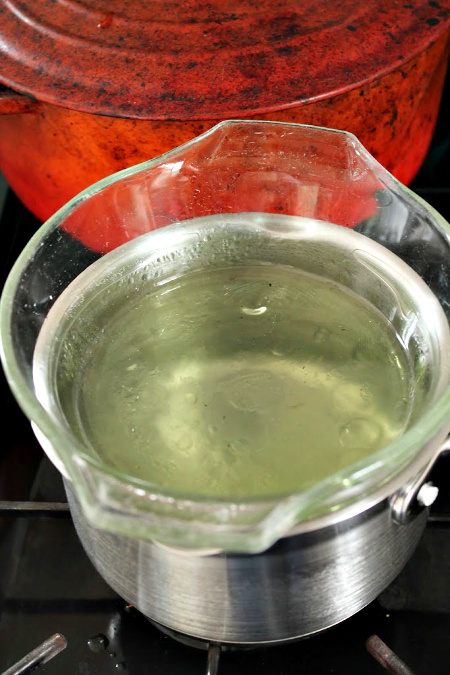
You can use beeswax or left-over candles as your wax. A pair of tweezers can be used to fish out the candle wicks that are released as the candles melt.
Use a gentle heat to melt the wax and take great care around the flame and hot liquid.
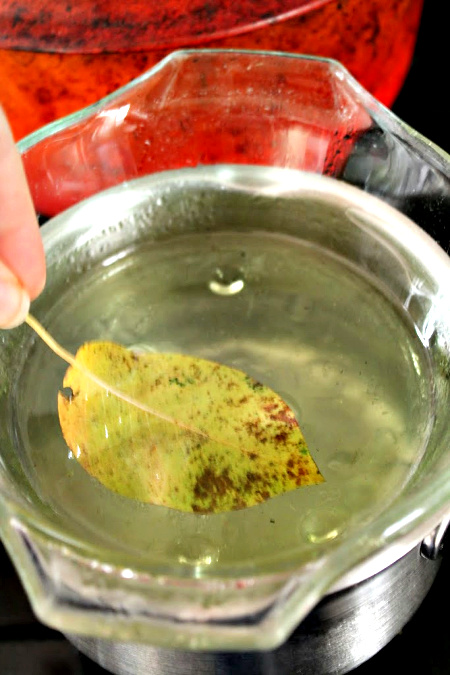
Once the was is melted, turn off the heat or remove the bowl from the stove/campfire. Then carefully dip the leaves into the wax. You can wear protective gloves and use tongs to hold the leaves.
Coat both sides of the leaves with the wax.
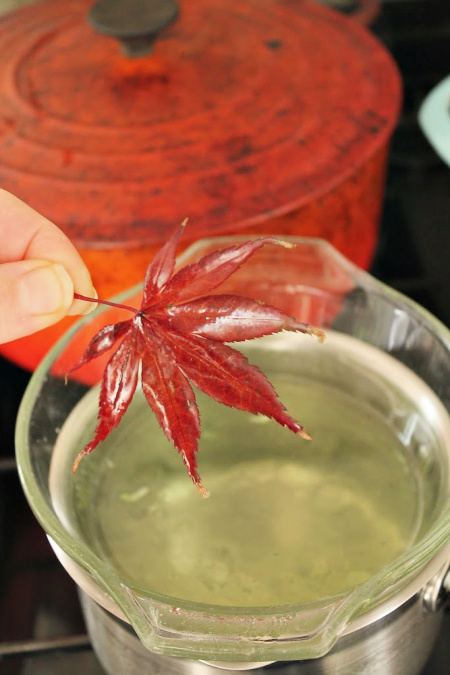
Lift them out and let any excess wax drip back into the bowl.
If you have lots of leaves to dip, or you’re working slowly, you can return the wax to the heat to re-melt it.
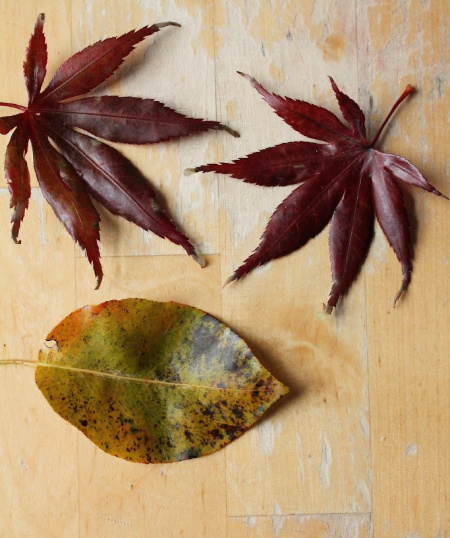
Place the dipped-leaves on a flat surface or peg them to a washing line until they are cooled and the wax is set.
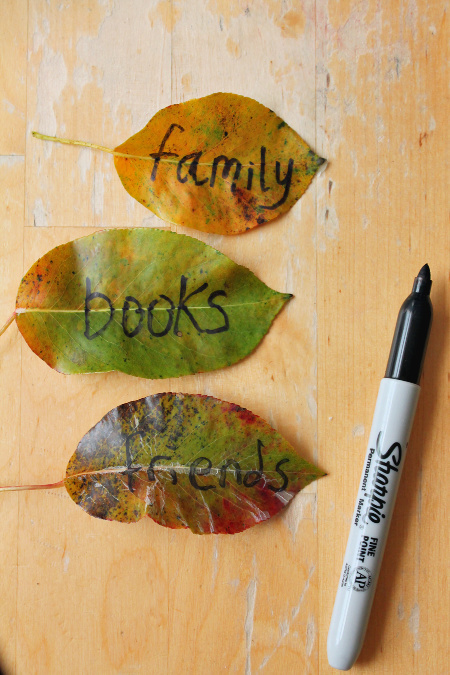
How to make a thankful tree using wax leaves
You can use wax leaves to make a beautiful gratitude tree, which makes a lovely Thanksgiving centrepiece.
To make a thankful tree, invite everyone to use a permanent marker to write on a leaf the name of someone, somewhere or something they are thankful for.
Do this writing before you dip the leaves in wax.
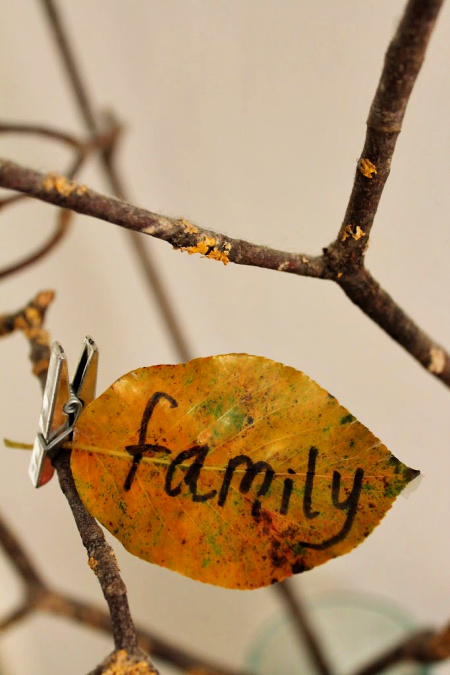
Then arrange a few branches in a vase and use mini-pegs to fasten the wax-dipped leaves onto the twigs, to create your thankful tree.
Alternatively, you can use this method to make place names for everyone joining your Thanksgiving dinner.
If you are making this at your forest school, each child can take their leaf home with them, to keep a little piece of the forest with them all year round.
More Thanksgiving activities
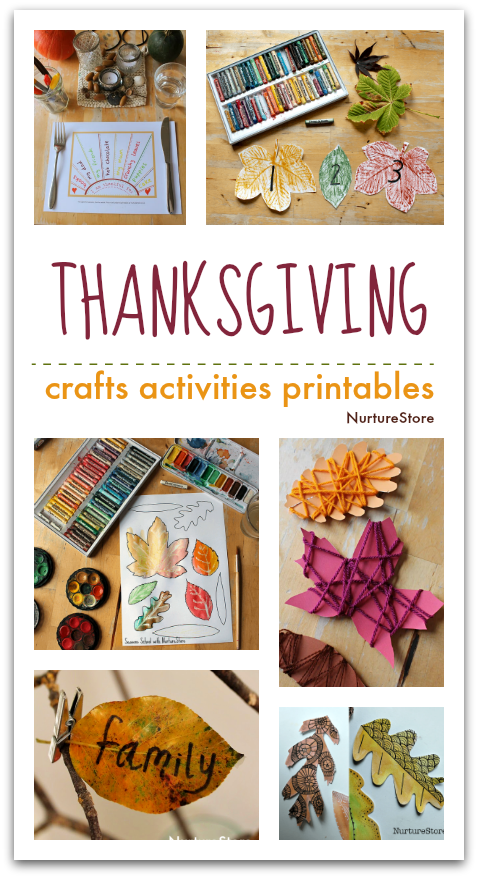
For a happy and creative Thanksgiving, try these Thanksgiving crafts and activities too.


This Thanksgiving Grateful tree is a wonderful idea! Thank you!!!
Glad you like it Susie. Happy Thanksgiving.
Lovely idea thanks!
I love this idea.
Thanks Rosey.
Interesting idea for a project.
Love your ideas