

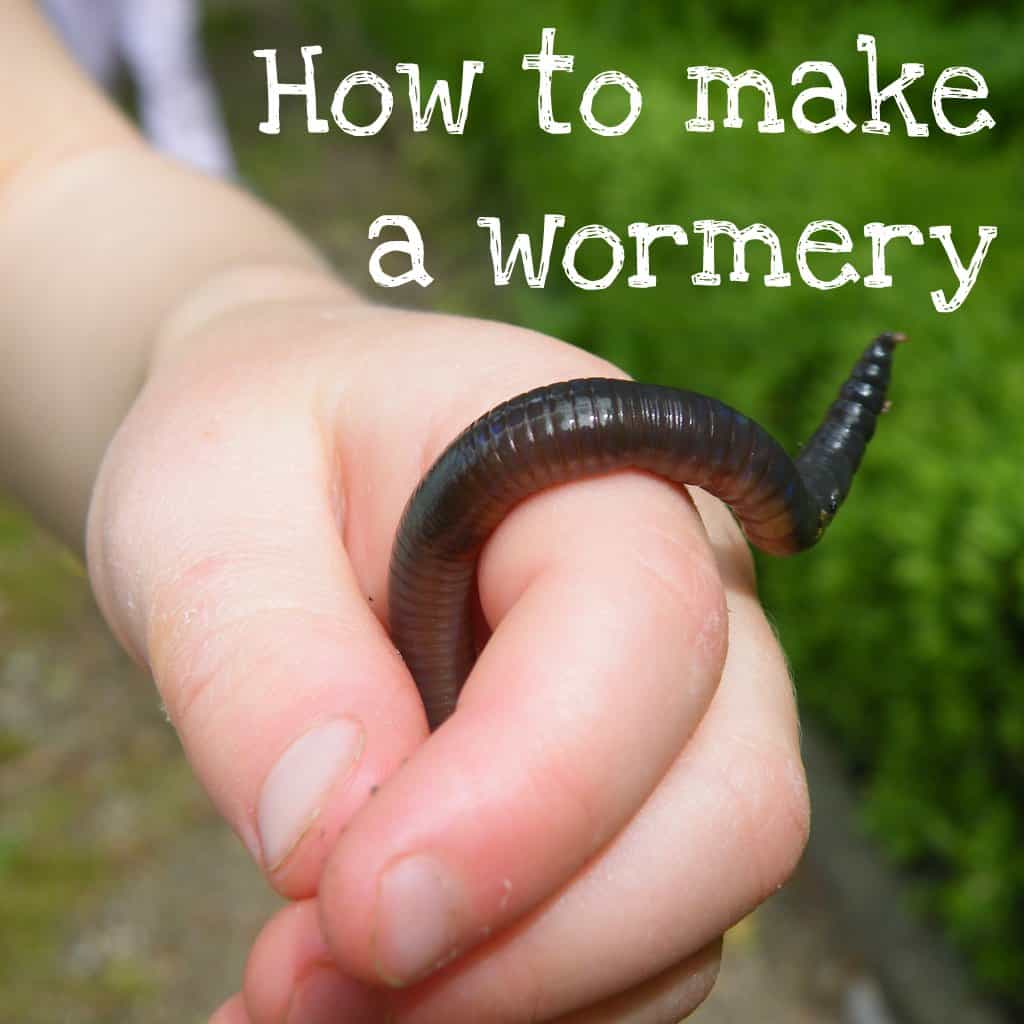
Follow this guide on how to make a wormery and start composting in your garden.
We’re joined today by Jo Middleton, who blogs at Slummy single mummy, with a fabulous tutorial on how to make a wormery. Perfect for a school gardening club project and for getting kids closer to nature. Here’s Jo’s guide:
How to make a wormery

Building your own wormery
Expensive wormery kits are available to buy ready for assembly, but it is actually very straightforward to make your own. You will need a container, wood or plastic, that you can make holes in and fit with a lid. Worms are surface feeders so your wormery doesn’t need to be deep. 8in – 16in should be ample and you need roughly one square foot of surface area for every pound of waste per week. Make air holes around the upper perimeter of your tub and in the bottom for drainage.
- Support your tub on bricks inside a tray, to collect any liquid that drains off. This liquid (leachate) can be used as plant feed.
- Fill the bottom of the tub with a 5 – 10cm layer of drainage material such as sand or gravel.
- Cover the sand with a dividing layer, something that will let moisture seep through but not worms, such as wooden slats or a section of carpet.
- Add a 10 – 15cm layer of damp bedding material. Shredded newspaper works well – get the newspaper wet, but not soaking – about the consistency of a damp sponge.
- Add your worms! These need to be special composting worms, often known as brandlings, tiger worms or red worms. You can buy theses at Amazon, fishing shops, worm bin suppliers.
- Add a layer of food.
- Place a thick layer of damp newspaper over the top. This keeps in the moisture and keeps out the light.
- Finally, make sure your wormery has a tight fitting lid. This protects your compost from rodents and flies.
Keeping your worms happy and healthy
Start off with just small amounts of food while your worms settle in. As they multiply you can add larger quantities, but make sure it is well chopped and only add more waste once the previous batch has been composted. Don’t feed your worms more than they can handle – excess waste will just rot, upset your worms and produce nasty smells. Like humans, worms thrive on a varied diet and have particular likes and dislikes. Worms like: coffee grounds and tea bags, fruit and vegetables peelings, cereals and bread, crushed egg shells. Worms don’t like: meat and fish, fats or greasy foods, dairy products, rice, pasta or cooked potatoes. Worms like a moderate temperature and eat more when they are warmer. Don’t let them overheat though, so keep out of direct sunlight. They can be kept inside or out, but will benefit from being indoors in the winter, maybe in a garage or shed. Keep a good level of moisture – not too wet and not to dry. You can add extra dry bedding or moisten with rainwater or leachate if you need to. Your worms will regulate numbers to fit your wormery and should not try to escape if wormery conditions are right. Once the worms have settled in you can sit back and watch them turn your rubbish into high quality compost! Depending on the size and conditions you should have compost ready to harvest in around 3 – 6 months. Happy wriggling!
::::::::::::::::::::::::::::::::::::::::::::::::::::::::::
Jo Middleton is a freelance writer, blogger and marketing consultant and writes the award winning blog Slummy single mummy.
::::::::::::::::::::::::::::::::::::::::::::::::::::::::::
Photos: Alexander von Halem and Clarity J

Free Forest School and Garden Classroom resources!
Join my weekly email service and I'll send you FREE printables, lesson plans, and activity ideas that you can use with your children in your forest school and garden classroom.
Seasons School is NurtureStore's year-round program of living and learning with nature. Our activities and resources focus on hands-on, nature-based learning that connects children with the natural environment.
If you're looking for nature study lessons, arts and craft projects, campfire recipes, foraging ideas, outdoor math and literacy activities, outdoor games, and ways to explore forests, gardens, and outdoor spaces - think of NurtureStore as your forest fairy godmother!
Whether you're in a forest school or outdoor classroom, running a school gardening club, bringing nature lessons into your class, home educating with nature, or wanting to connect with the great outdoors at the weekend, you will love the Seasons School ideas.
Pop your email address into the box below and I'll send you your free resources.
By subscribing, you consent to our use of your personal data as per our Privacy Policy, which includes agreeing to receiving interest-based email from us.
This meme has been added to the list of teaching linkies at Link Rink.
We have a worm farm in our garden but I didn’t know that worms don’t like rice, pasta or cooked potato. Thanks for the tip.
Loved this post and all the detailed how-to.
One point that I need to understand – after the compost is made, how to take it out minus the worms? Will we need to sort the worms by hand? Now, that is something I’m not comfortable with. I get a creepy feeling… :))
put veggie scraps in one area and the worms will go there and then you can dig out the rest of the compost. make sure to have veggie scraps and bedding ready to replace stuff that has been removed and then the worms will move over to the other side. The worms go where the food is.
Thanks so much for linking this up to the Outdoor Play Party! Great tips, and kids are fascinated by worms, aren’t they? Last year I spent ages trying to research worm info to answer Princess Pea’s endless worm questions!
I know a few children who will love this information. Fabulous.
Any recommendations for where to go for a wooden box for a wormery?
eBay is always worth a look.
Can this be done outdoors in a zone 4 climate?
Hi Yvonne. I’m sorry but I don’t have any experience of doing this in a zone 4 climate. The author of this article is from the UK. Perhaps you could ask locally?
These worm farms can be made in any climate,but the colder it gets, the slower the worms eat, so compost takes longer to materialise, they can of course be kept indoors if it’s not too hot (above 75f).Be sure to keep them damp.
Where to get worn for composting?
Hi Ernie. You can relocate them from another part of your garden or use the link above to buy them online.
Awesome page actually I have worms by accident but I keep feeding them because I love them and my daughter to is good to know who I can and don’t giving to them thanks for sharing