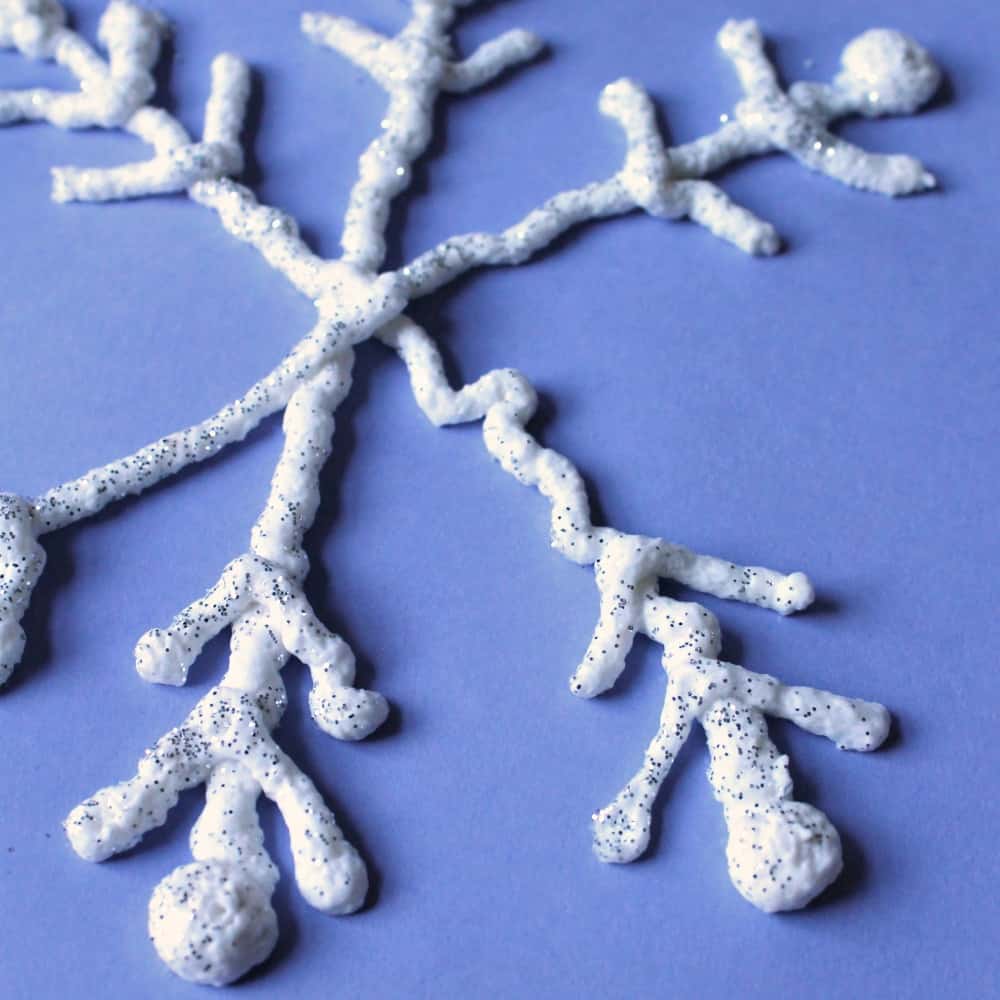
Use this easy snow puffy paint recipe to make 3D snowflake paintings.
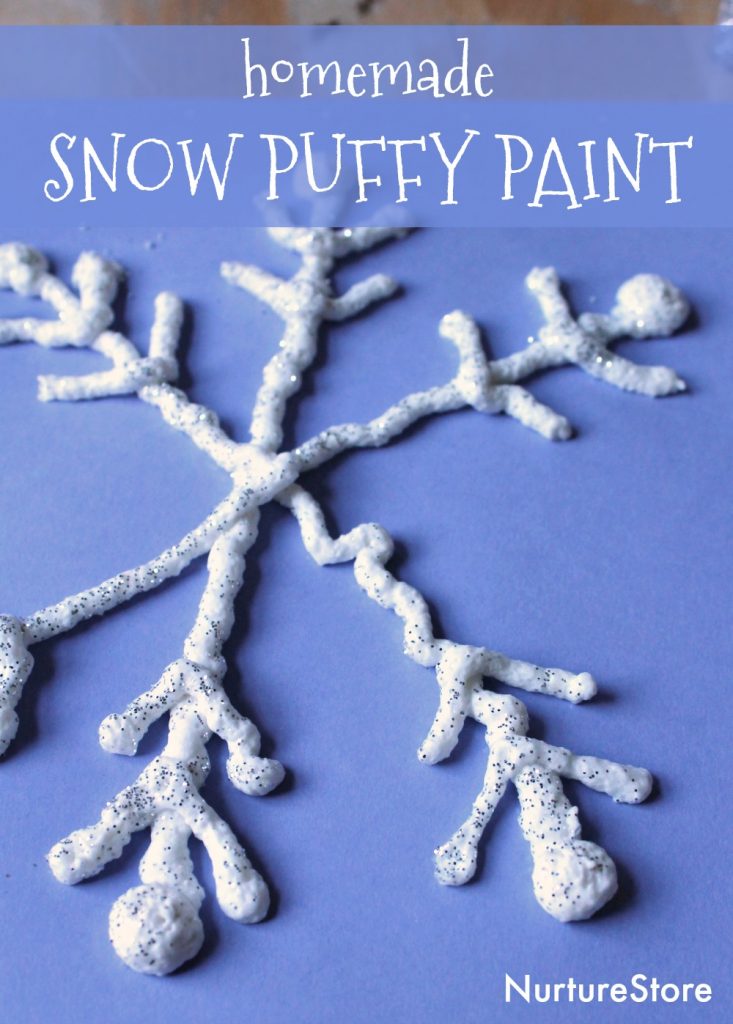
Snow puffy paint
This puffy paint lets you create 3D designs.
Materials needed:
:: shaving foam
:: PVA white craft glue
:: plain/all purpose flour
:: glitter (optional)
:: food colouring (optional)
:: squeezy piping pot
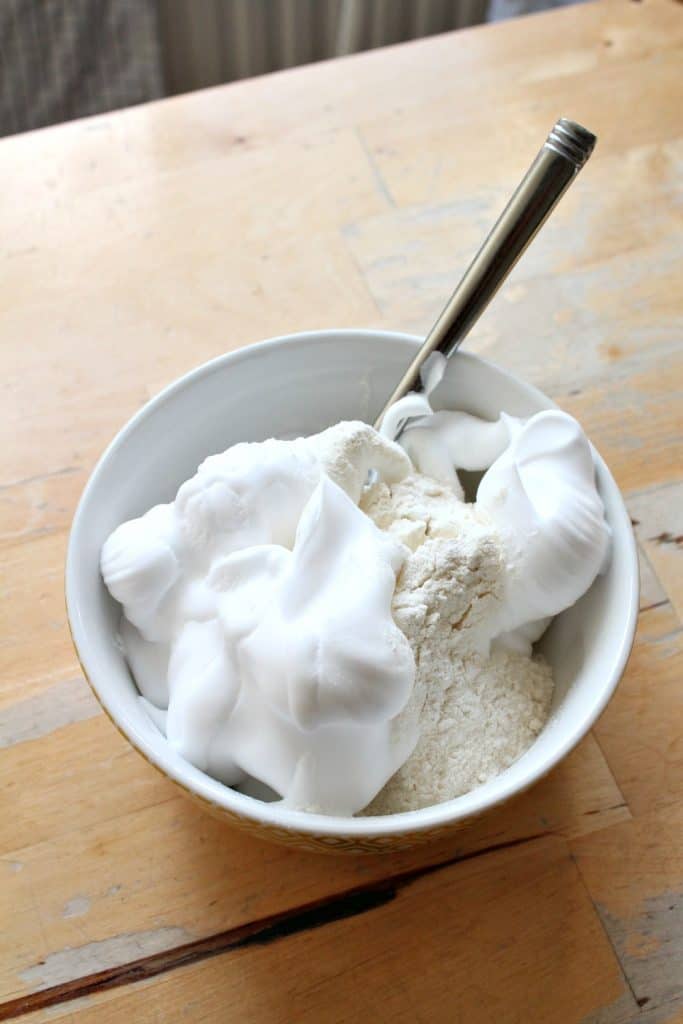
Puffy paint recipe
Combine:
:: a cup of shaving foam
:: a quarter cup of PVA / white craft glue
:: a quarter cup of plain / all purpose flour
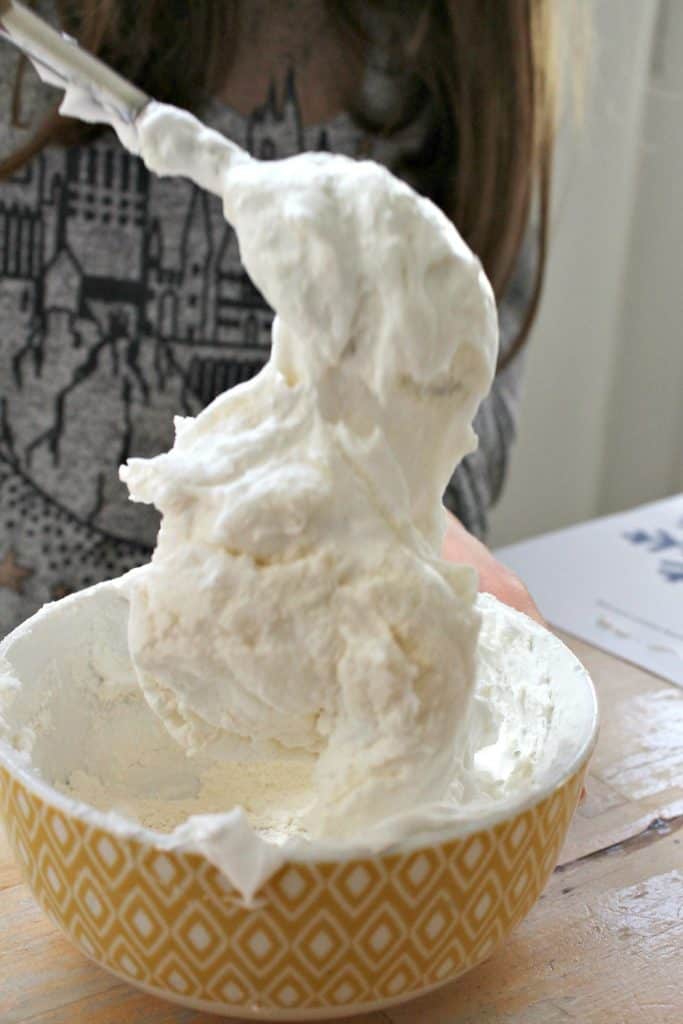
Stir these ingredients together to make your puffy paint.
You can add a drop of food colouring if you like. You could make a few shades of blue to create a winter-themed picture.
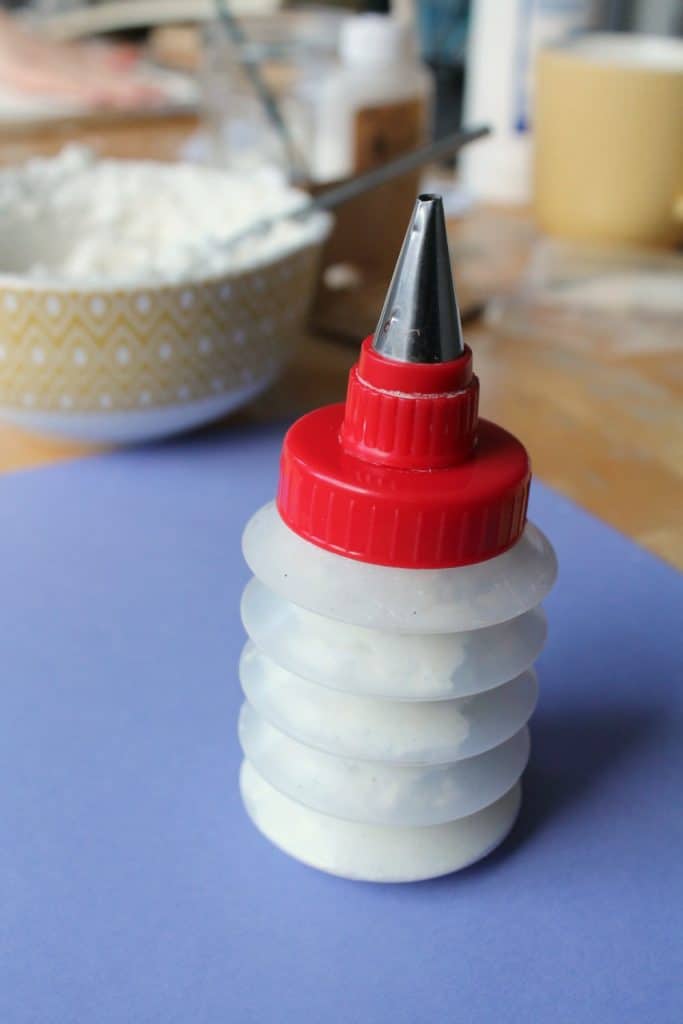
The puffy paint is excellent in piping pots (the kind you use for icing a cake).
Use a spoon to push the paint down into the piping pot, screw on the nozzle, and then squeeze the pot to pipe out the paint.
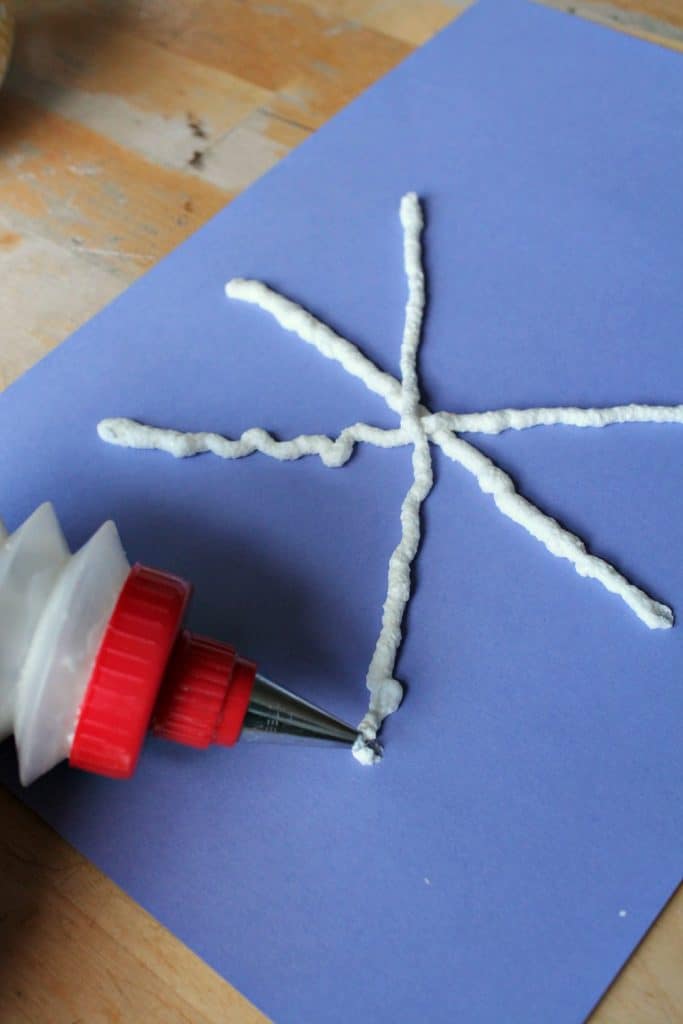
Can you make snowflakes?
If you have a few different nozzles you can swap them around and invite your children experiment with the shapes and the patterns they can make with them.
You can mix up a couple of different colours of the paint in one piping bottle and see how it mixes as you draw.
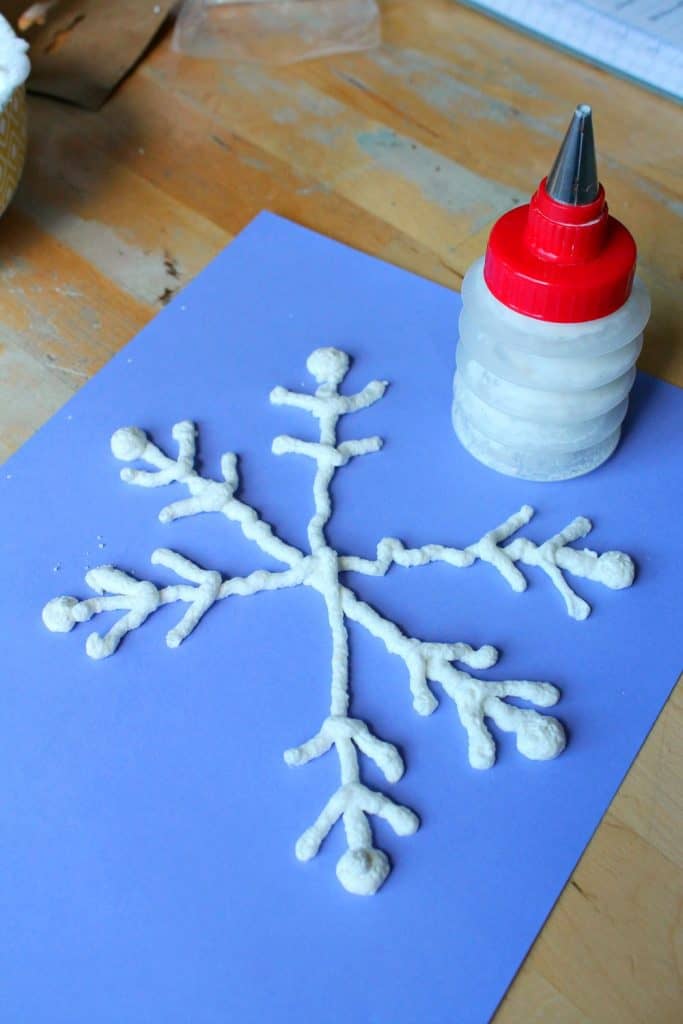
You can also control the flow of the puffy paint to draw pictures or write letters. It’s very good practise for dexterity.
This would be a great multi-sensory way to practise spelling words.
When you’ve finished, do remember that you have combined glue and flour in your puffy paint, so scrape the remains into the bin rather than washing it all down the sink.
Everything you need for a winter unit, all in one place.
Click here to get your copy of the complete Ice and Snow Unit.
:: over 80 pages of lessons, activities, and printables
:: a complete unit of Ice, Snow, Arctic, Antarctic, Polar Bear and Penguin-themed science, math, literacy, arts and crafts, sensory, food and play
:: materials lists and bonus printables make it so easy!
:: everything planned for you, so you can enjoy it as much as your children do
:: created with children aged 4 to 8 in mind
Save time and teach better with NurtureStore’s resources!


