Use this simple guide on how to make a paper plate Easter basket craft. So pretty!

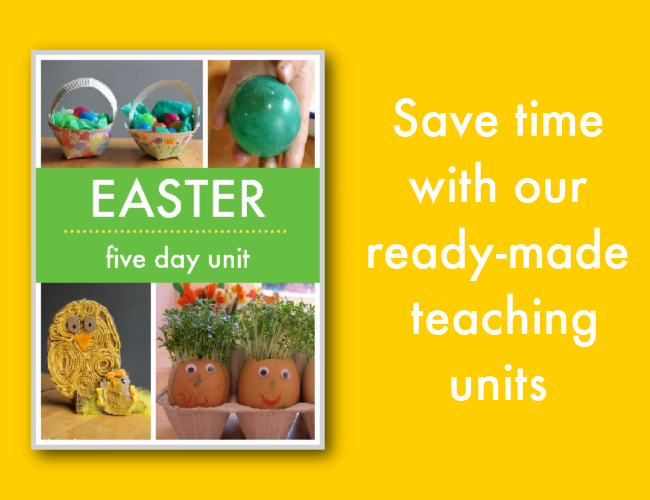
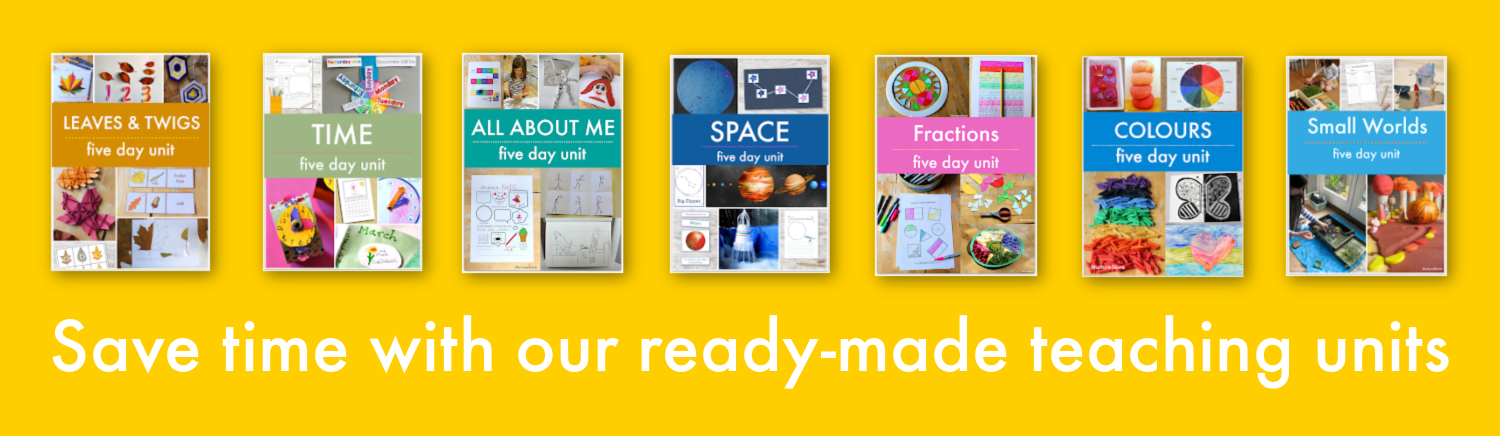
Save time with our ready-made teaching units
Did you know we’ve got hundreds of ready-made lessons plans ready and waiting for you to use with your children?
Come and join us in our Play Academy and let us save you so much time with your lesson planning.
Each unit gives you one activity per day that all your children can do together.
Every thing is in one place, clearly laid out and ad-free, and with bonus printables to make your teaching even easier.
You can choose from over 50 ready-made units including our units on Easter, the Nativity, spring, birds and eggs, bees, butterflies, and sunflowers!
See more and choose your first ready-made teaching unit here.
How to make a paper plate Easter basket craft
To make our Easter baskets we used:
:: paper plates (two per child)
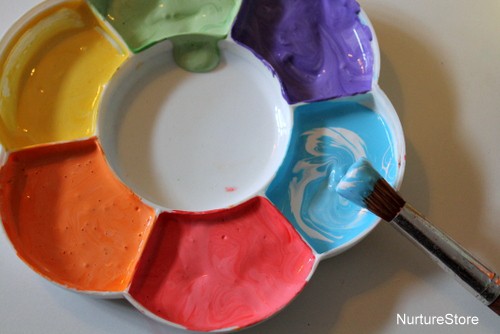
:: paint
:: scissors
:: something to stick the basket together: either staples, sticky tape or glue.
Adding white to our usual craft paints gave us a pretty selection of pastel Easter colours.
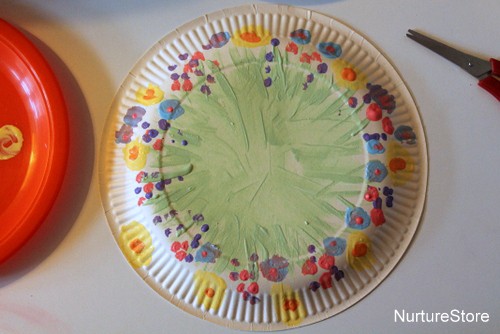
Each child painted their own design on to the ‘wrong’ side of the paper plate. This side takes the paint better than the waxed side, and the curve of the plate works better when you fold it from this side.
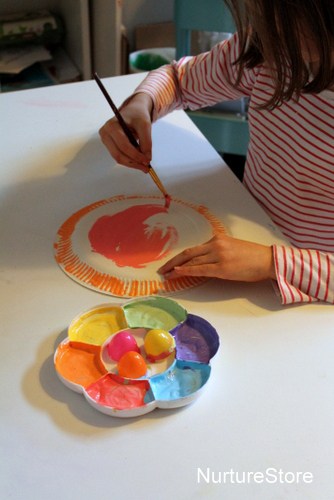
You can paint any design you like, from a pretty pattern…
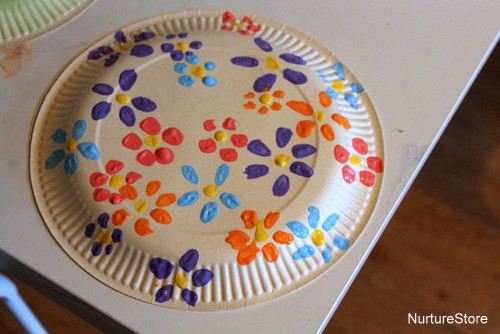
or a meadow.
Have a think about how the basket will look when it’s folded, and you can paint the underneath and sides of your plate to reveal a scene when it’s folded.
Once the paint is dry, you need to cut and fold your paper plate to make the basket. Use a ruler and pencil to draw a cross that meets in the centre of your plate.
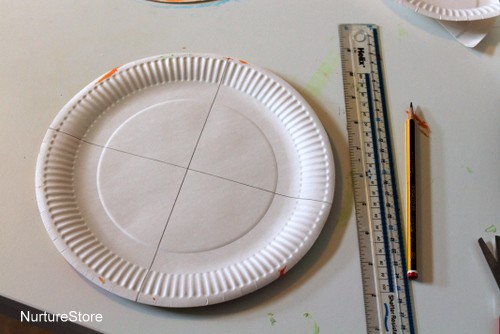
You need to mark a section on each of the four radiuses to show you where to cut your lines – see the photo below as a guide. Our paper plate measured 23cm in diameter and we made each cutting line 7.5cm long.

I’ve used a marker pen here to make the lines easier for you to see, but I’d suggest you use a faint pencil line, so you won’t see it when you fold up the basket. Snip along each of the four cutting lines.

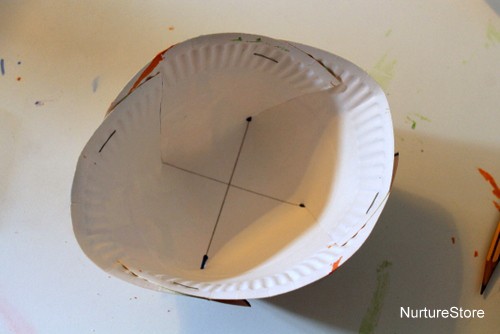
Then fold up your paper plate, as show below. Each quarter of the plate overlaps its neighbour to give you a basket shape. You can fasten this in place using staples, sticky tape or glue – depending on how neat and quick you want the finished basket to be.
Use a second paper plate to make a handle. Cut off half of the rim to give you an arch, and faster it at either side to your basket – again, using staples, tape or glue to suit.
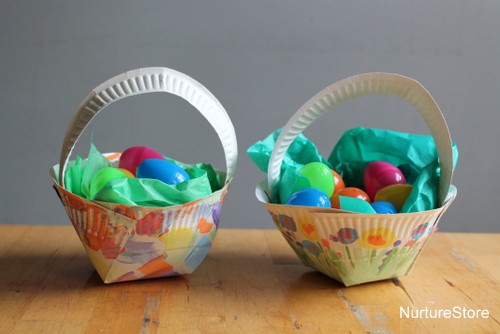
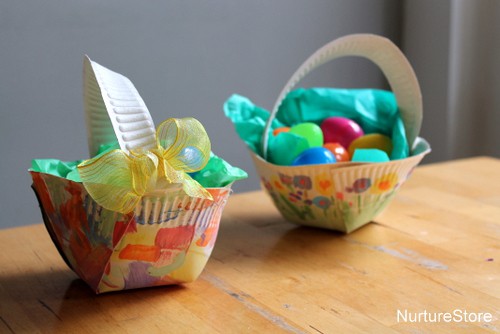
Aren’t they pretty? They’re really simple for children to make, and I love each child’s Easter basket will have their own unique art work on.
You can add a little ribbon bow as a final flourish, and fill them with tissue paper and Easter treats.
Save time and get your ready-made teaching units!
Yes, you can do all the planning yourself if you want to, or you can head straight to our Play Academy and download our ready-made thematic units. That sounds like a better idea!
Join the Play Academy and you’ll have instant access to all of our ready-made teaching units, in huge range of topics. Festivals, math, science, literacy, art and craft, play, wellbeing – come and take your pick!
Each unit is ad-free, clearly laid out and very easy to teach. Plus you’ll get fun printables in each unit to make your teaching even more engaging.
Come and join the Play Academy and never have to lesson plan again!
See more and download your first unit here.
This is so wonderful and simple for kids to make. I can’t wait to try it out!
I made these for my siblings today and I can’t wait to see their reaction tomorrow! They are so easy to make!
Cute, pretty and very simple as well, thankyou for the idea 🙂 Happy Easter.
Lovely -can be made for many diff occasions ,eg Mothers day
This is a great idea! I’M going to put baby’s finger prints around out side for first basket.
That is such a lovely idea Linda!
Fabulous idea… Can’t wait to try thus with my kids and their friends!!!
Hope you have fun making it Keavonnie.
A defnite “must do”
Art work with paimt a besty for the little ones. Thank you
This is so cute! I love it. I think we might be making these in our art class soon. Thanks for sharing! Found you through Pintrest.
I love this idea. I think I will try this with my students this year.
Gail
Has anyone attempted to hot glue these baskets together? We are planning to do it for a classroom activity and I have more hot glue than staples!
Hi Samantha. I haven’t tried making them with a hot glue gun but I wonder if the type of paper plate will make a difference. If yours have a very shiny surface, perhaps the glue will not hold well? Worth doing a trial first. Let us know how they turn out.
A wonderfully simple but brilliant idea. Environmentally sustainable & food safe
Thanks for this trick.
Kids will love this. My plan is to leave eggs in it when they head on their holidays. Tissue paper a lovely thought
Great idea! I will be making them with my art students for May day. We will bring them to the cancer clinic in town. Thank you for sharing.
What a lovely idea Ms. Kricket. Happy May Day!
Great idea not just for easter!
I love this idea and will have my preschool class make them tomorrow. My question is how much weight can they hold before the handle tears off?
Hi Marie. That’s going to depend on how thick your paper plate is, and how you fasten on the handle. Ours held up fine to an egg hunt and a fair bit of running around.
This is Exelent Idea! Thank you very much!
Ms Cathy you have so much excellent ideas to offer especially in these trying times we face what would we do , you make your resources affordable and easy to use.
Thank you for all your efforts.
Thank Ms Linda!
Great idea. Just what I was looking for. Thank you!
Happy Easter, Shirley!