Such a cute and easy bee craft for kids! Combine an oil and water paint resist technique with some bubble wrap printing to make a fun bumble bee art project.
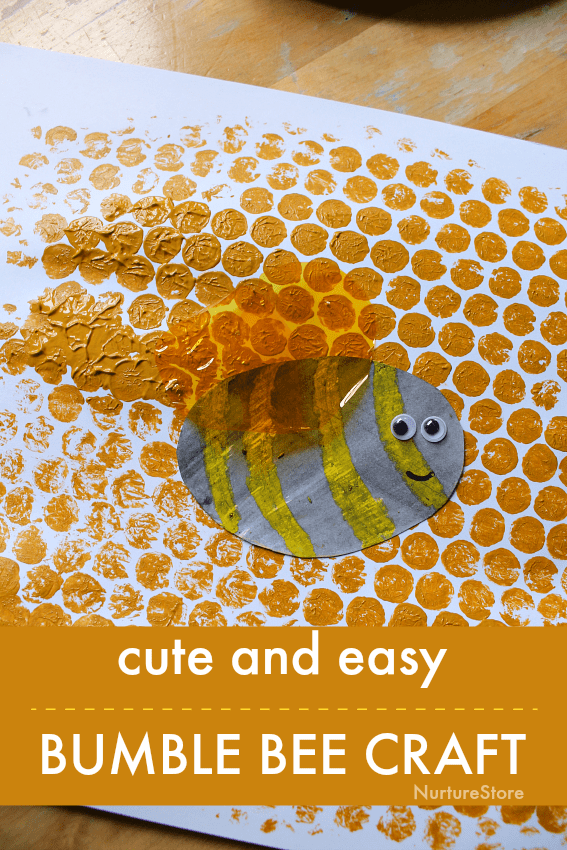
Bubble wrap bee craft
This project is part of our complete Sunflower School resources – see them all here.
For this bumble bee art project we’ll use an oil and water paint technique to create our bees, and then explore a simple printing technique to create a honeycomb background.
For this project you will need:
white card
pencil
scissors
yellow oil pastels or wax crayons
black watercolour paint
bubble wrap
sticky tape
yellow, brown or gold watercolour or acrylic paint
paper plate or shallow tray
googly eyes or black marker pen
lollipop / craft stick
transparent plastic sheet (optional)
How to make your bumble bee
Use this oil and paint resist technique to create a stripy bumble bee craft. It’s a fun and simple painting technique for children to try, as they explore the different properties of oil/wax and water.
Draw out a bee shape on a piece of card.
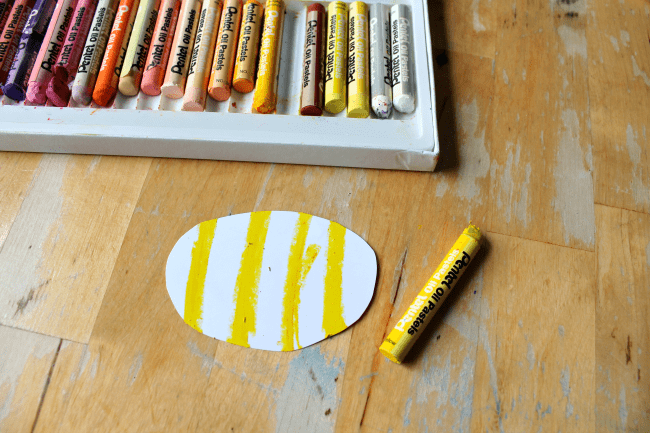
Use yellow oil pastels or wax crayons to draw on your bee’s stripes.
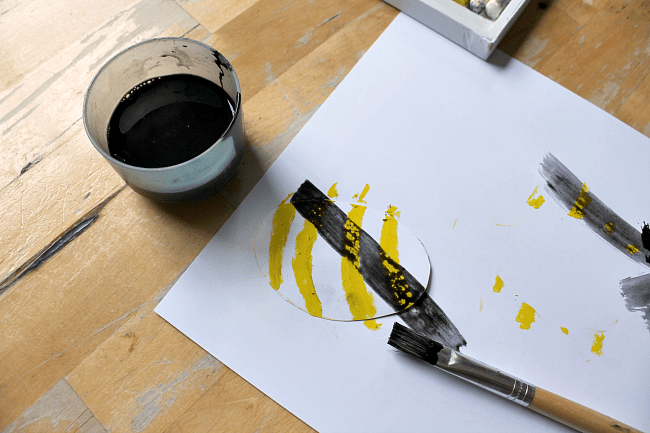
Then paint all over the bee using black paint. Notice how the oil pastel / wax crayon resists the paint and your stripes appear.
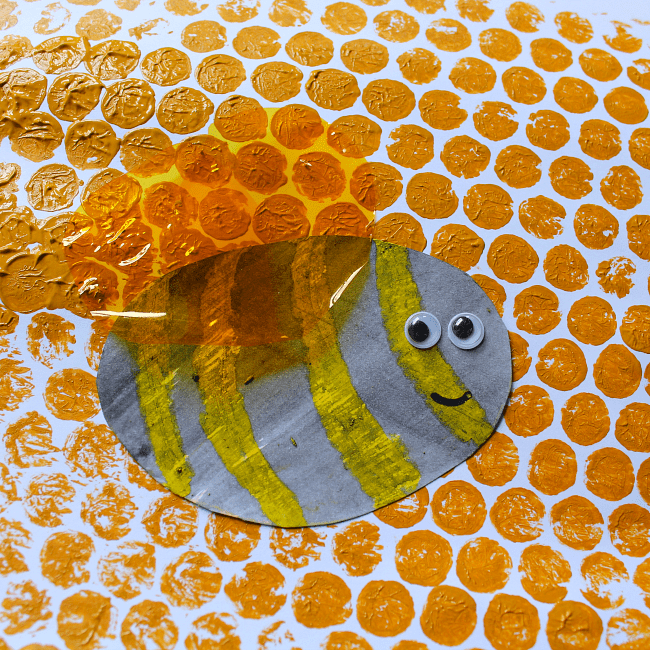
Stick on googly eyes, or use a marker pen to draw on eyes.
Cut out wings and fasten them on to your bee’s body with glue or sticky tape. You can use card to make the wings but a piece of transparent plastic, while harder to cut, does look great.
If you’d like to you can stick your bee on to a lollipop/craft stick to make a buzzy bee puppet. You can also add a strip of card on to the back of your bee to make a finger strap, so you can play with your bee like a finger puppet.
How to make your beehive print
Set out some yellow, gold or brown paint on a paper plate or shallow tray. I find acrylic paint adheres better to the bubble wrap, but watercolour paint is an alternative you can try.
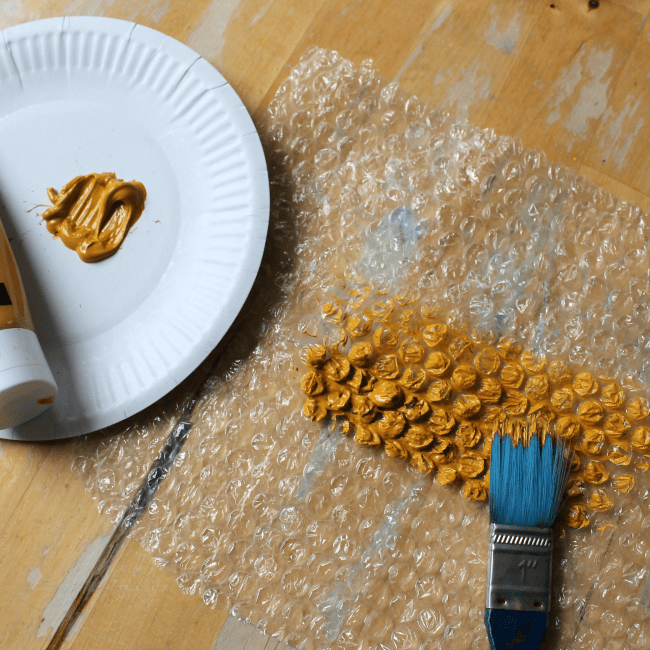
Paint a sheet of bubble wrap using a paint brush.
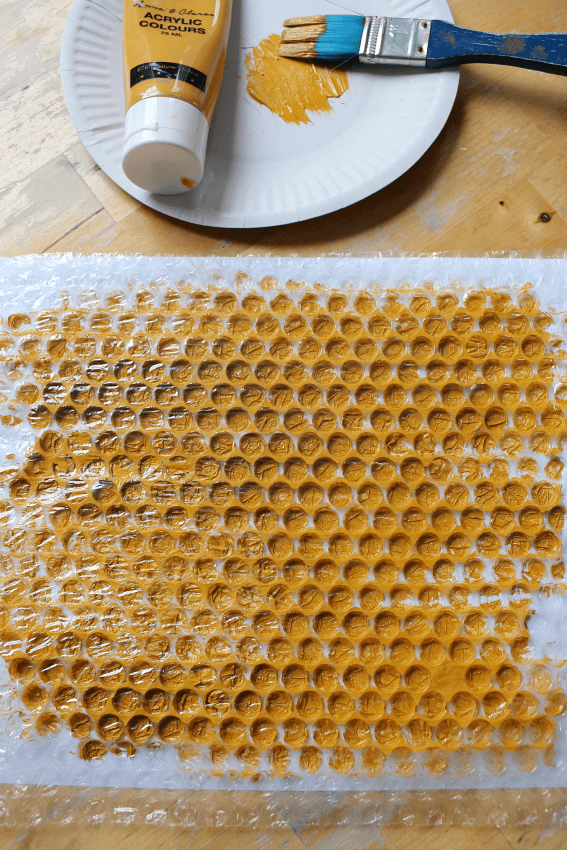
Then flip your bubble wrap over onto a piece of card. Press it down with your hands so all parts of the bubble wrap touch the surface of your card.
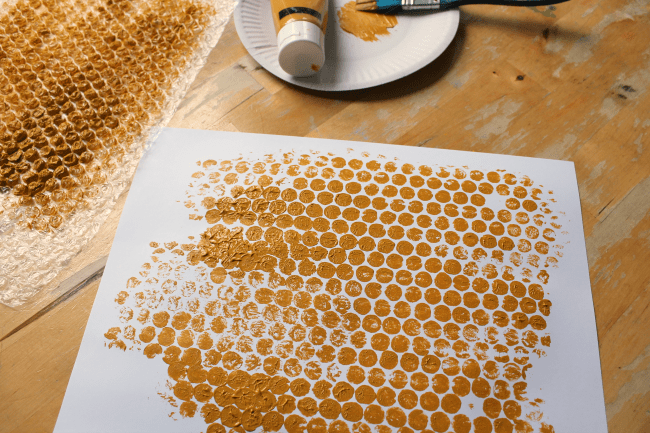
Then peel away the bubble wrap to reveal your honeycomb print.
You can use the printed honeycomb as the backdrop for some imaginary play, as you act out the story of your busy bees. Or fasten the honeycomb to the wall and use tape or glue to add your bees to make a gorgeous bee work of art.
Sunflower School curriculum and printables
Click here to download your copy of the Sunflower School curriculum.
The Sunflower School curriculum matches a full programme of learning to the natural growing cycle of sunflowers.
It gives you six units of learning:
:: In the spring we’ll focus on planting and watching our plants grow.
:: In the summer we’ll learn about bees and pollination, and celebrate the gorgeous blooms through art.
:: In the late summer and early autumn we’ll turn our attention to harvesting, sustainability, and closing of the growing year.
Bonus sunflower printables
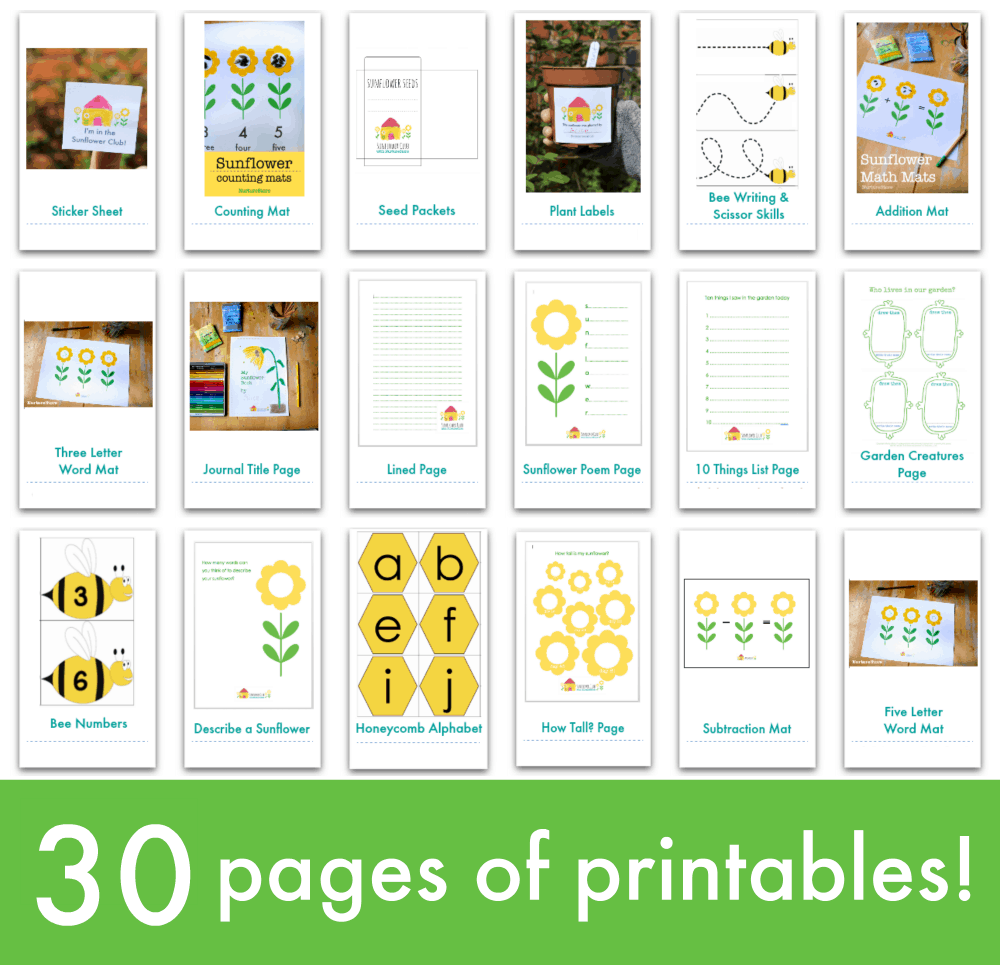
Our Sunflower School curriculum comes with 30 pages of bonus printables that you can use with your children to enrich their learning, including:
- My Sunflower Journal printable
- Lined, plain, and half-and-half journal pages
- Sunflower poems printable
- Sunflower sticker sheet
- Printable plant labels
- Sunflower counting mat
- Sunflower addition mat
- Sunflower subtraction mat
- Sunflower word mats
- Bee number cards
- Bee writing and scissor skills pages
- Garden Creatures page
- Honeycomb alphabet
- Printable seed packets
Click here to download the complete set of Sunflower School resources.


