Use these printable elements of art color theory art worksheets to teach your children about the color wheel.
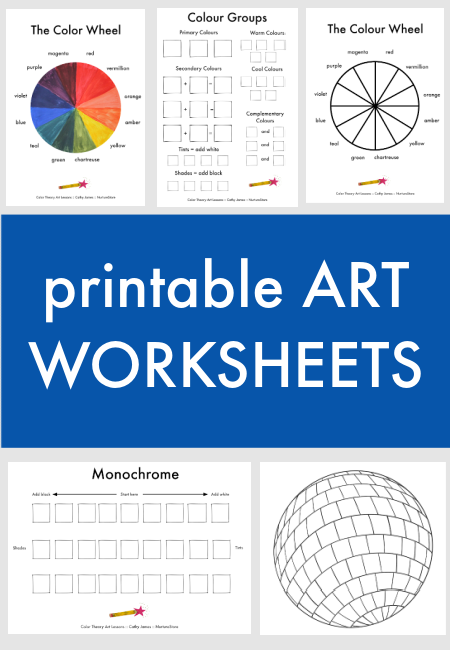


Use these printable elements of art color theory art worksheets to teach your children about the color wheel.
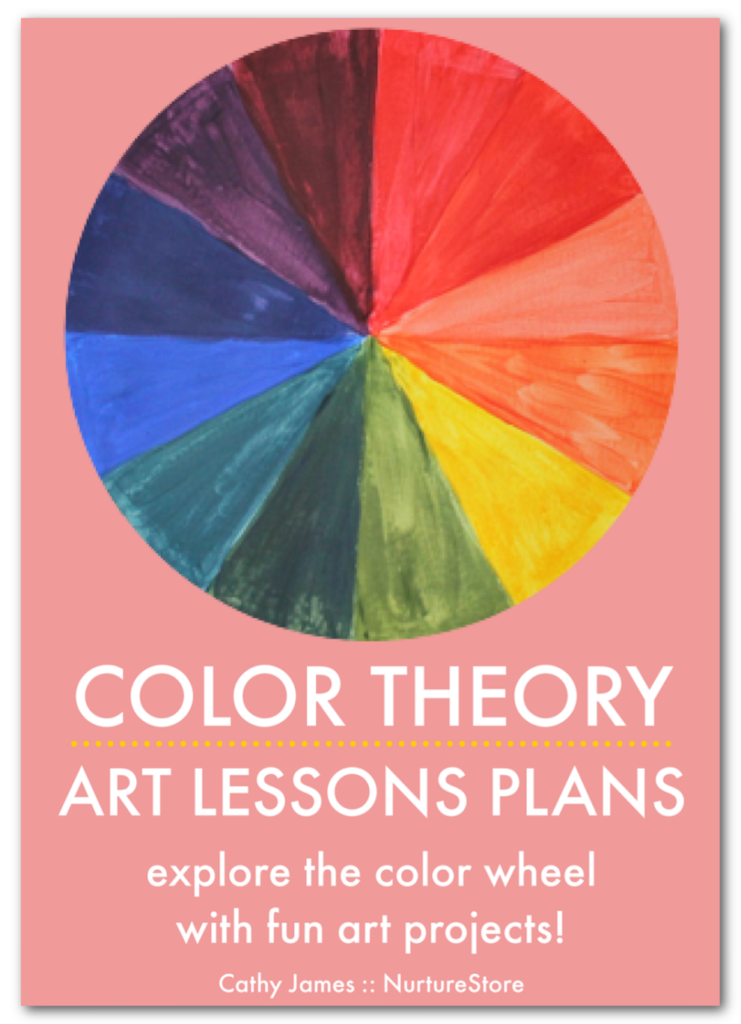
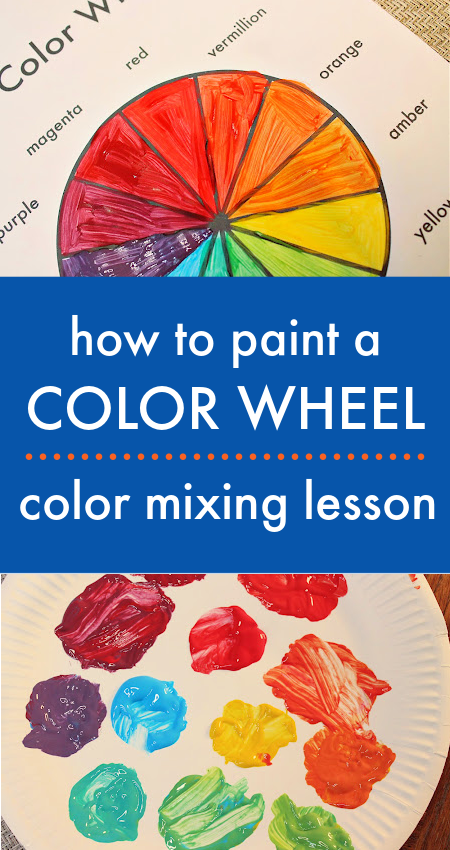
In this color wheel art lesson for children we’ll learn how to paint a color wheel using only the primary colors. We’ll learn the rules of color theory to turn red, yellow and blue into the full rainbow of colors in the color wheel. Plus: get a printable set of color theory worksheets.
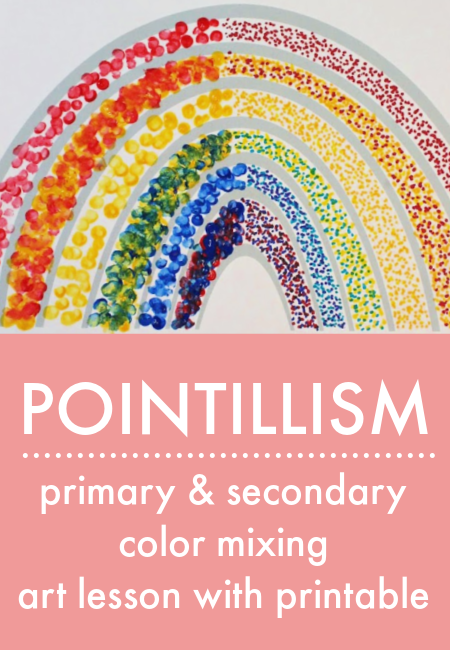
Introduce your children to famous artist Georges Seurat with this easy pointillism art lesson. We’ll learn about the color wheel as we experiment with color mixing, turning primary colors into secondary colors. Plus we’ll learn how the human eye works, and what makes a rainbow.
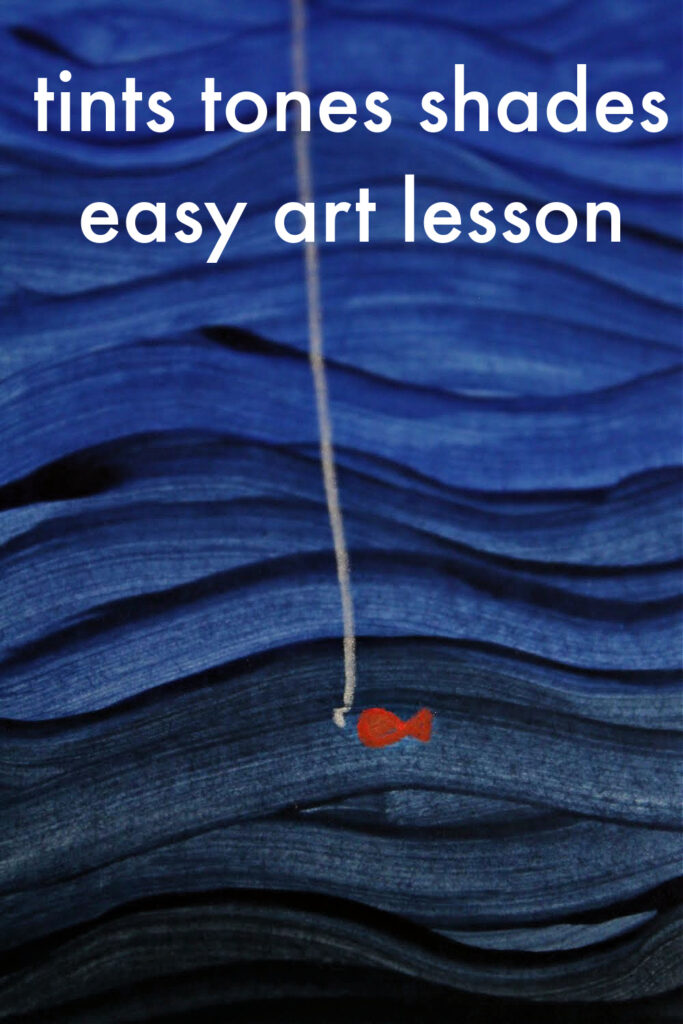
Use this easy monochrome art lesson to teach your children about tints, tones and shades of color.
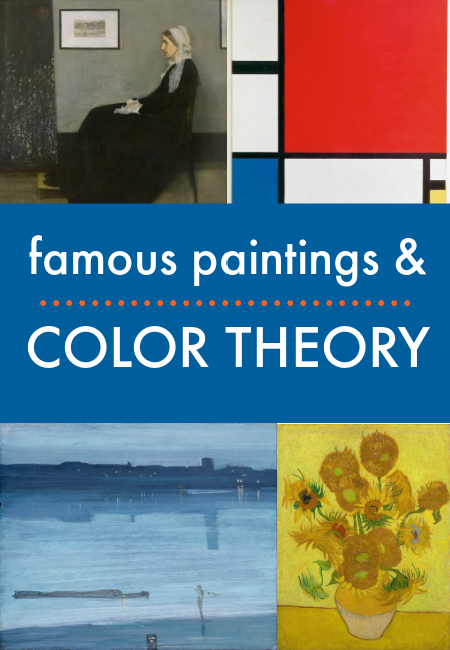
Teach your children about color theory with these lists of famous paintings that show color theory at work.