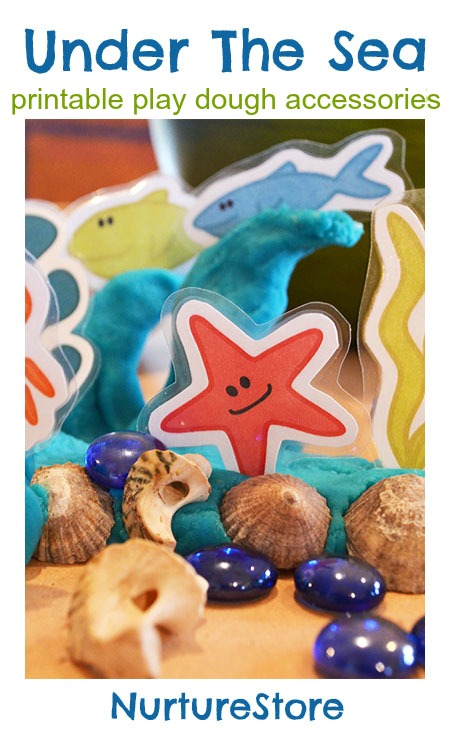
Play dough fans rejoice! Kate from Picklebums is joining us today with a fantastic set of printable sea creatures that are perfect for enjoying with some ocean play dough.
Play dough fans rejoice! Kate from Picklebums is joining us today with a fantastic set of printable sea creatures that are perfect for enjoying with some ocean play dough.
Download these hand-drawn spring colouring pages and paint, draw, and doodle!

Continuing our fairy week, here’s how to make a simple fairy house to go in your fairy land.
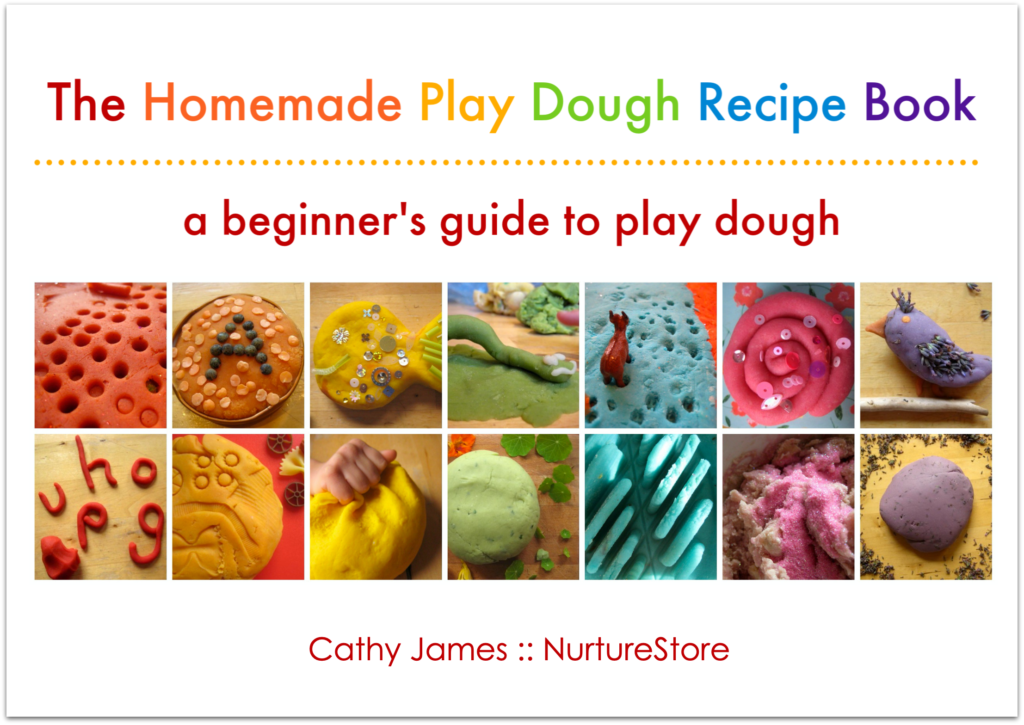
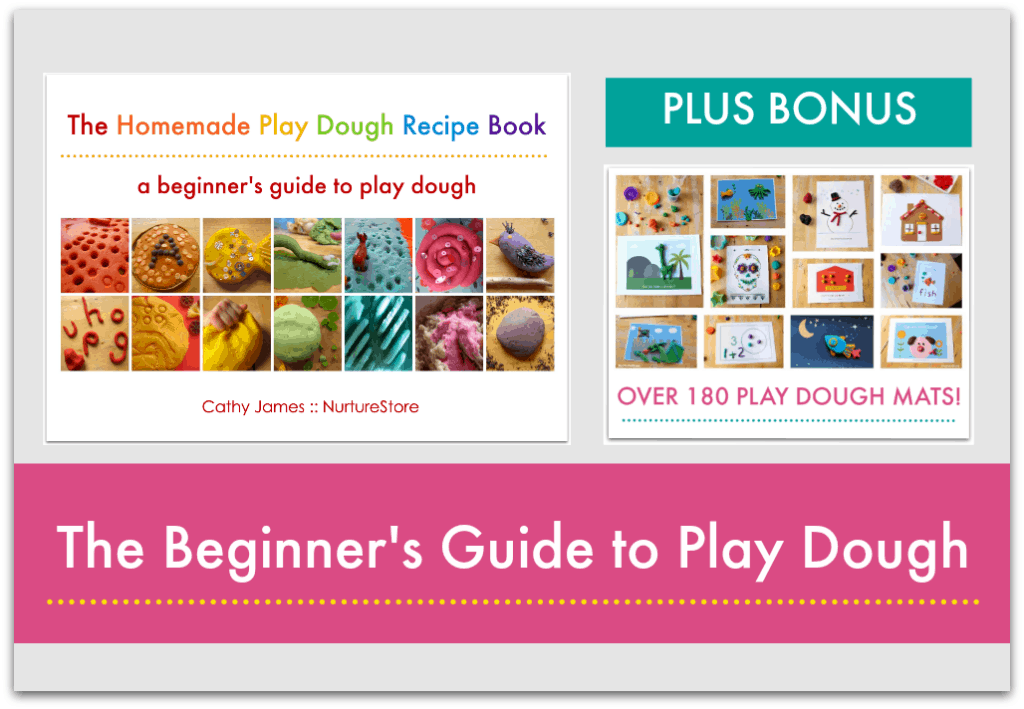
Every childhood needs play dough! It’s the perfect sensory play material and lets your children build vital math, literacy, and fine motor skills all through play.
This practical book will give you easy homemade play dough recipes PLUS 52 play dough activities that incorporate sensory play, fine motor skills, math, literacy, and imagination.
Suitable for teachers, childcarers, and parents with children aged 2 to 8.
Written by Cathy James, the author of The Garden Classroom and the creator of NurtureStore.

You will be able to set up sensory learning activities your children love to help them develop vital skills through play, including:
Snowman Play Dough
Wake-Up Dough
Math Tangrams
Small World Diggers
Goldilocks and the Three Bears
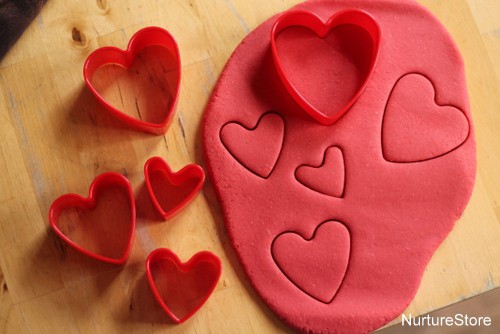
Valentine Lollipops
Heart Bunting
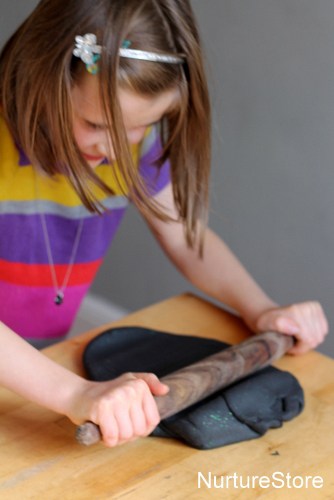
Mark Making with Play Dough
Candy Store Play Dough
Toothpick Math
Chocolates Play Dough
Spring Chicks
Scissor Skills Activities
Real Bread Making
Chocolate Play Dough Cupcakes
Under The Sea Play Dough
Salt Dough Bead Bracelets
Princess Pink Play Dough
Garden Flower Play Dough
Spot The Tracks Activity
Play Dough Art Station
Play Dough Fractions
Shape Matching Jigsaws
Ice Cream Parlour Play
Design a Fish Challenge
Art Mural Making
Big & Small Exploration
Play Dough Bake Off
Alphabet Dough Activities
Chill Out Lavender Play Dough
Animal Habitats
Seaside Play Dough
Making Caterpillars
Making Butterflies
Birds and Nests
Seashell Play Dough
Gingerbread Men
Pizza Parlour Play
Cinnamon Leaf Prints
Outer Space Play Dough
Autumn Trees
Diwali Salt Dough Candle Holders
Rangoli Mandals
Play Dough Spiders
Scary Monster Play Dough
Drinking Straw Exploration
Colour Mixing Experiments
Christmas Salt Dough Candle Holders
Christmas Spice Play Dough
Christmas Trees
Christmas Angels
Winter Landscapes
Click here to get your copy of The Homemade Play Dough Recipe Book Beginner’s Guide for $14.99 or save $10 with our bonus pack below.

Upgrade your Beginner’s Guide To Play Dough and get The Amazing Play Dough Printables Pack too. It’s the perfect pairing!
The Amazing Play Dough Printables Pack gives you a whole year of play dough printables: 180 play mats covering over 50 themes and topics.
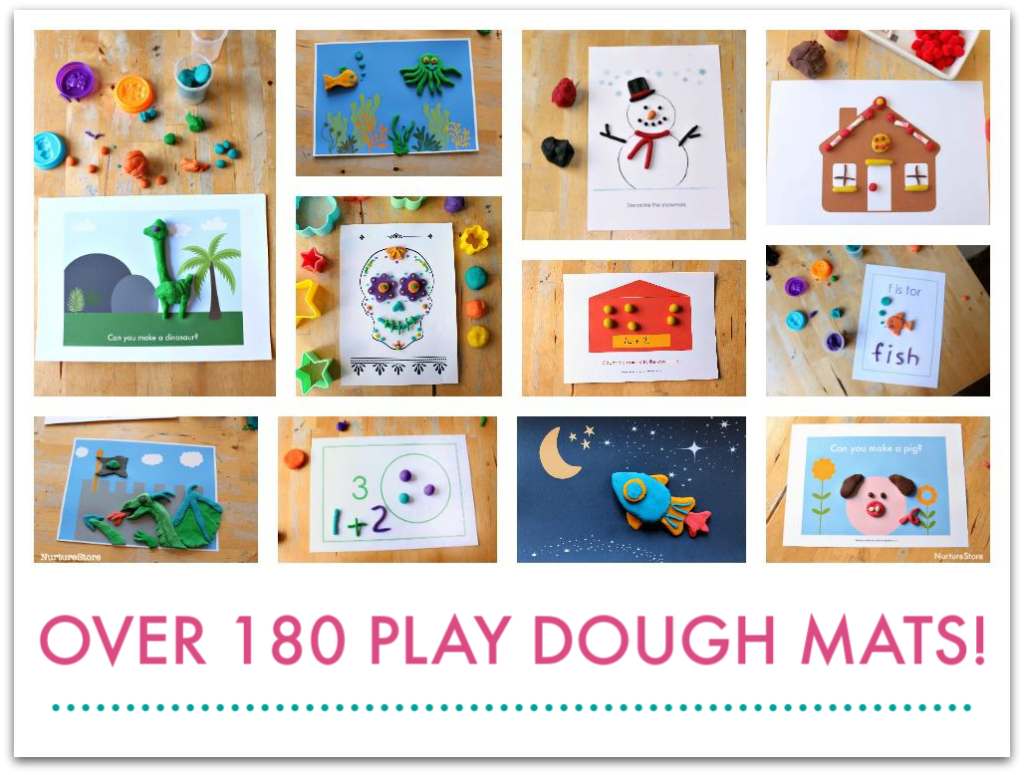
No hassle, no planning, you’ll always have an activity on hand.
You can use these play mats:
Combine the play mats with The Homemade Play Dough Recipe Book and you’ll never run out of play dough ideas!
Buy The Amazing Play Dough Printable Pack now with The Homemade Play Dough Recipe Book for only $34.99 $24.98 and save $10.
Click here to save $10 and get them both
Play dough is the perfect sensory play material because it’s great for all ages. My daughters are teenagers now and they’ve been using play dough since they were around two years old. As they’ve grown, the ways they use play dough have evolved.
Very young children may enjoy simply having some dough to explore – they need few added extras to enjoy squashing and squeezing the sensory dough. Using the recipes in The Homemade Play Dough Recipe Book to make your own play dough, means you know exactly what’s in it, so you can you be sure it’s safe for your child.
Toddlers and pre-schoolers love to have props added to turn the dough into play scenes and role play opportunities. Listen in and you will hear their language develop as they play. Play dough also helps to build vital fine motor skills and hand strength, so children can go on to write and draw well.
Older children can let their imaginations take flight, using the dough to mould models and create intricate play lands. They’ll be developing storytelling, problem-solving, and scientific thinking as they play.
Dough is even great for adults. Baking a loaf of bread is great therapy after a stressful day and play dough is also used in many physiotherapy practices to keep fingers nimble and maintain muscle strength.
Once you’ve made home made play dough using the recipes in this book, you won’t want to switch back to store-bought. Making your own dough is quick, easy, and very inexpensive. It allows you to add in lots of colour, scent and textures that you just can’t get from a shop. Plus, you know exactly what’s in it and you can keep it all plastic-free and compostable.
A DIY version also allows you to make bigger quantities of the dough, giving your children a generous amount of material to play with so they can really go for it and imagine, create, and enjoy.
With every knead, squash, and moulding of dough your children are working on their fine motor skills; developing strength, control, and flexibility in their fingers, hands, and wrists. This paves the way for
successfully holding a pencil to write, fastening buttons, tying shoe laces or playing piano.
The Homemade Play Dough Recipe Book is also full of activity ideas that show you how to include counting, sums, fractions and size in your play. The variety of materials we use brings lots of extra vocabulary into play, and you will see how play dough small worlds and imaginative role-playing burst into lots of chat, questions, and speech development.
Combine the recipe book with The Amazing Play Dough Printables Pack and you have the perfect beginner’s guide to play dough and you’ll never run out of engaging play dough ideas.
Click here to get only The Homemade Play Dough Recipe Book for $14.99
Click here to get only The Amazing Play Dough Printables Pack for $19.99
Click here to get BOTH for only $34.98 $24.98. You save $10!
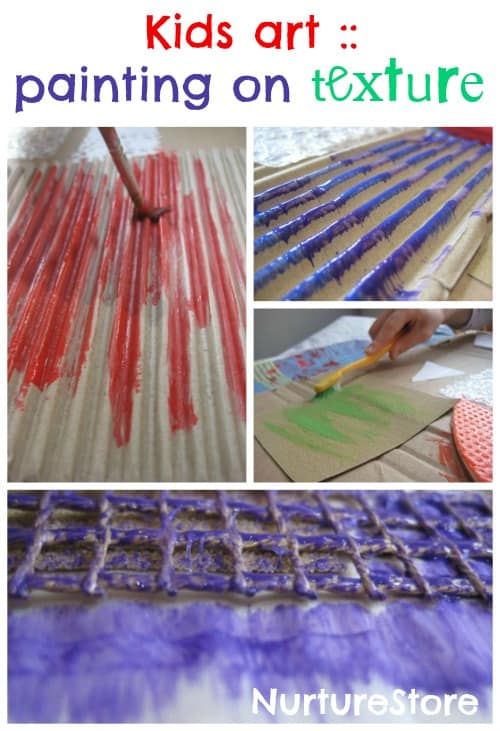
Remember the kids art idea we tried last week, exploring texture? Here’s what happened when we added painting on top – lovely sensory, textured experiments!
Here’s a super easy, quick and creative idea for a kids craft that’s fun to make and even better to play with – tea party puppets!
