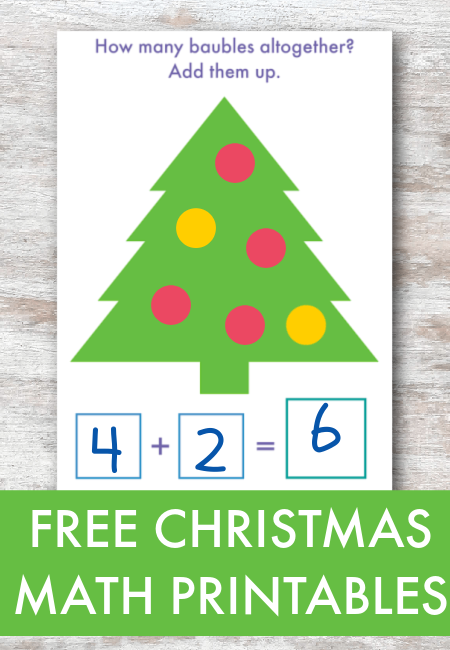
This Christmas tree printable is a great addition activity to include in your Christmas math stations, with extra sensory play and fine motor skills practice too.


This Christmas tree printable is a great addition activity to include in your Christmas math stations, with extra sensory play and fine motor skills practice too.

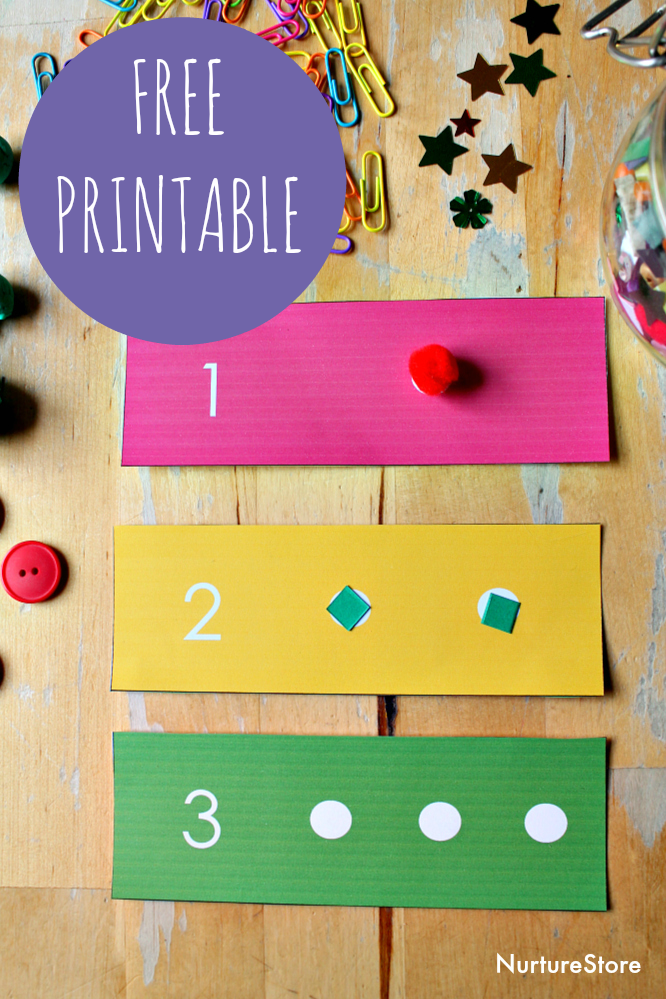
Use these printable number dots cards as part of your loose parts math activities. They’re perfect for math finger gyms and math discovery stations.
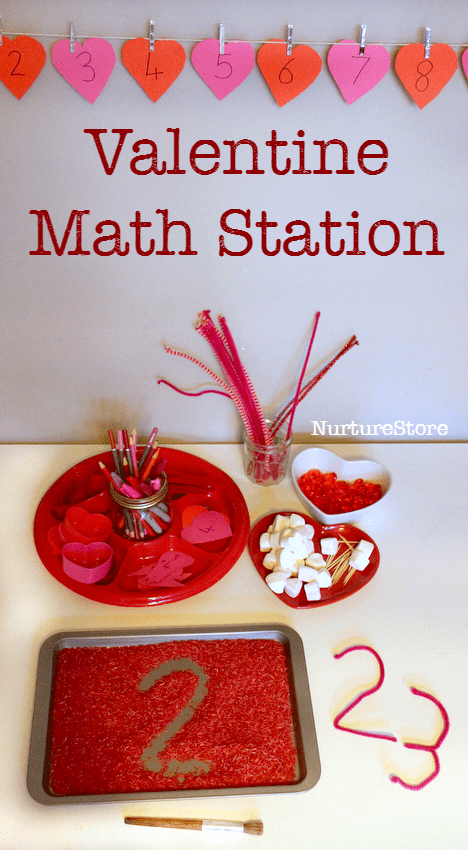
This Valentine math station is packed full of ideas for math discovery and math games. And don’t miss the Valentine-themed literacy, art and science ideas featured at the end.
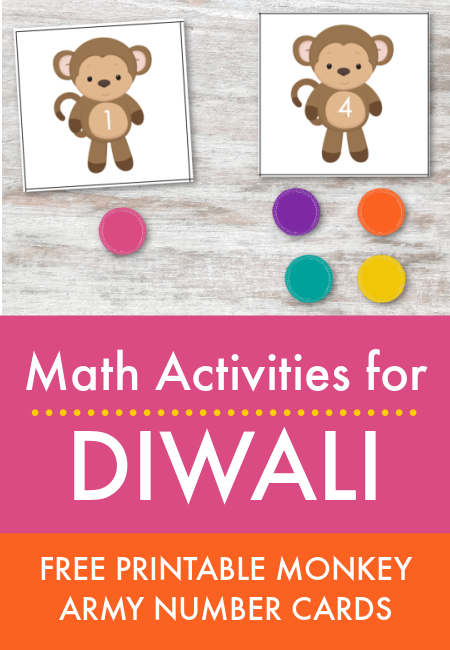
Here’s a collection of fun math activities for Diwali along with a free monkey number cards printable, representing the Hanuman’s heroic monkey army!
Use this beginners’ guide to math stations and learn how to use math stations in your classroom to make your teaching easier and more effective.
