Here’s a super sensory invitation to play that’s taste-safe and helps develop fine motor and scissor skills.

Here’s a super sensory invitation to play that’s taste-safe and helps develop fine motor and scissor skills.
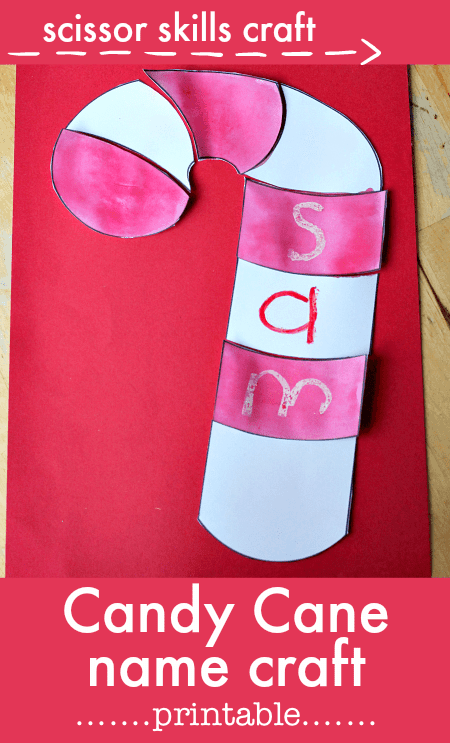
Use this fun candy cane printable to work on scissor skills and learning your name. A cute and easy candy cane craft for preschool and kindergarten.
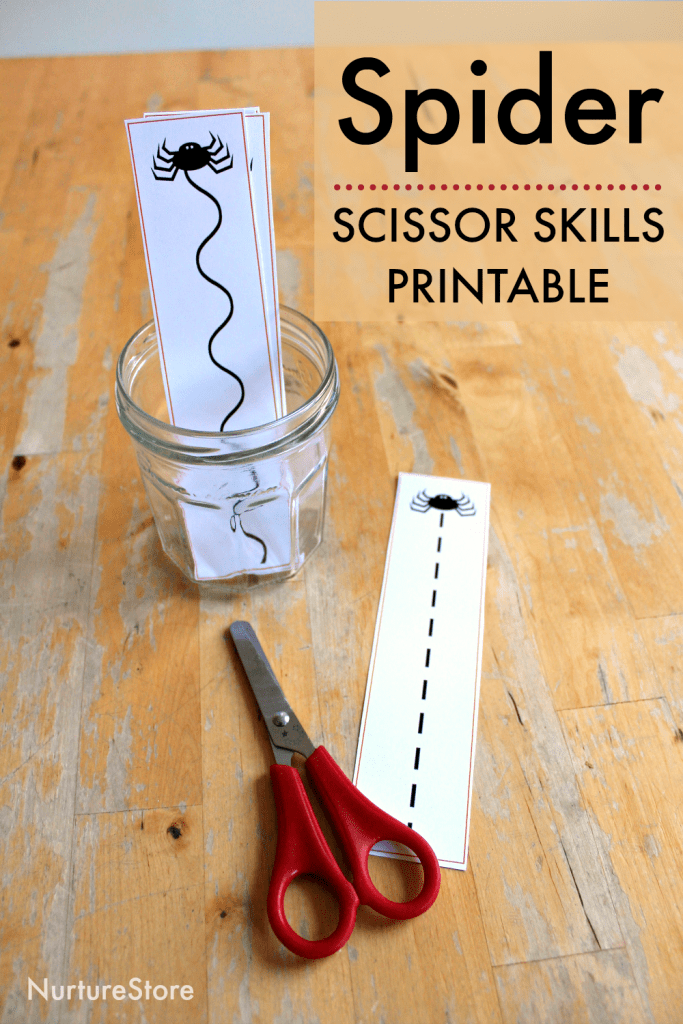
Use these spider scissor skills printable cutting cards to set up a Halloween-themed cutting centre. Great for fine motor skills!
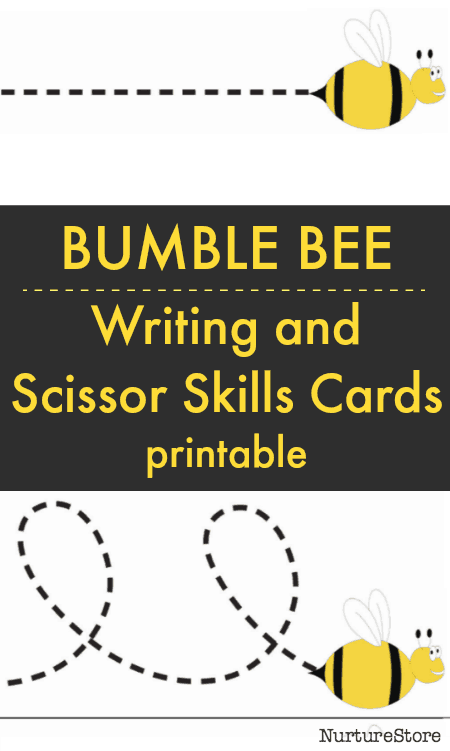
Use these printable bee-themed follow-the-line cards to help your child develop hand-eye co-ordination, practise mark making and writing, and to work on scissor skills.
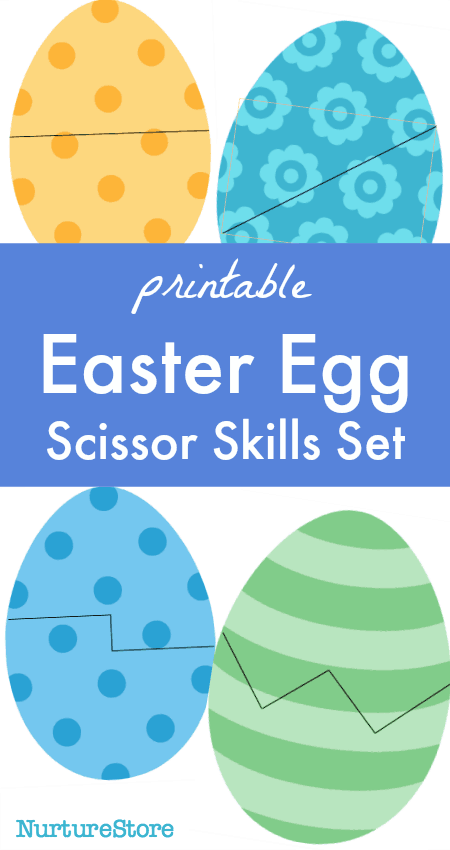
How do you help a child learn to use scissors? Use this free Easter egg scissor skills printable and these scissor skills tips to support them as they learn this new skill.
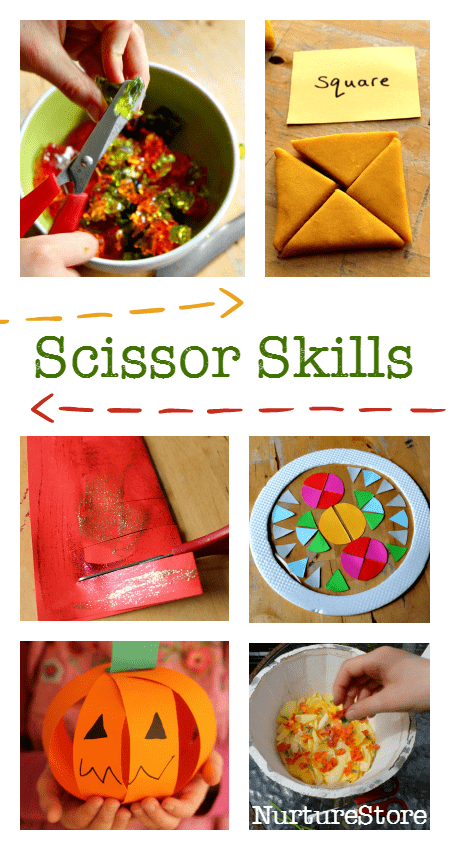
Learning to use scissors can take lots of practise. We can incorporate scissor skills as part of our every day activities, such as helping to chop herbs to go with our dinner, or include them in our play and learning activities. Here’s a collection of ideas you can use to encourage your child to work on their scissor skills through art, craft, math, and sensory invitations to play.