Wondering how to celebrate Pi Day and introduce Pi to kids? Make an apple Pi pie and try these other fun Pi activities.

Wondering how to celebrate Pi Day and introduce Pi to kids? Make an apple Pi pie and try these other fun Pi activities.
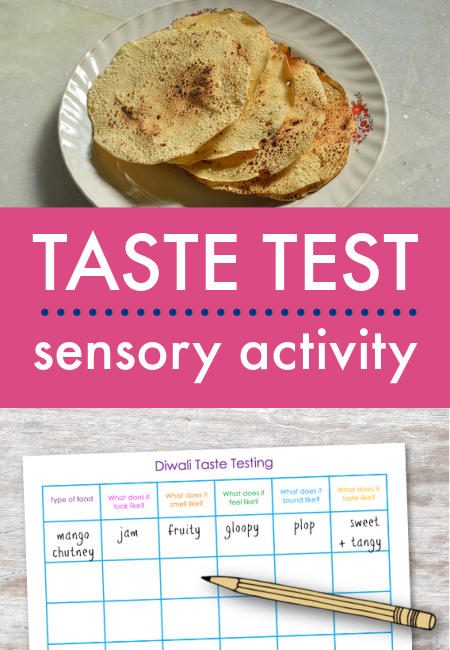
Take a taste test of Indian food as a sensory activity for Diwali.
The most delicious and easy apple cookie recipe for kids!

As part of our Juneteenth lesson plans, let’s learn about the food eaten on Juneteenth and try this easy homemade strawberry soda recipe kids can make.

The perfect snack for a cold, winter’s day – try this easy recipe for tortilla snowflakes!

Join the feast! Here are sixteen delicious forest school recipes that you can cook over a campfire.
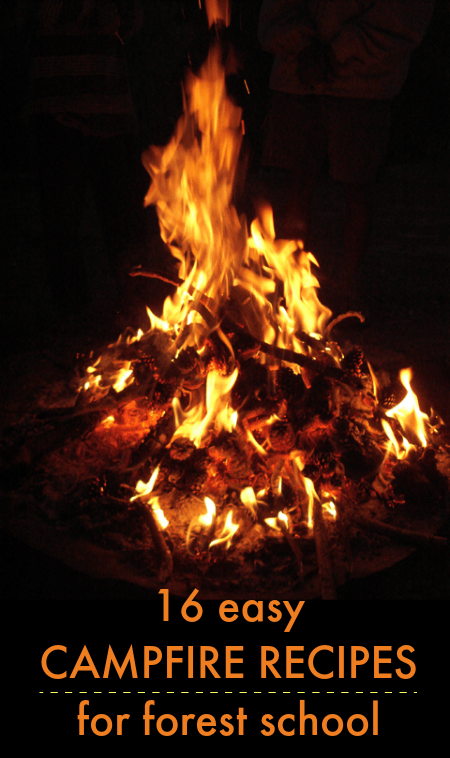
Photo by Emeldil, licensed under the Creative Commons Attribution-Share Alike 3.0 Unported license.